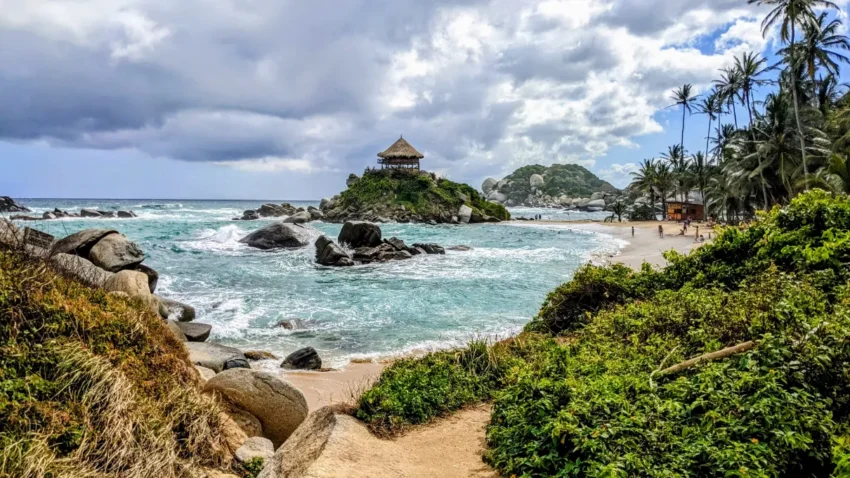
Tayrona National Park (Parque Nacional Natural Tayrona) is a treasure of northern Colombia. Known for its picturesque Caribbean beaches, lush rainforests, extensive trails, teeming biodiversity, and coastal mountains, Tayrona National Park has become very popular in recent years. So much so that the park has limited the number of tourists that can enter each day! We were eager to visit the park but were worried that the stories we heard about the density of tourists would ruin our experience.
So what do you do if you want to explore Tayrona National Park in relative peace and quiet? It’s possible if you know what to do.
Let us show you how we did it during the January peak season!
A TTT Guide to Avoiding Crowds in Tayrona National Park
What You Need to Know BEFORE Visiting Tayrona National Park
Seeing the best of Tayrona National Park during peak season without crowds spoiling your experience requires doing things differently. And you’ll have to accept certain sacrifices to pull this off. But if you are willing to follow our advice, you’ll have a great experience at any time of the year!
Accept the following conditions:
Visit Tayrona National Park on a Weekday – This should be self-explanatory, but fewer people come to the park on weekdays.
Enter the Park at the Calabazo Entrance – This is critical. The Calabazo entrance (Google Maps) is hardly used, so you’ll have this region of the park largely to yourself! And there will be no lines at all to get in. However, when you exit the park, you’ll use the main Zaino Entrance (Google Maps).
Enter the Park When it Opens (7 am) – As of the writing of this post (January 2023), the park opens at 7 am. Be there as close to the opening time as possible. There are fewer people in the park and you will have plenty of time to hike and enjoy the sights after you arrive.
Stay Overnight at the Park – Once you pay the entrance fee, you can stay inside the park for as long as you want. So staying overnight gives you the luxury of time to explore some of the least visited areas of the park that can accommodate tourists with food and shelter. When you wake up on your second day, you’ll start your hike early before tourists fill up the most popular areas of the park (specifically Cabo San Juan). You’ll visit these areas before the day-trip tourists arrive en masse, and then move on when the crowds grow.
Have Good Hiking Fitness – If you stay for 1 night, you’ll be hiking 5 – 8 miles (8 – 13 km) each day with significant elevation gains. Be prepared.
Be Prepared to Hike in Hot, Humid Conditions – You’ll need 1 – 2 liters of water when you enter the park, as well as clothes that don’t retain heat or sweat. You’ll be much happier. Good hiking shoes are also a must. And don’t carry more than a day bag (like a school backpack) for your things. The hikes can be very steep over extended distances, so a lighter load can really help you make it through. And although you’ll be in the shade for much of your hike, carry sunblock for the beach areas. For relaxing at the beach, you’ll want to have a towel and light sandals.
Bring Lots of Cash – You’ll need it to pay for admission, lodging, meals, shuttles, and to resupply. ATMs and credit card use are not a thing here. And yes, prices inside the park are inflated.
So if these conditions for visiting Tayrona National Park don’t scare you off, you’ll have a great tourist-minimized experience!
Now let us show you what we did and how we did it, step by step.
Getting to Tayrona National Park
For us, getting to Tayrona National Park was a two-step process since we are staying in the nearby town of Taganga. If you are staying in nearby Santa Marta (as most tourists do), you can skip right to STEP 2!
STEP 1: Take the Public Bus from Taganga to Santa Marta Public Market
Busses start running from Tagagna to Santa Marta at 6 am, so we showed up at the Taganga Public Bus “station” (Google Maps) bright and early and hopped on.
One-way tickets are $2,400 COP ($0.51 USD) each.
Santa Marta is the only destination, so you don’t have to worry about being on the right bus.
Keep an eye on Google maps as you travel on the bus, and in about 15 minutes you’ll be near the Mercado Público de Santa Marta (Google Maps). Get off when you are within a couple of blocks, as that is as close as the incoming bus gets.
STEP 2: Take a Bus from Santa Marta to Tayrona National Park
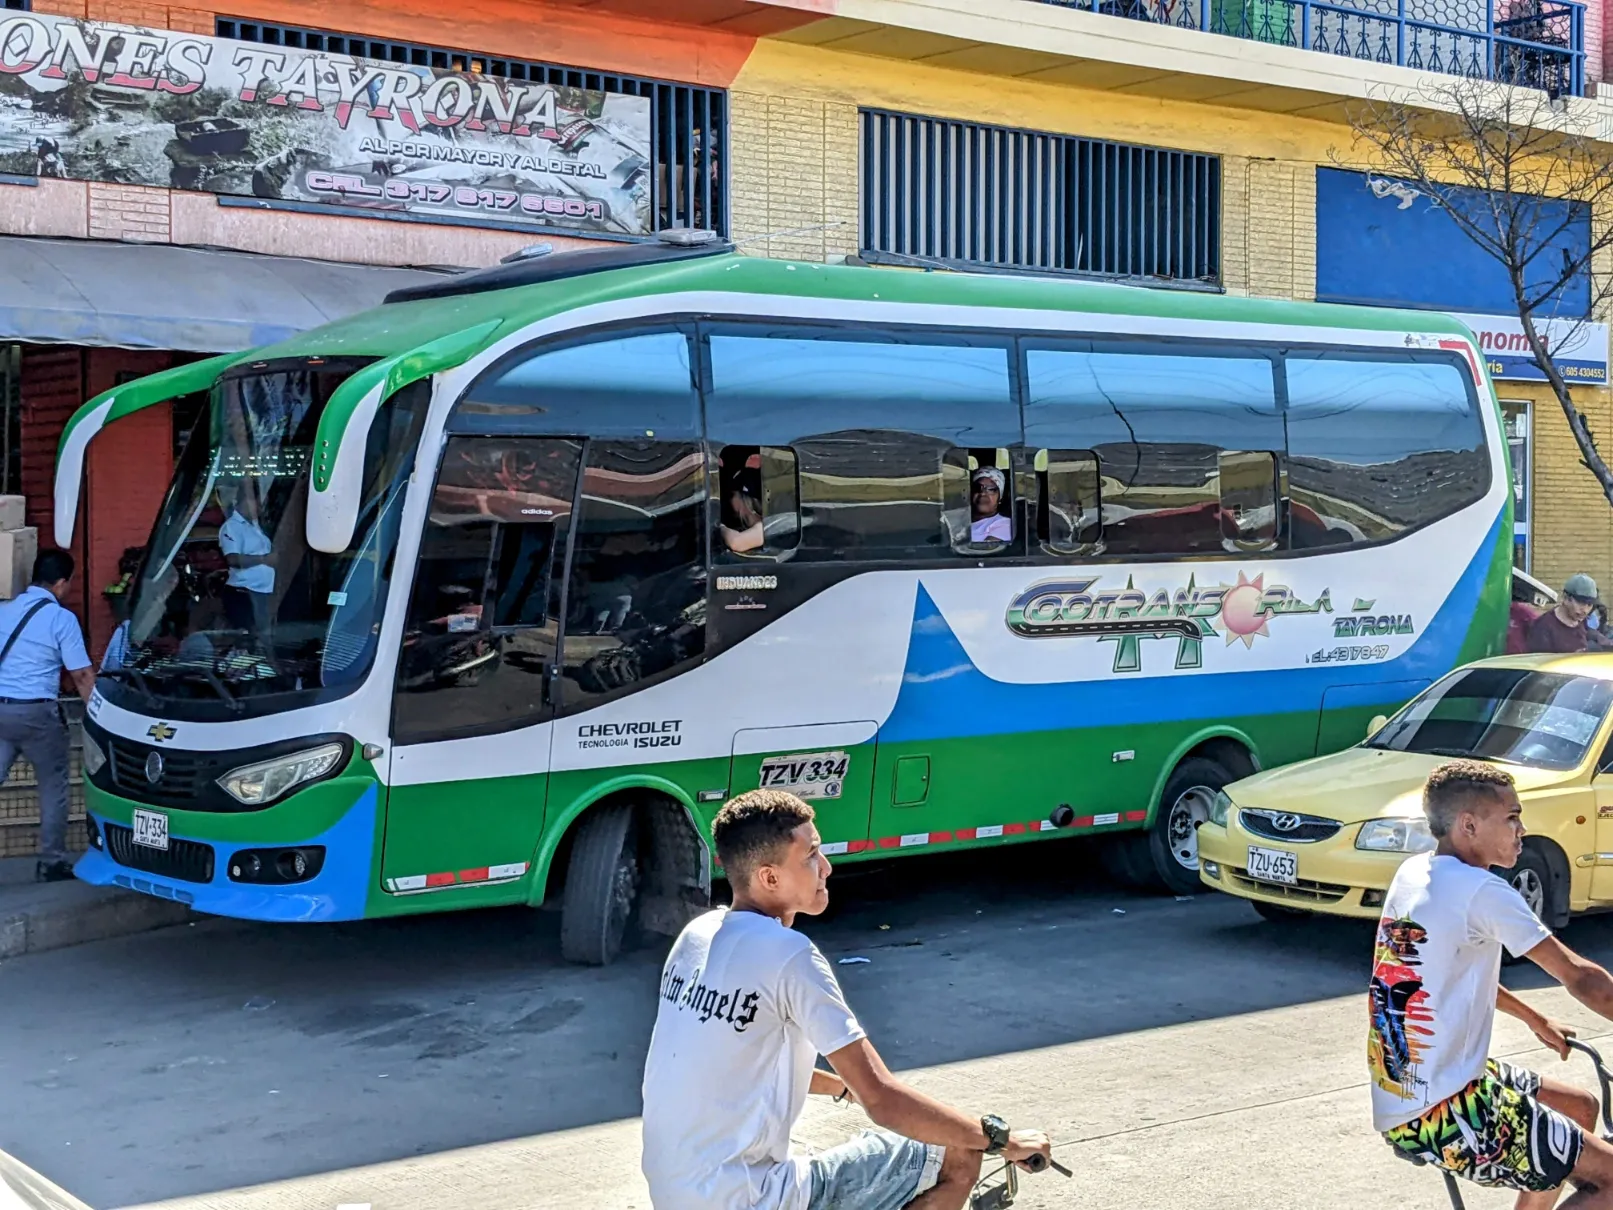
Once you are in the Mercado Público de Santa Marta (Google Maps), walk ~1 block to the Bus Parque Tayrona (Google Maps) located on the corner of Carerra 9 and Calle 11. The big buses here stop at the major entrances to Tayrona National Park.
Buses start running to the park very early we’re told. We had no problem getting a bus at 6:20 am.
Our chariot awaits.
If you follow our method and use the Calabazo Entrance (Google Maps), one-way tickets are $7,000 COP ($1.50 USD) each. You pay the bus attendant on the way to your destination and be sure to tell them that you are getting off at Calabazo to get the $7,000 COP rate. If you go to the main Zaino entrance, the rate is $8,000 COP.
Entering Tayrona National Park at the Calabazo Entrance
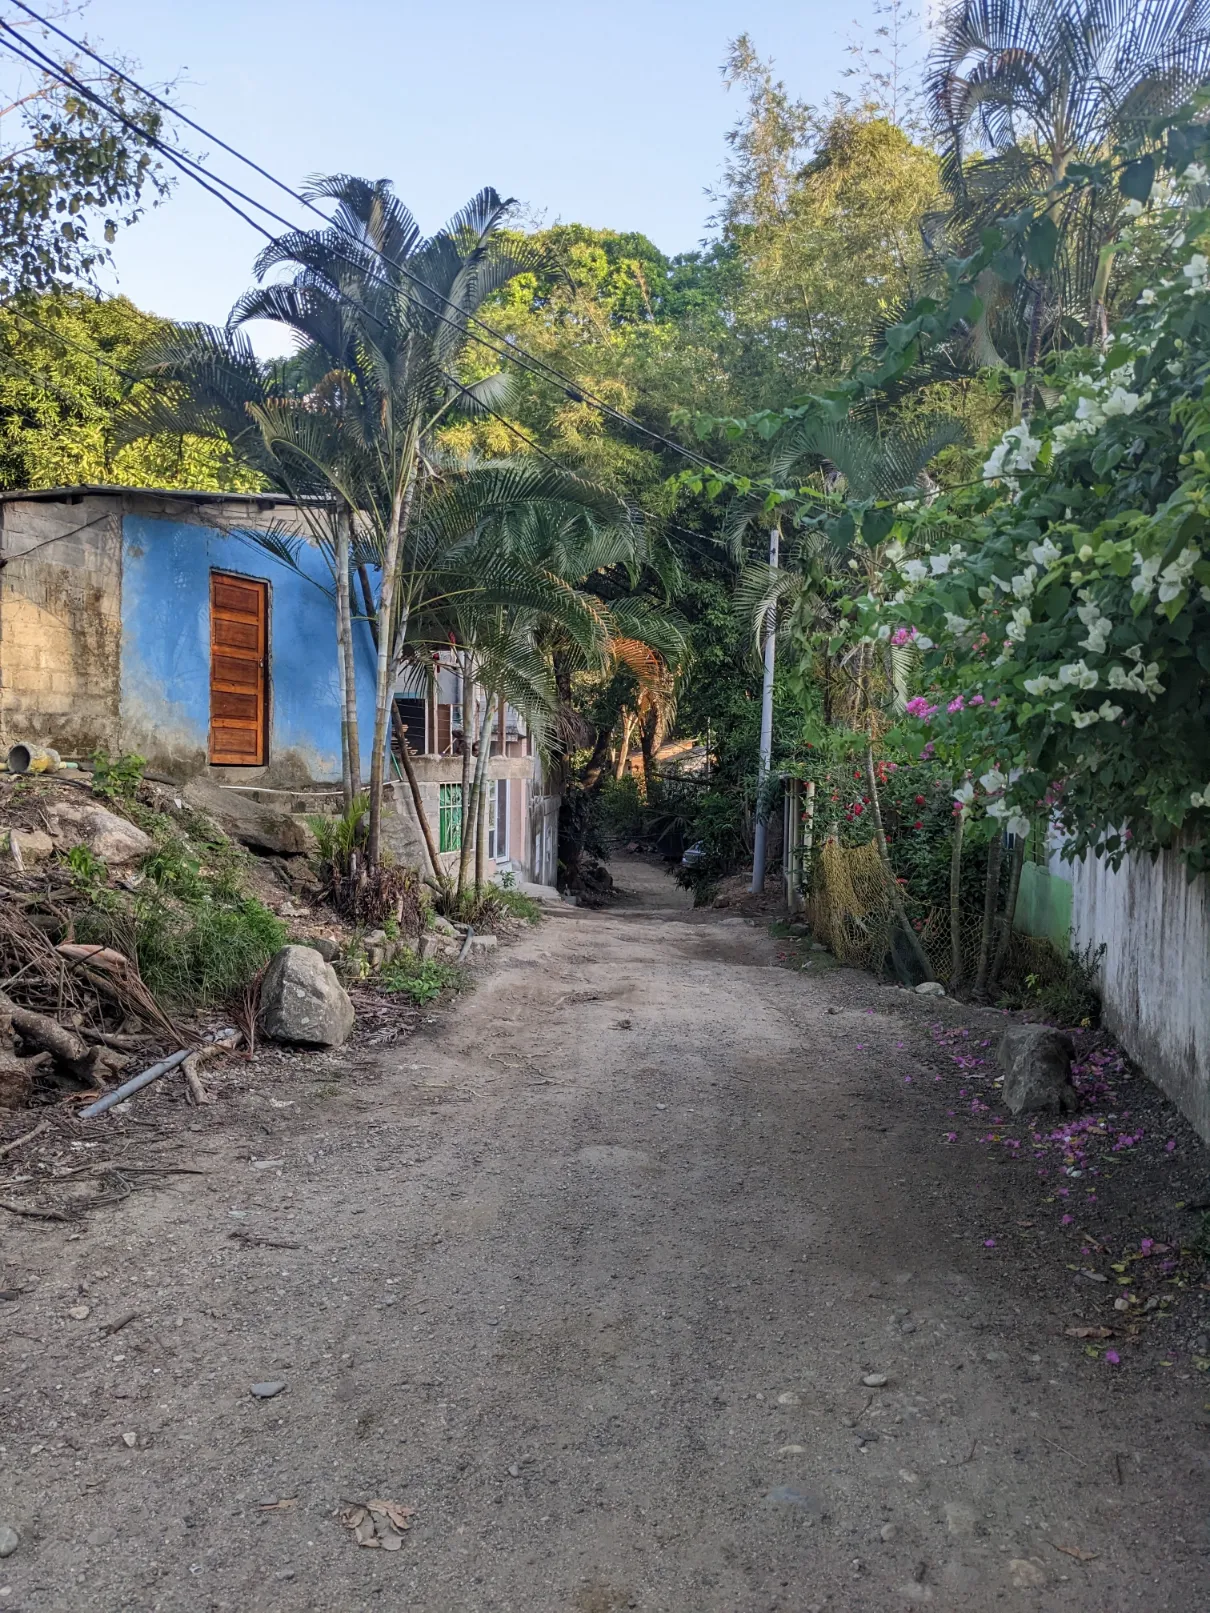
Our bus dropped us off in the little pueblo of Calabazo at around 7:30 am. There were only a couple of other people who got off with us, and they didn’t enter the park! So following Google Maps from the main road, we walked down a side street a short distance to the Tayrona National Park entrance (Google Maps).
The road to the entrance.
You won’t even know that you have reached the park entrance until a couple of attendants wearing uniforms get your attention at a check-in station under a rain shelter. No signs, no buildings that stand out, nothing.
You will need a copy of your passport for identification and (technically) your Yellow Fever Vaccination Card. Both are required at the Zaino entrance, although only our passports were asked for at the Calabazo entrance.
During January 2023, entrance tickets were $73,500 COP ($15.57 USD) each. They also make you buy mandatory health insurance for each day you are there. For us, it was $6,000 COP per person per day. Since we were staying for two days, our total insurance cost was $24,000 COP ($5.08 USD).
Day 1 in Tayrona National Park – Hike to Playa Brava
Our goals for the hike on Day 1 were simple:
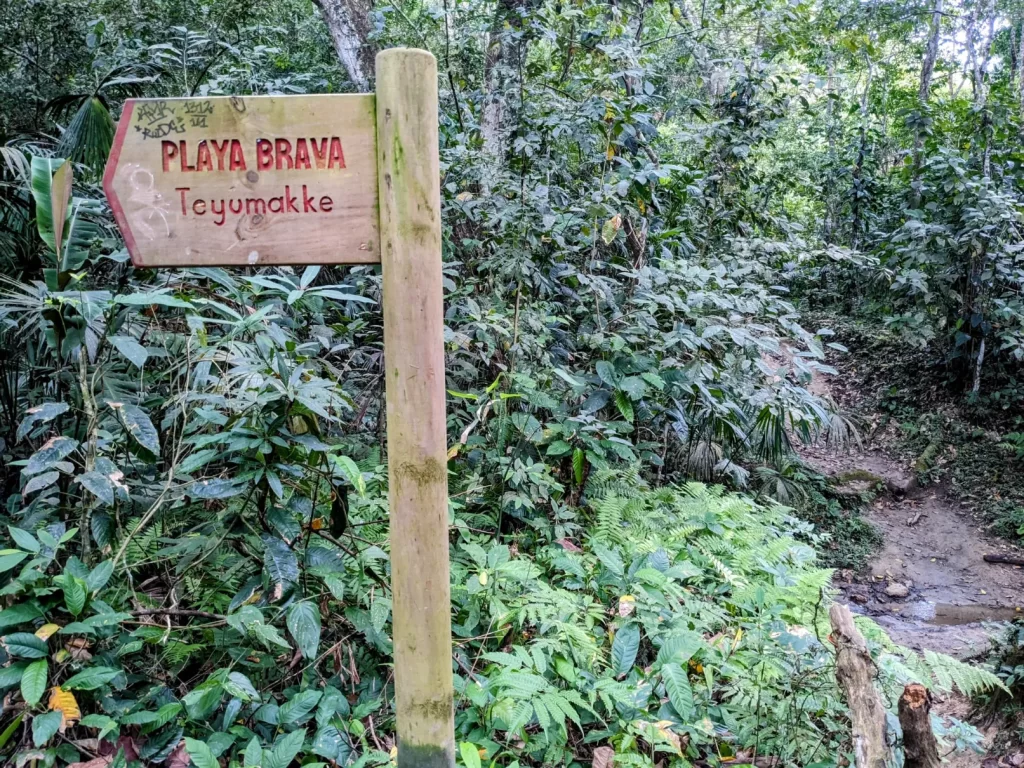
Hike to Playa Brava (specifically the Playa Brava Tayumakke ecolodge) with our bodies intact.
Enjoy the natural wonders of the rainforest on our hike.
Chill out at Playa Brava for the rest of the day.
Here is the trail route you will take:
The trail is 4.9 miles (7.9 km) long, has 1,122 feet (342 m) of elevation gain, and will take you around 3 hours. The elevation gain during the first third of the hike is brutal.
But once you get to the La Cima Campground Area (after the first hour or so), things level off and the trail descends the rest of the way. Go slow when you need to, drink plenty of water, and you’ll be fine if you have a reasonable level of fitness.
Note that it is possible to hire a mototaxi (motorcycle) or horse in Calabazo to the highest point of the hike (a little less than halfway), but it can be expensive. Renting a horse is ~$100,000 COP per person. Not sure what a mototaxi costs in 2023, but several years ago it was around $40,000 COP.
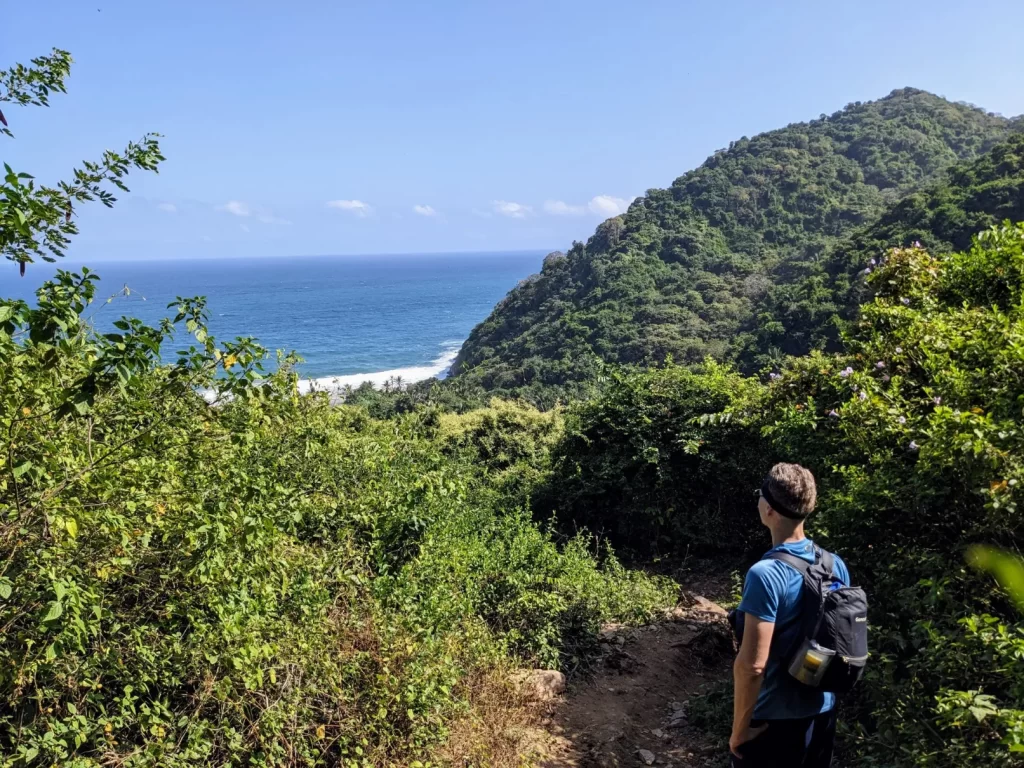
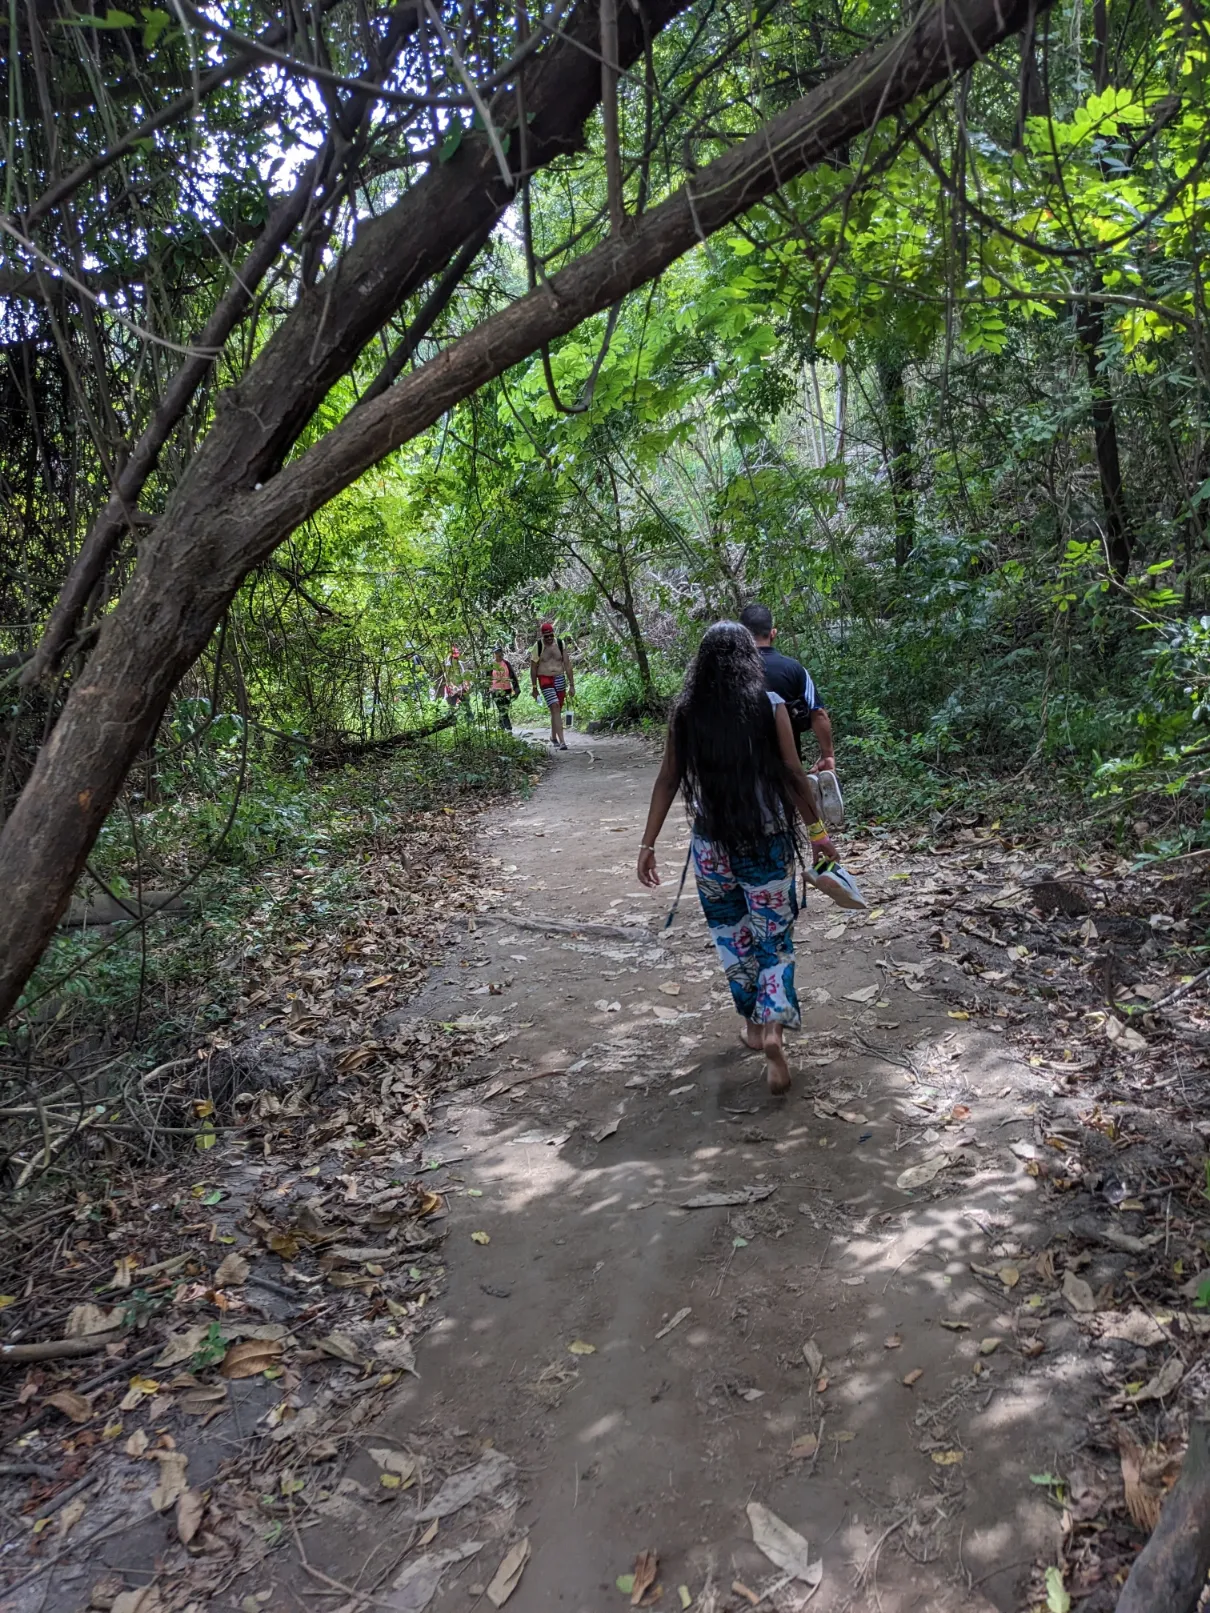
Our hike was virtually devoid of people!
A handful of hikers passed us on mototaxis on the way up. And we passed a few hikers coming from the opposite direction. But 99% of the time, we had the entire rainforest to ourselves!
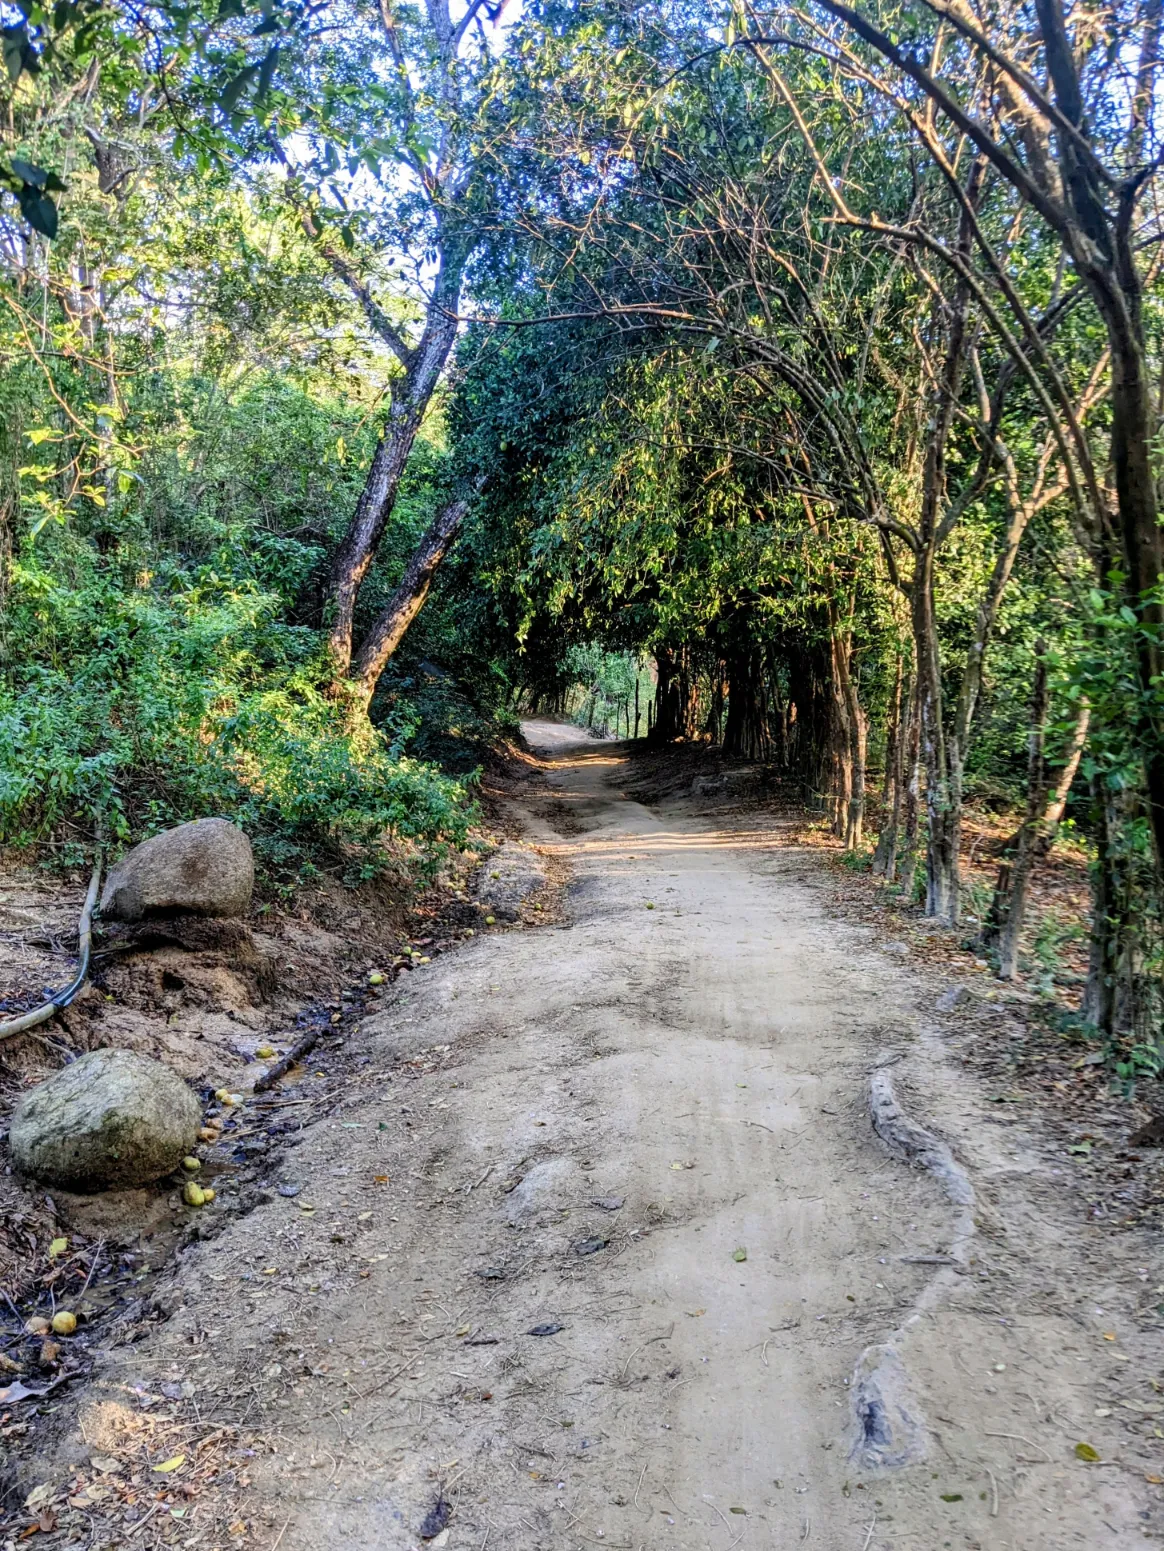
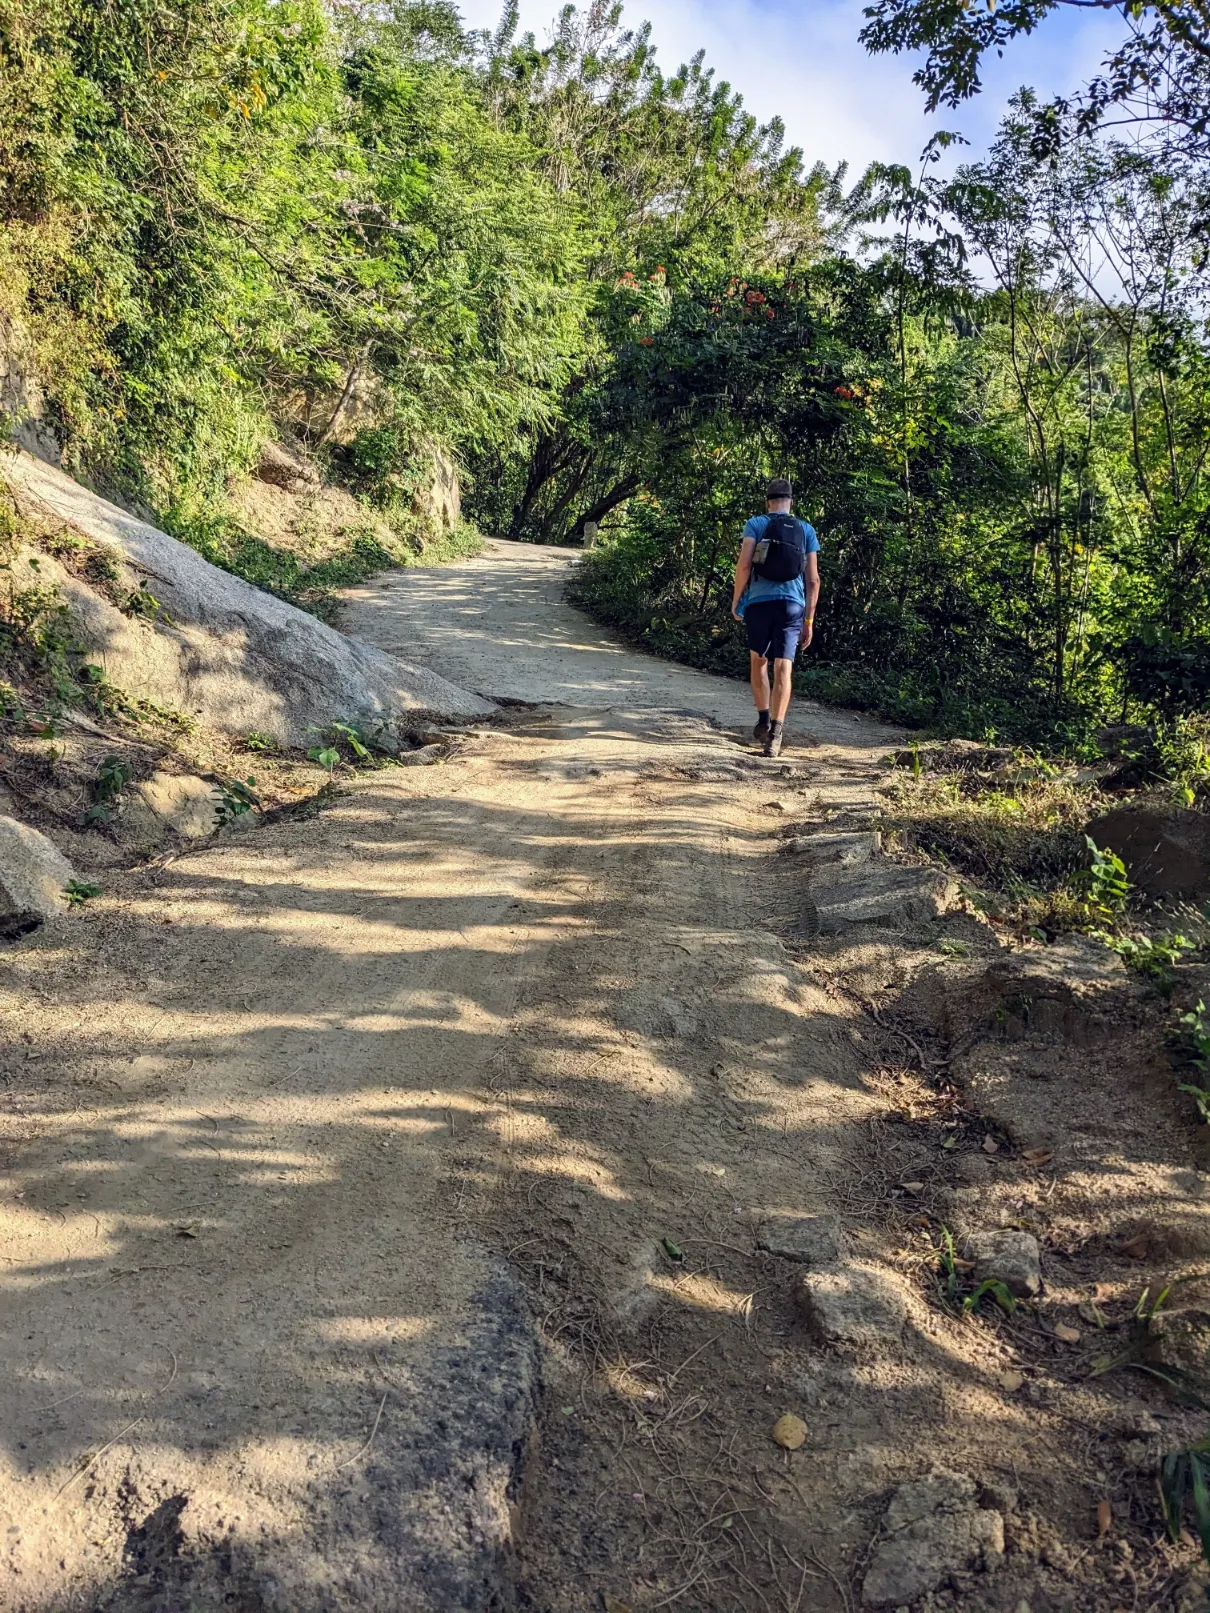
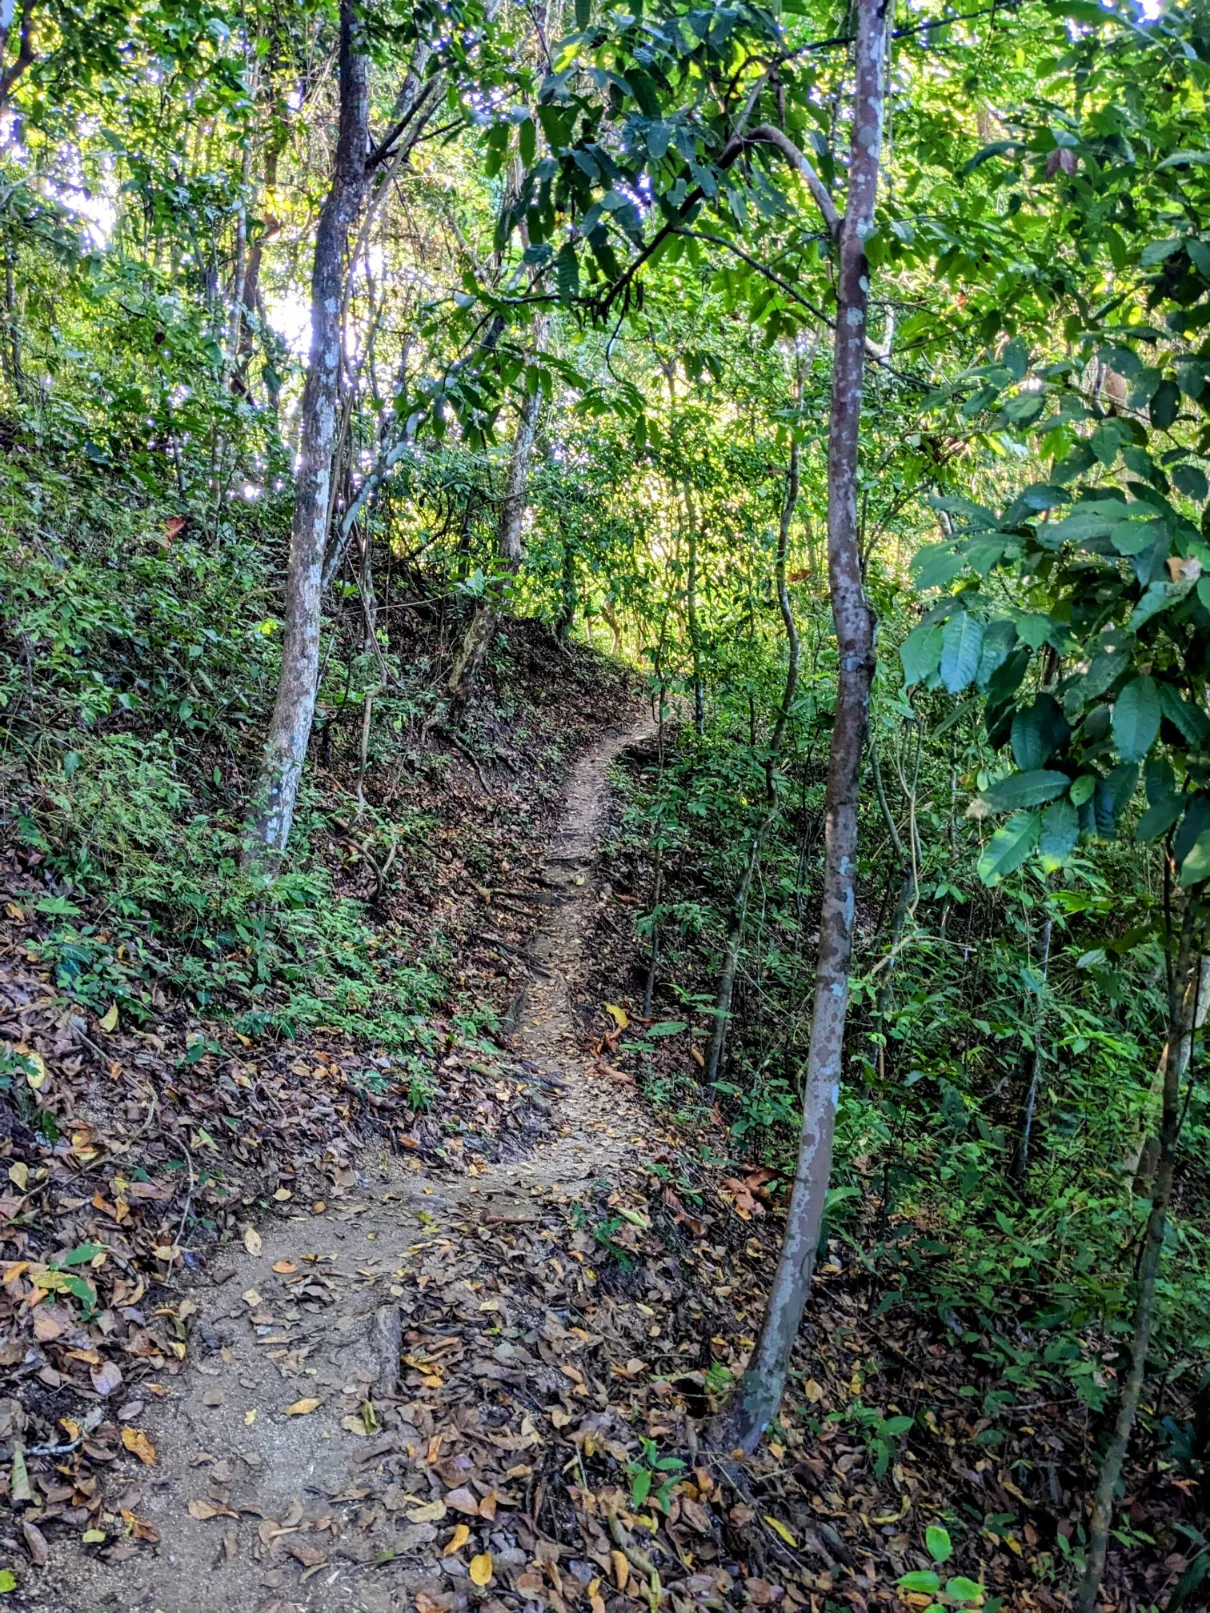
Our hike started easily enough on dirt roads used by the local residents…
But quickly the incline began.
And it continued upward relentlessly deeper into the rainforest.
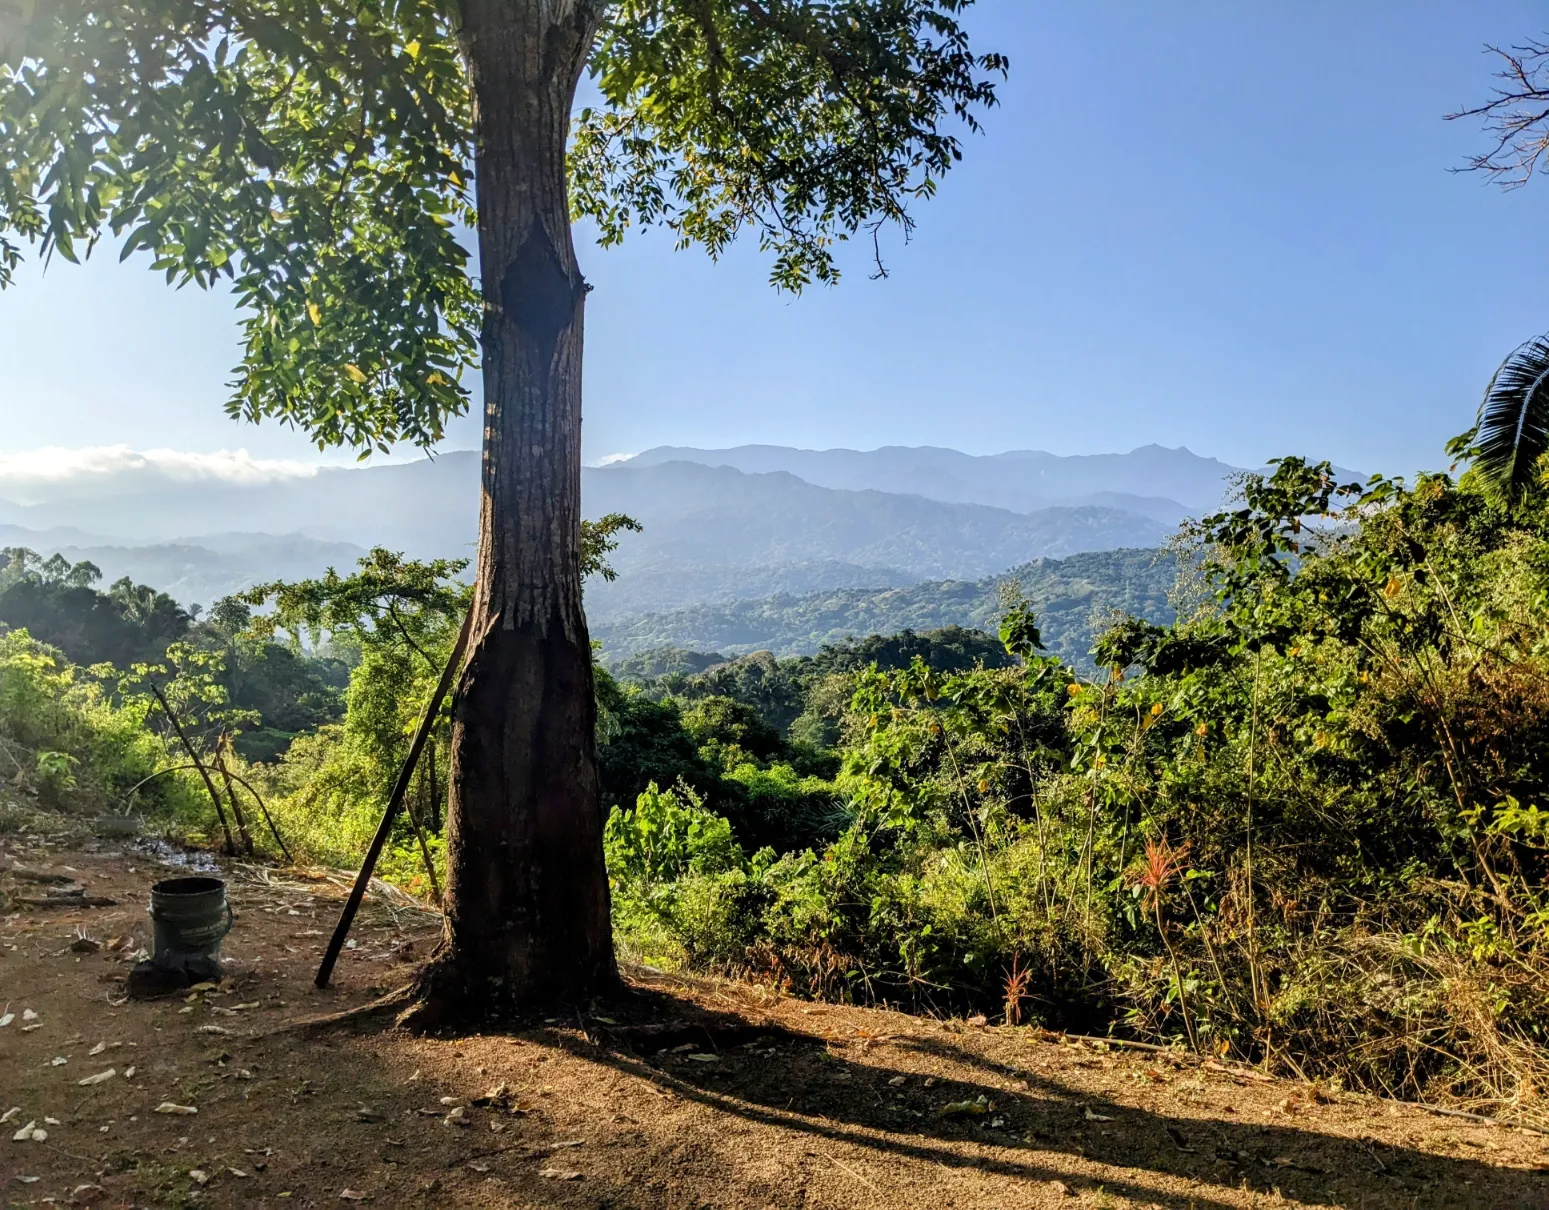
There would sometimes be a rare break in the canopy where you could enjoy the view.
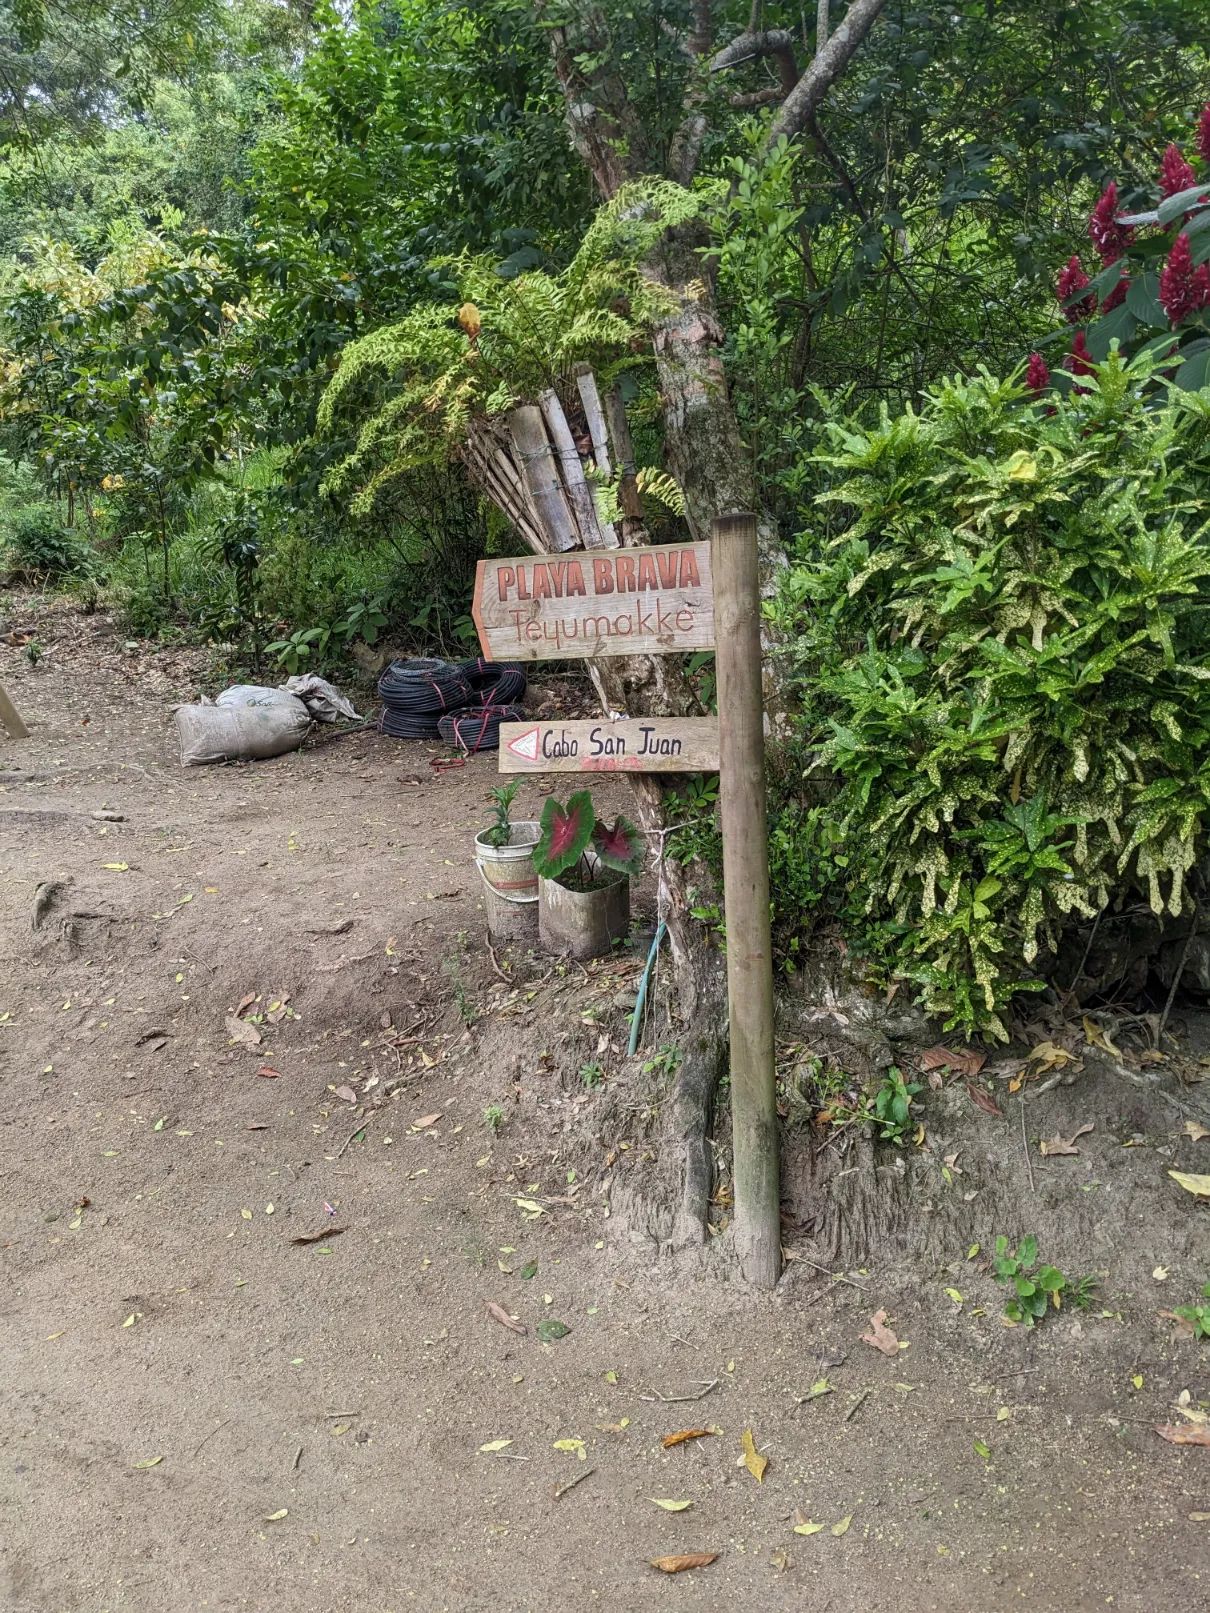
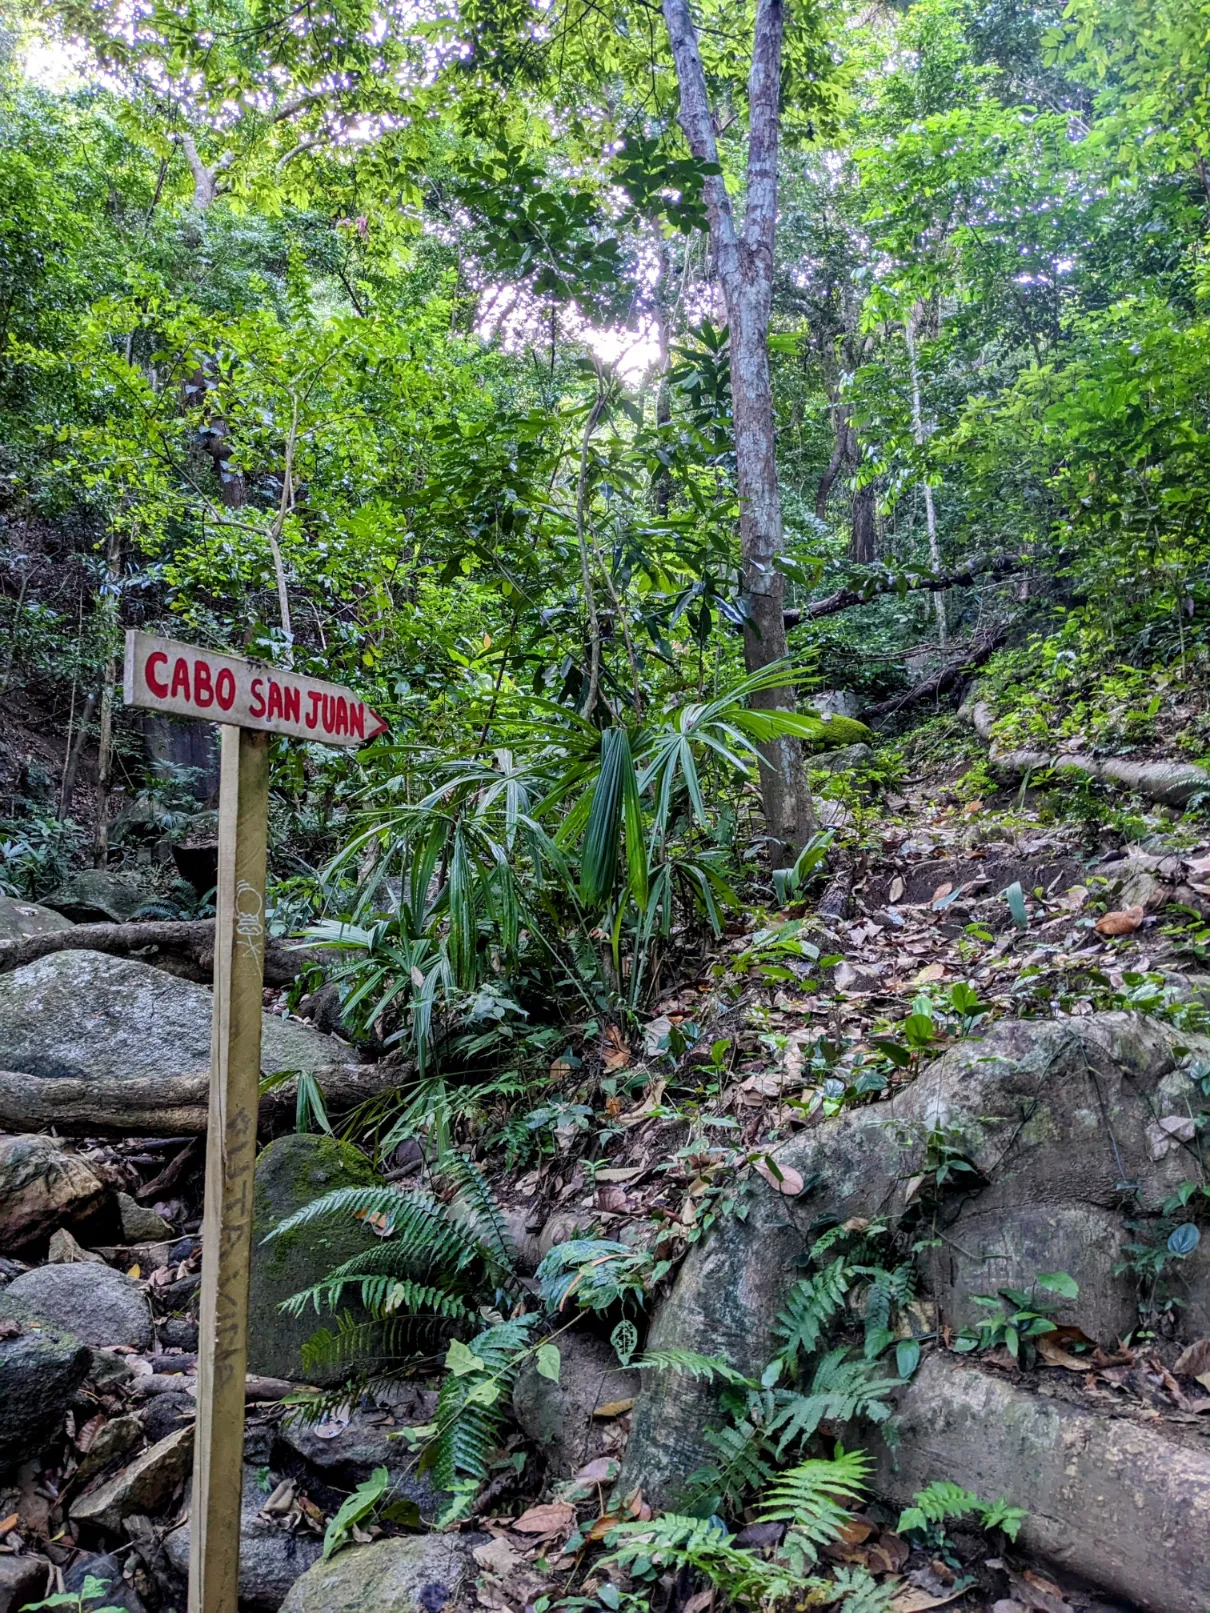
The signage was good so we never really worried about getting lost. But we always had our Maps.me app ready to check our route, just in case!
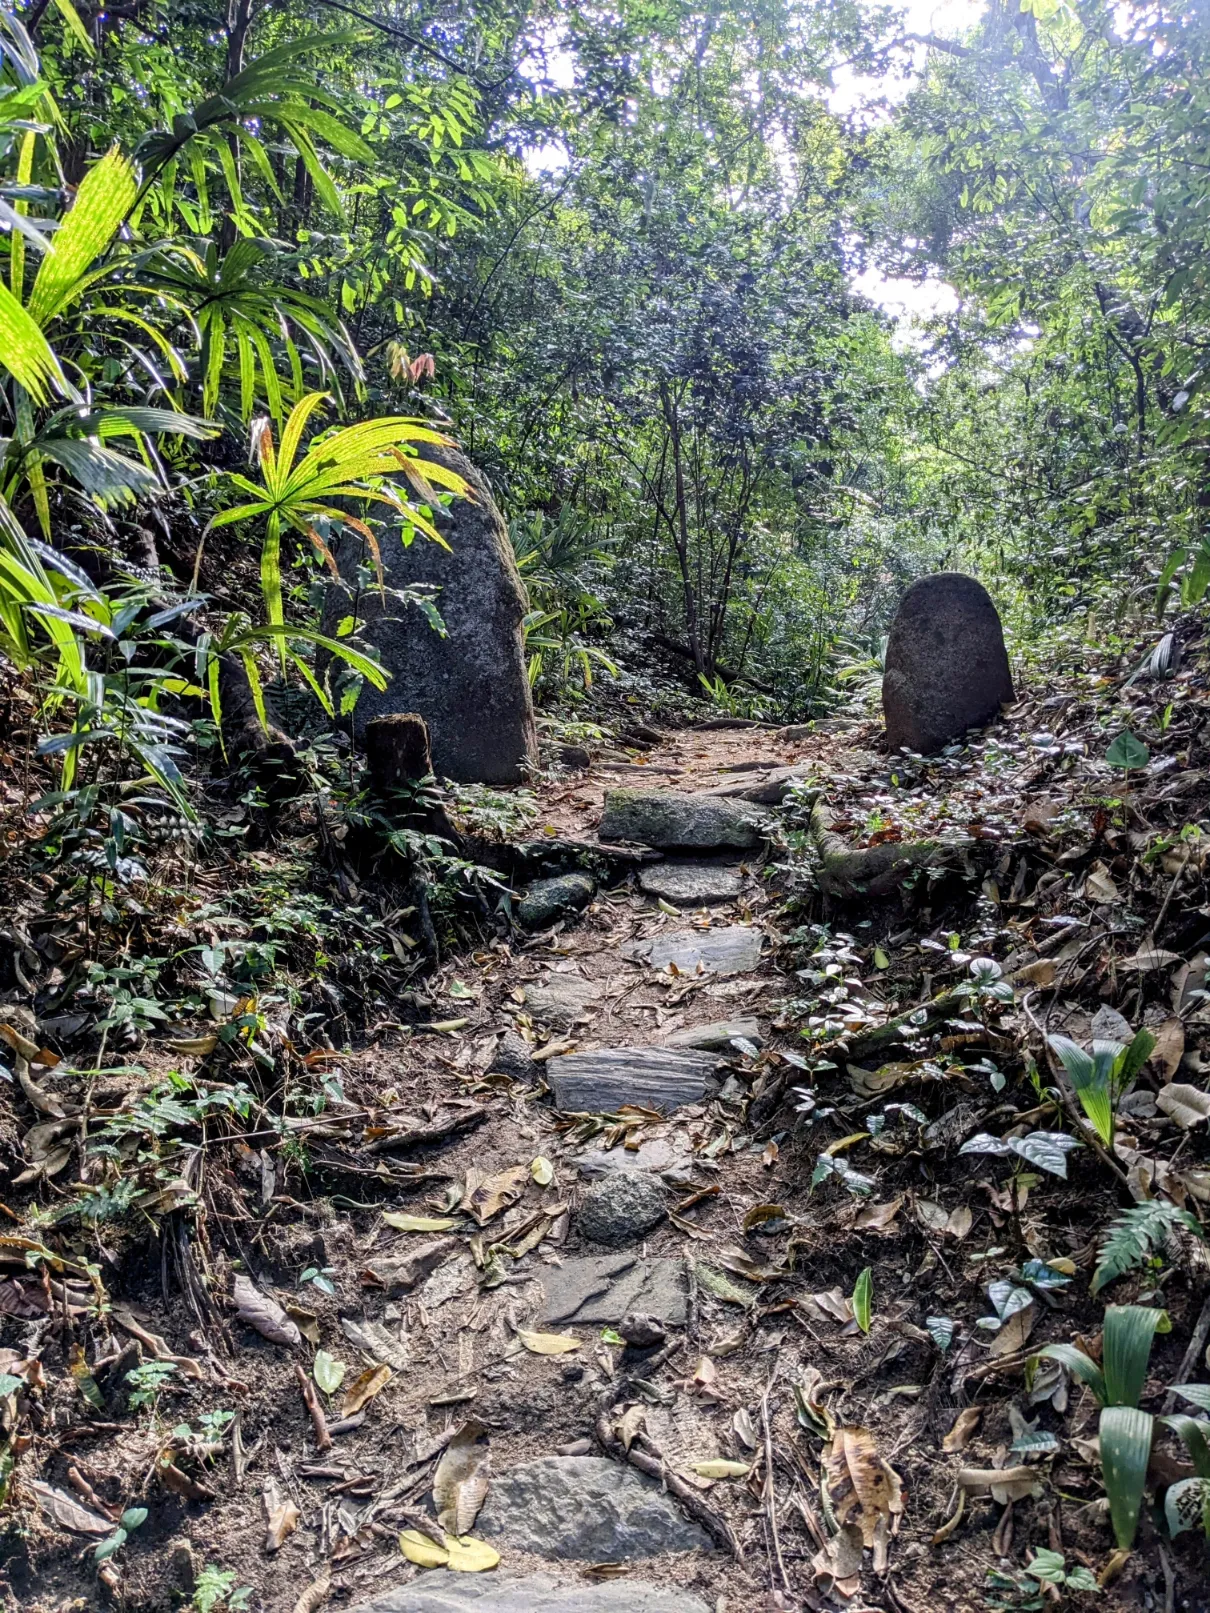
Eventually, the route leveled off. It was at this point we passed a number of stands where you could buy water, drinks, or breakfast. But we were well supplied so we continued into the forest, along paths only hikers or horses could go.
The trail branched occasionally, but signs always seemed to be there to point us in the right direction.
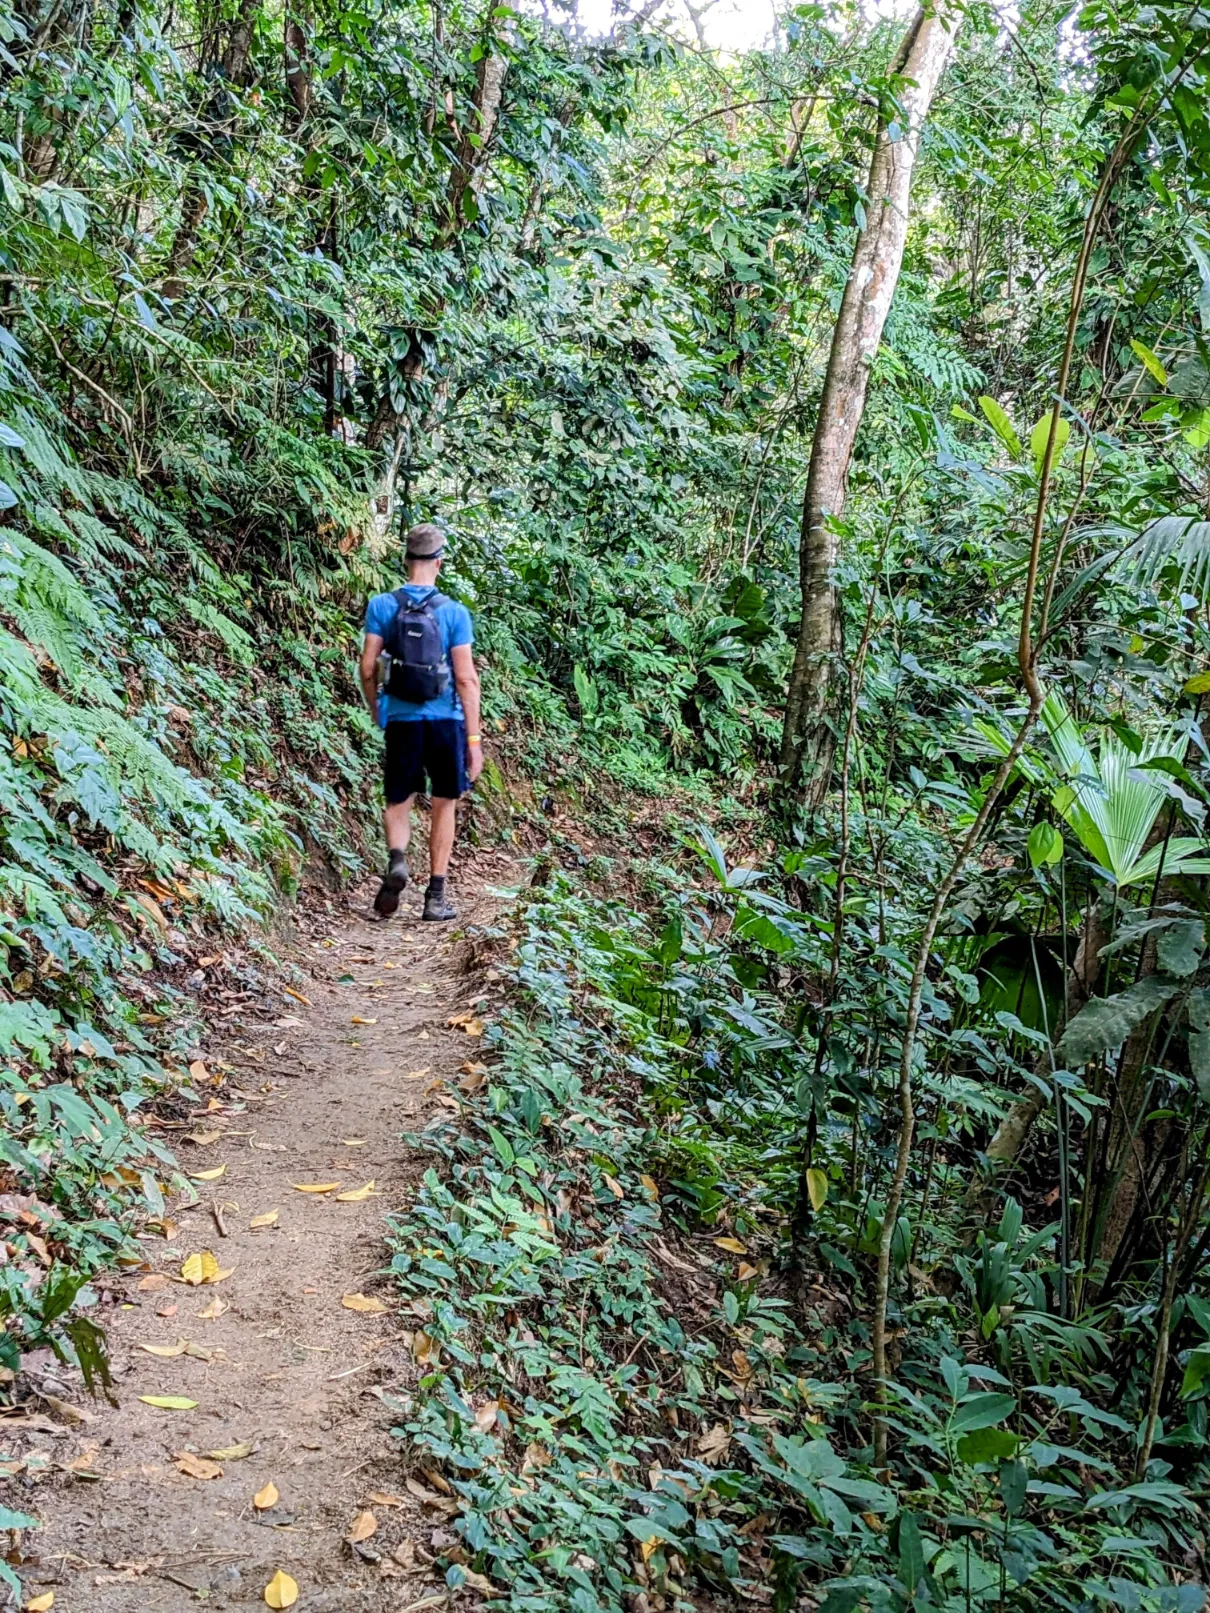
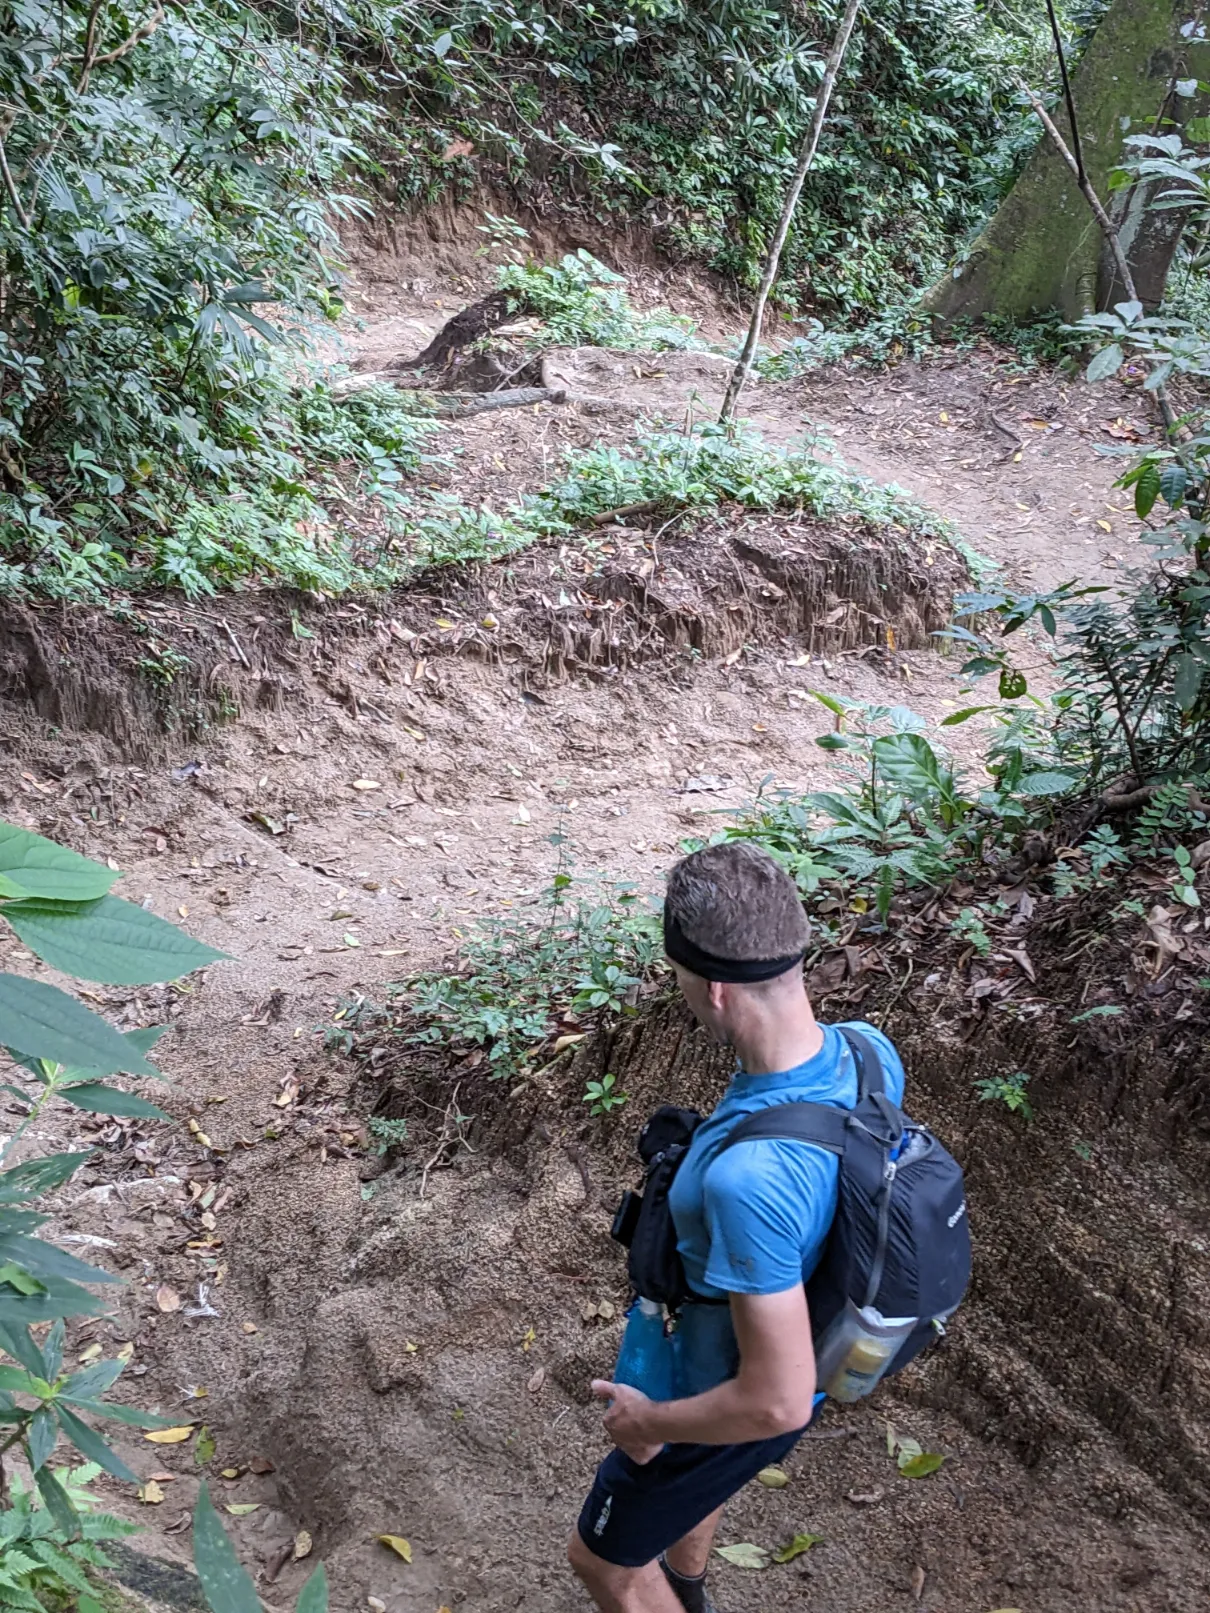
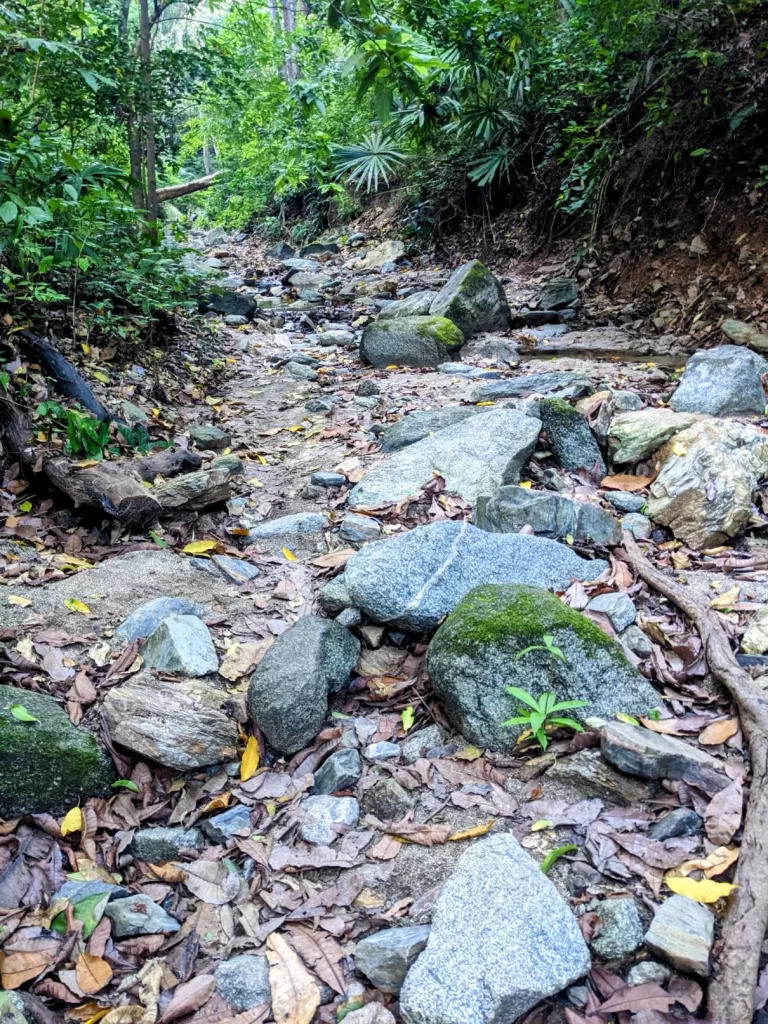
The path eventually started to descend, sometimes steeply! Having good hiking shoes is a must on this trail.
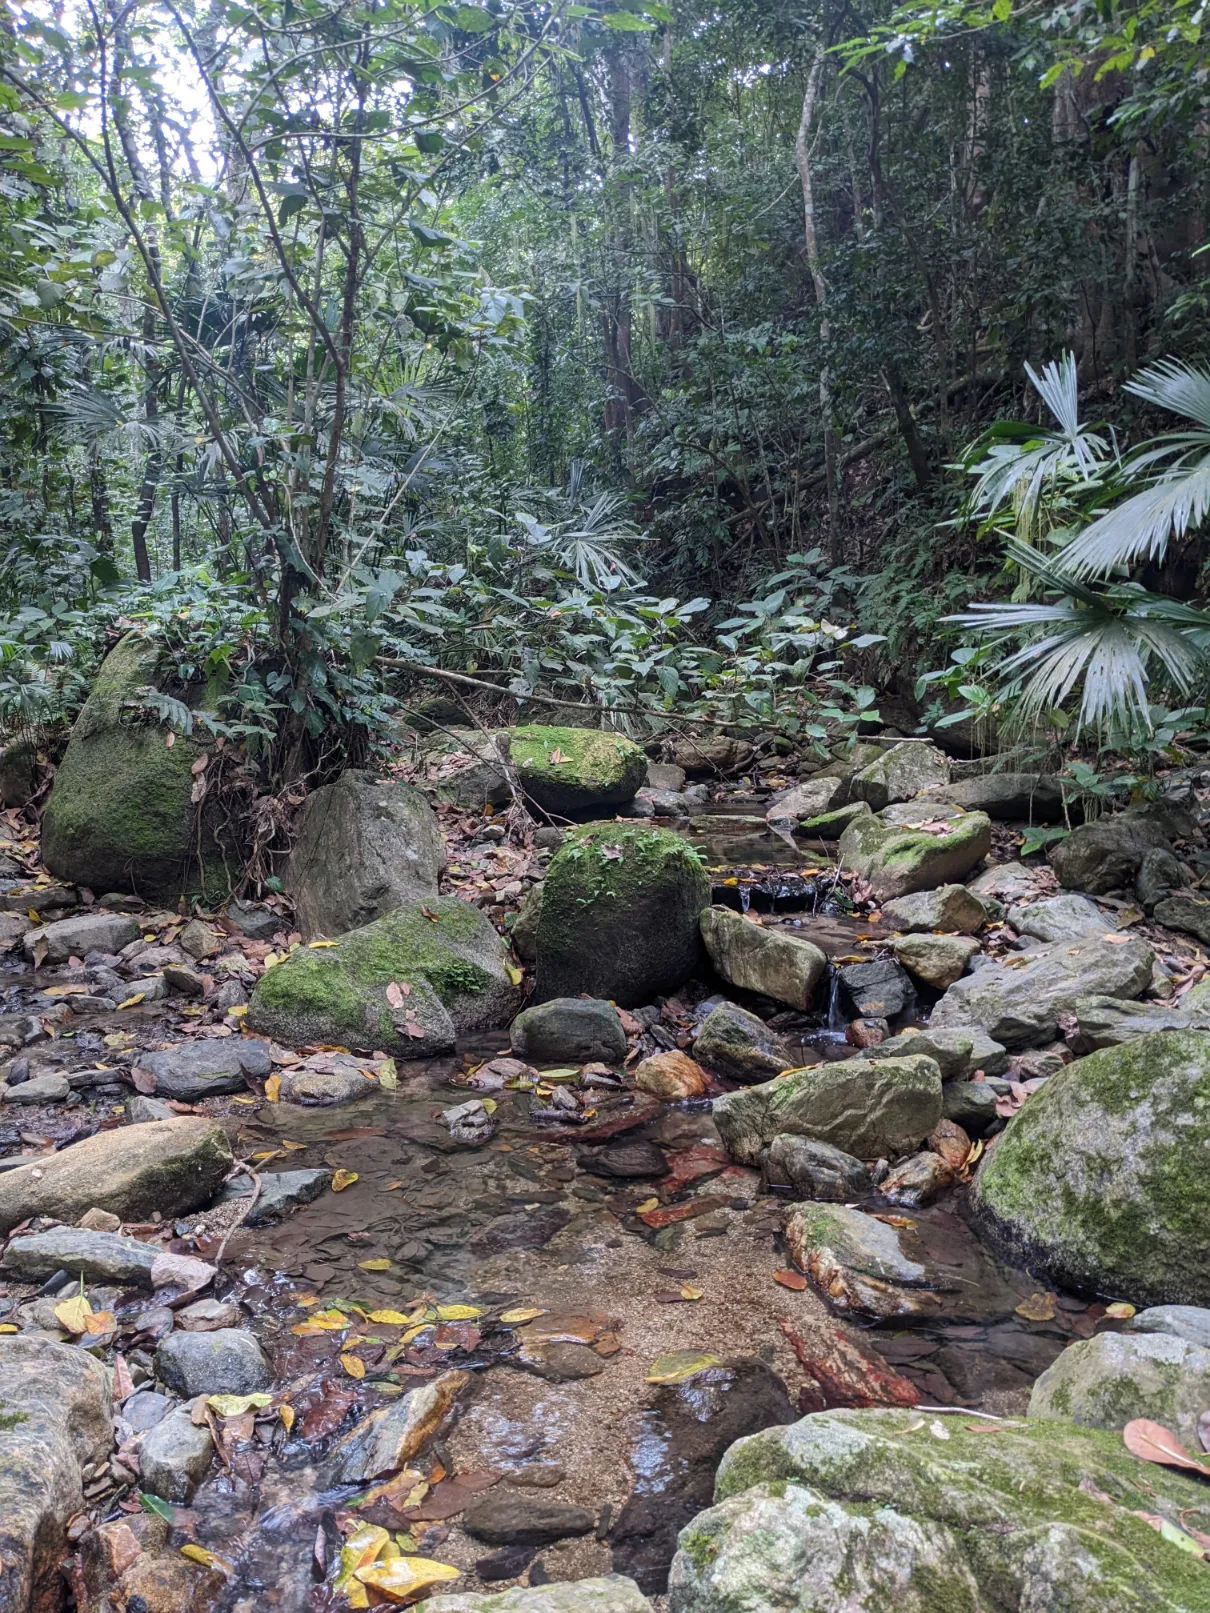
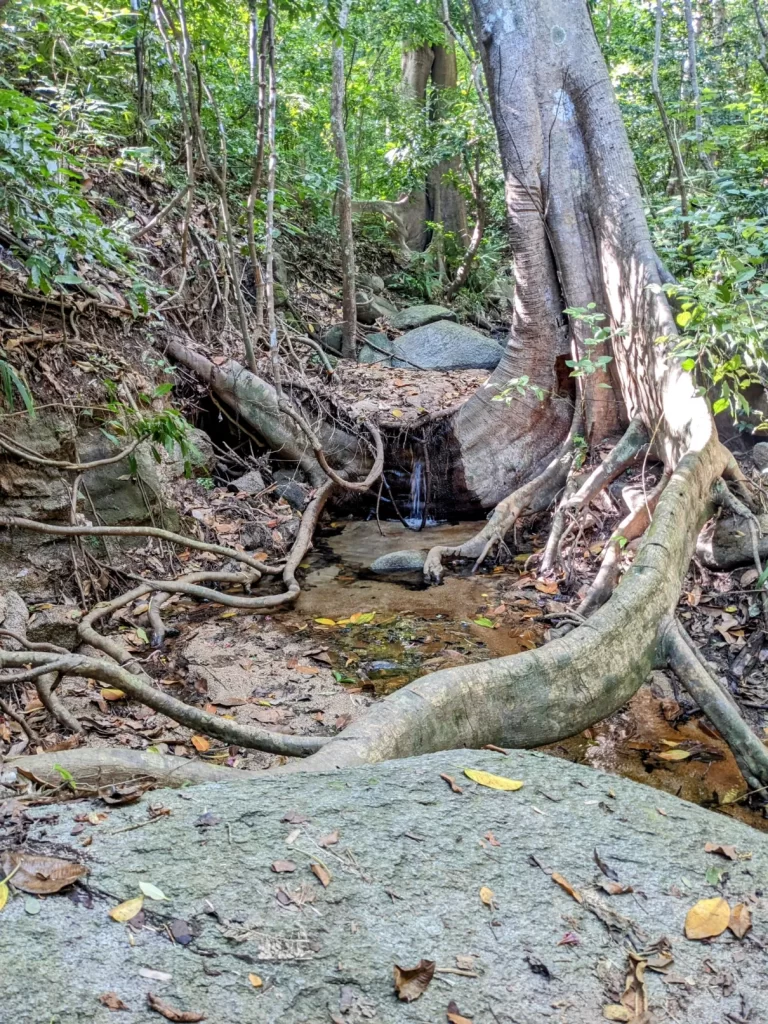
On the way down we would occasionally cross streams…
And after what seemed like forever under the canopy, the view began to open up.
Eventually, we knew that we were very close to our destination.
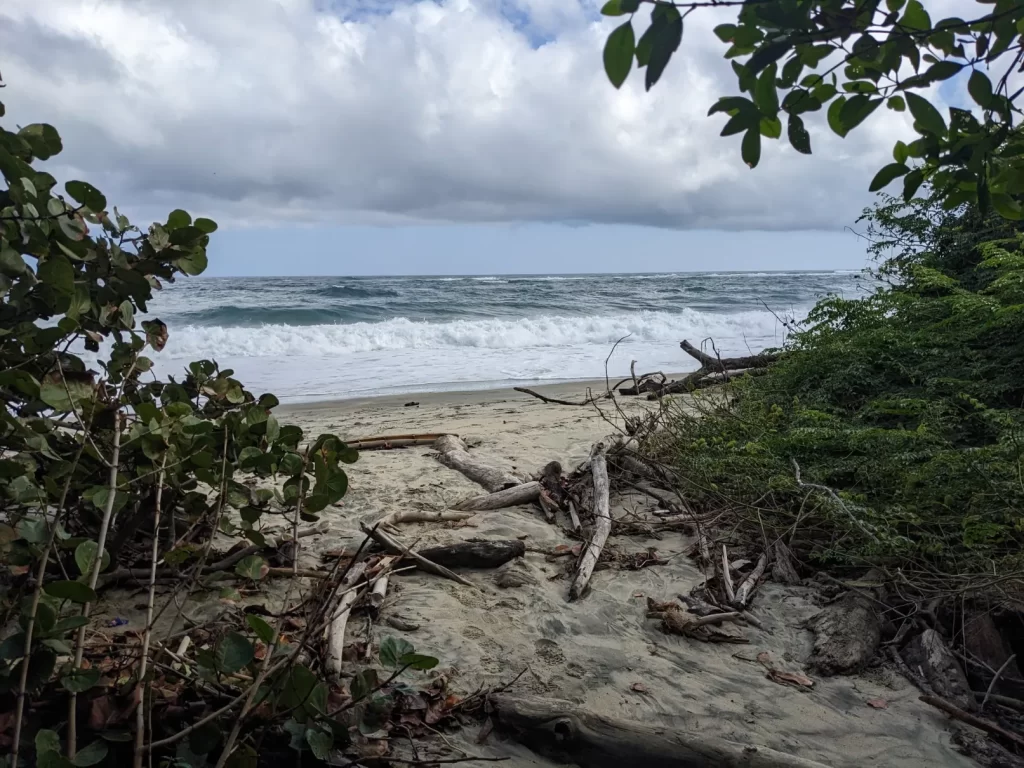
But we finally made it to Playa Brava!
And it really did take us about 3 hours to arrive, despite being only a 4.9-mile hike.
The slow ascent and descent really add time. But you need to go slow so you don’t have a heart attack on the way up, or slide off a mountain and break your neck going down!
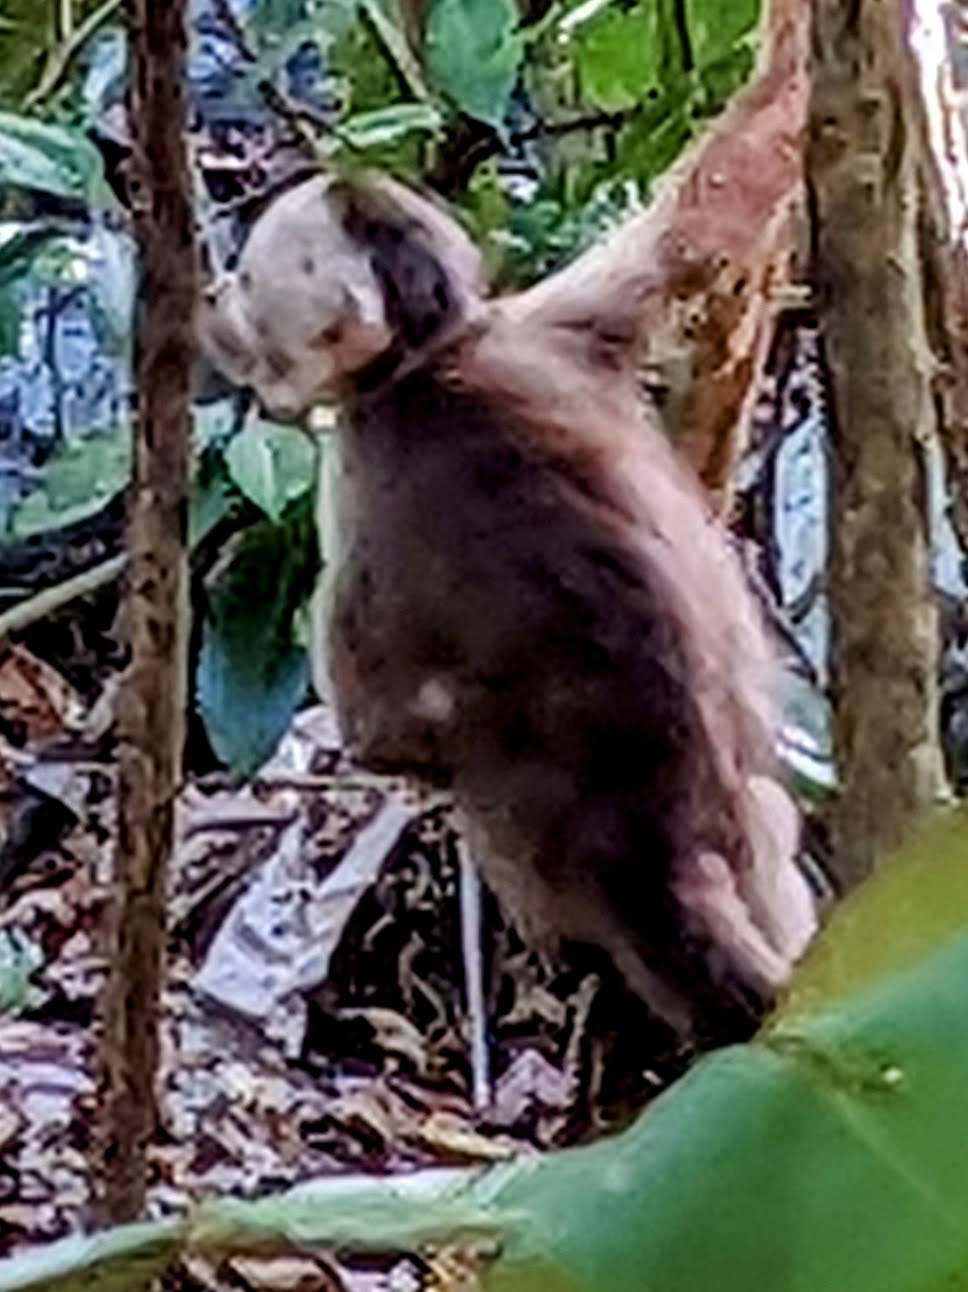
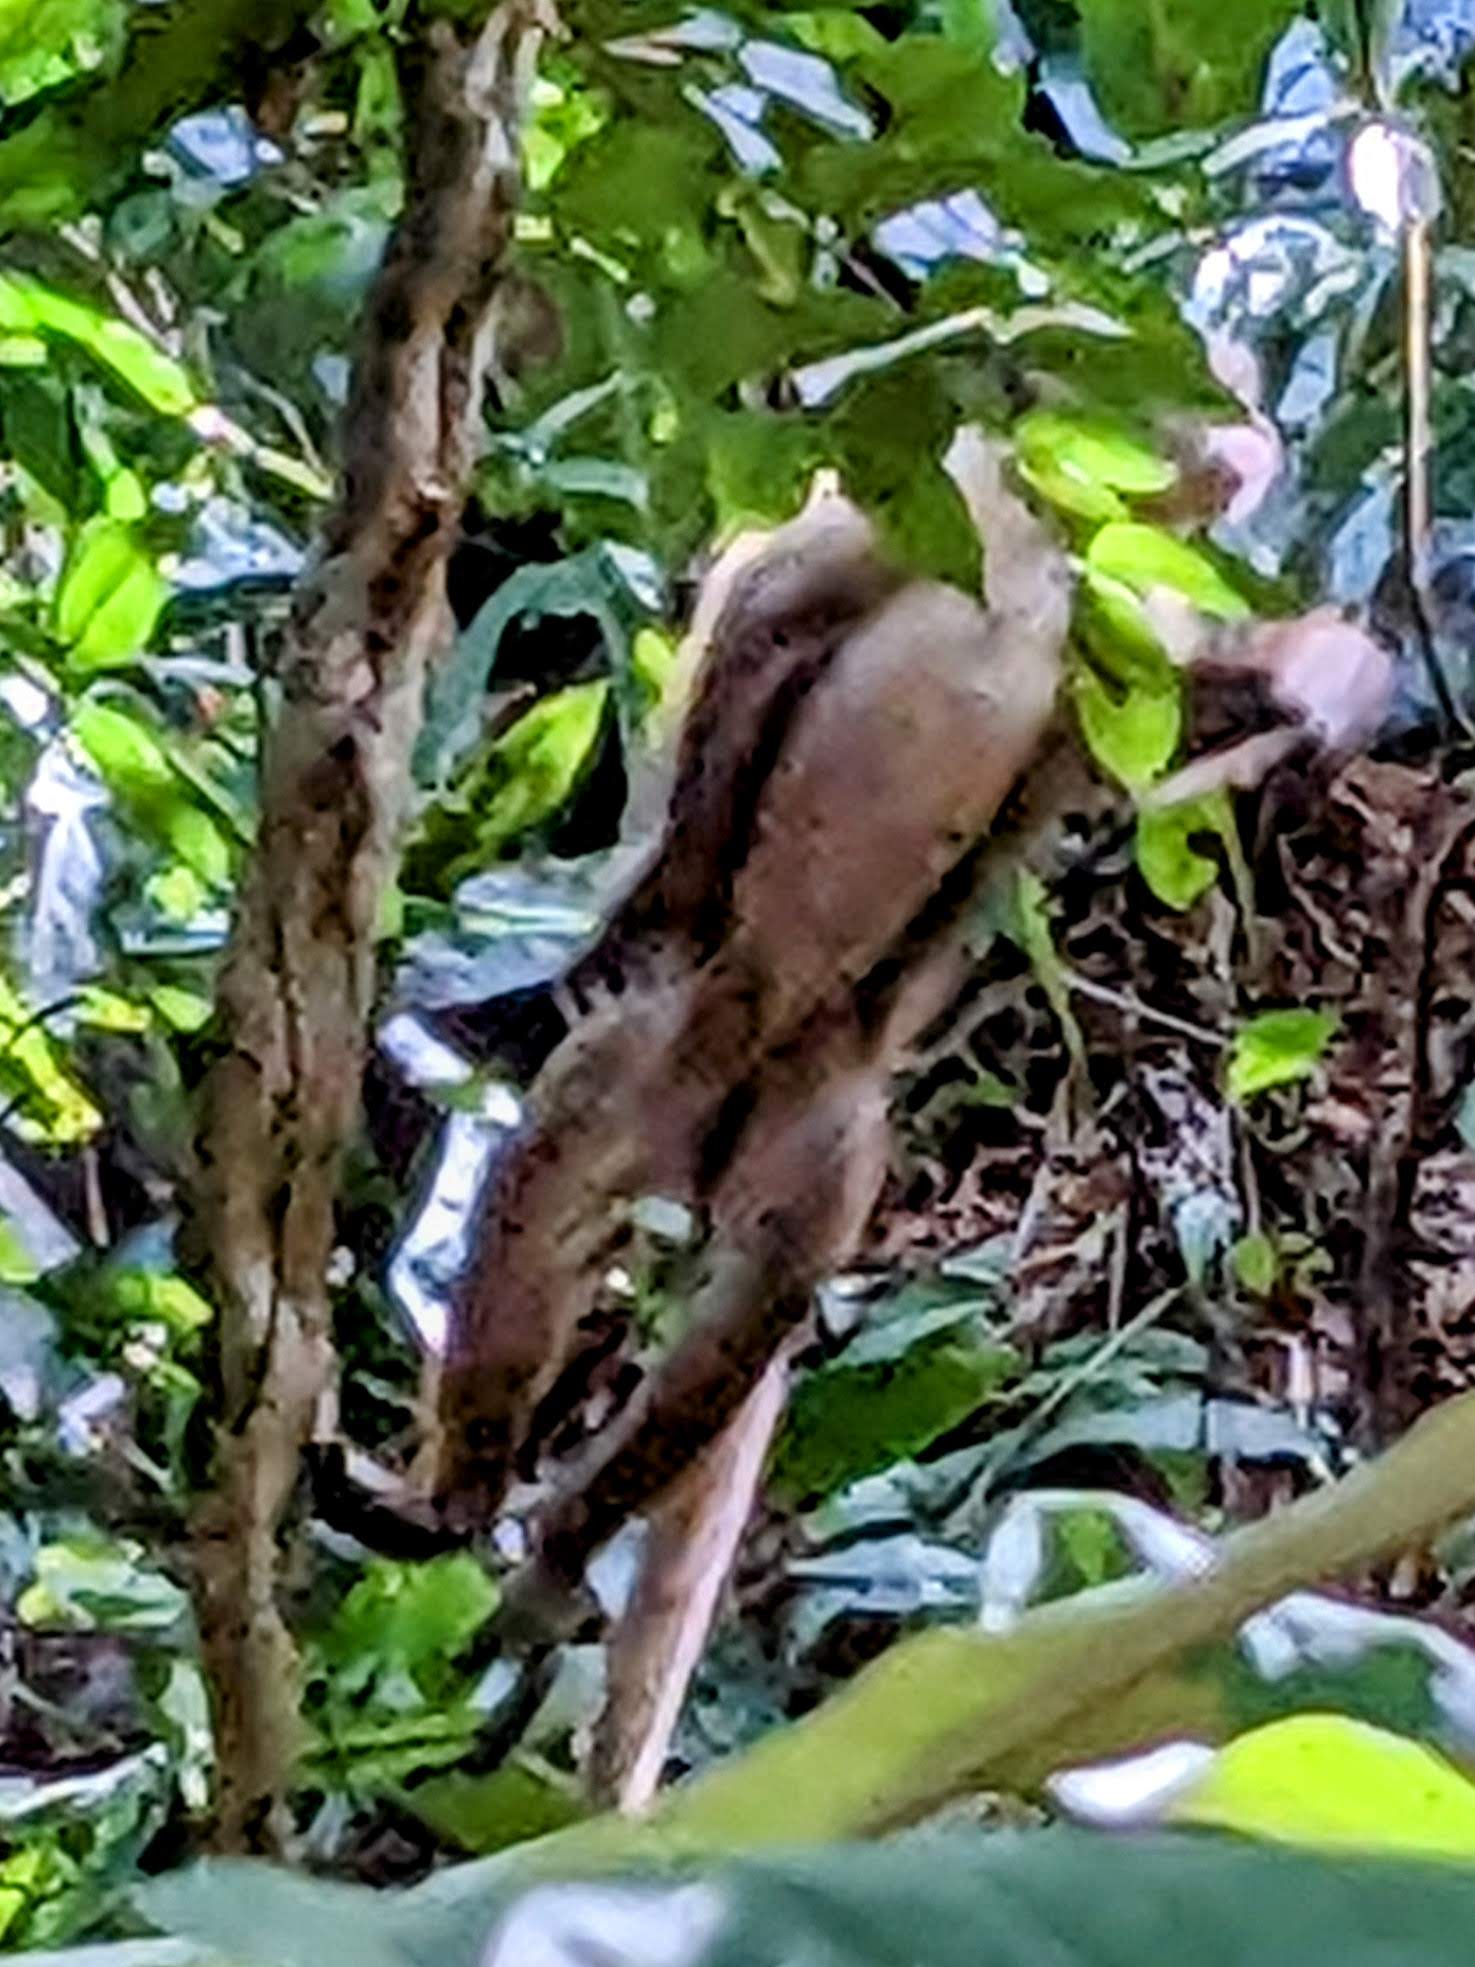
Sadly we didn’t see a ton of wildlife, but we did hear it all around us. We heard howler monkeys, saw glimpses of cat-sized mammals running away from us, and saw some exotic butterflies. The only good photo we could get was of this yellow-tailed snake we almost stepped on as we neared the Playa Brava Teyumakke area.
Pretty sure this is a juvenile Fer-de-lance. And yes, they are venomous.
Relaxing at Playa Brava Teyumakke
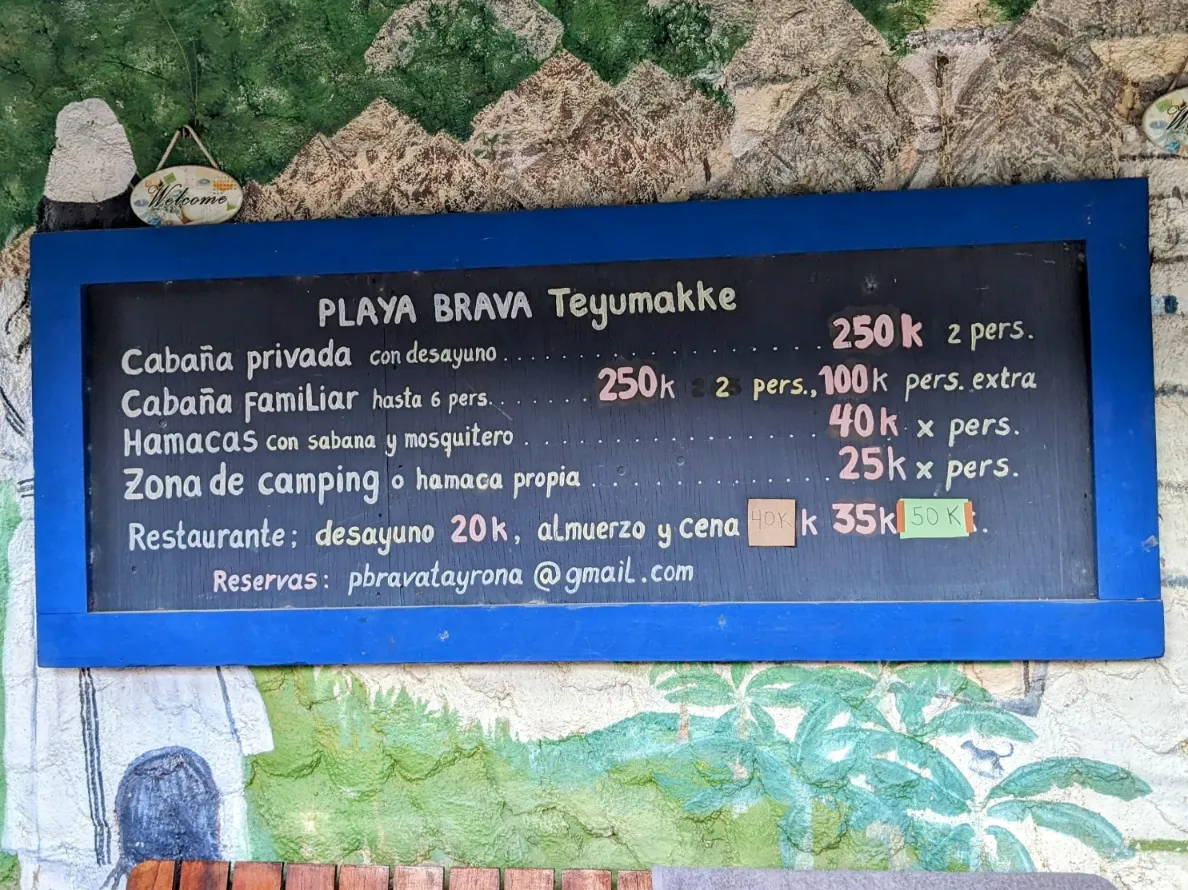
Once we got to Playa Brava Teyumakke, we immediately checked in so we could reserve our hammocks for the night. Hammock rental is first-come, first-served…reservations are not taken in advance.
Other lodgings are available, but hammocks are the cheapest way to go at $40,000 COP per night per person. And the cost includes mosquito nets and blankets.
Lodging and food price list
The cost of hammocks for both of us was $80,000 COP ($16.94 USD).
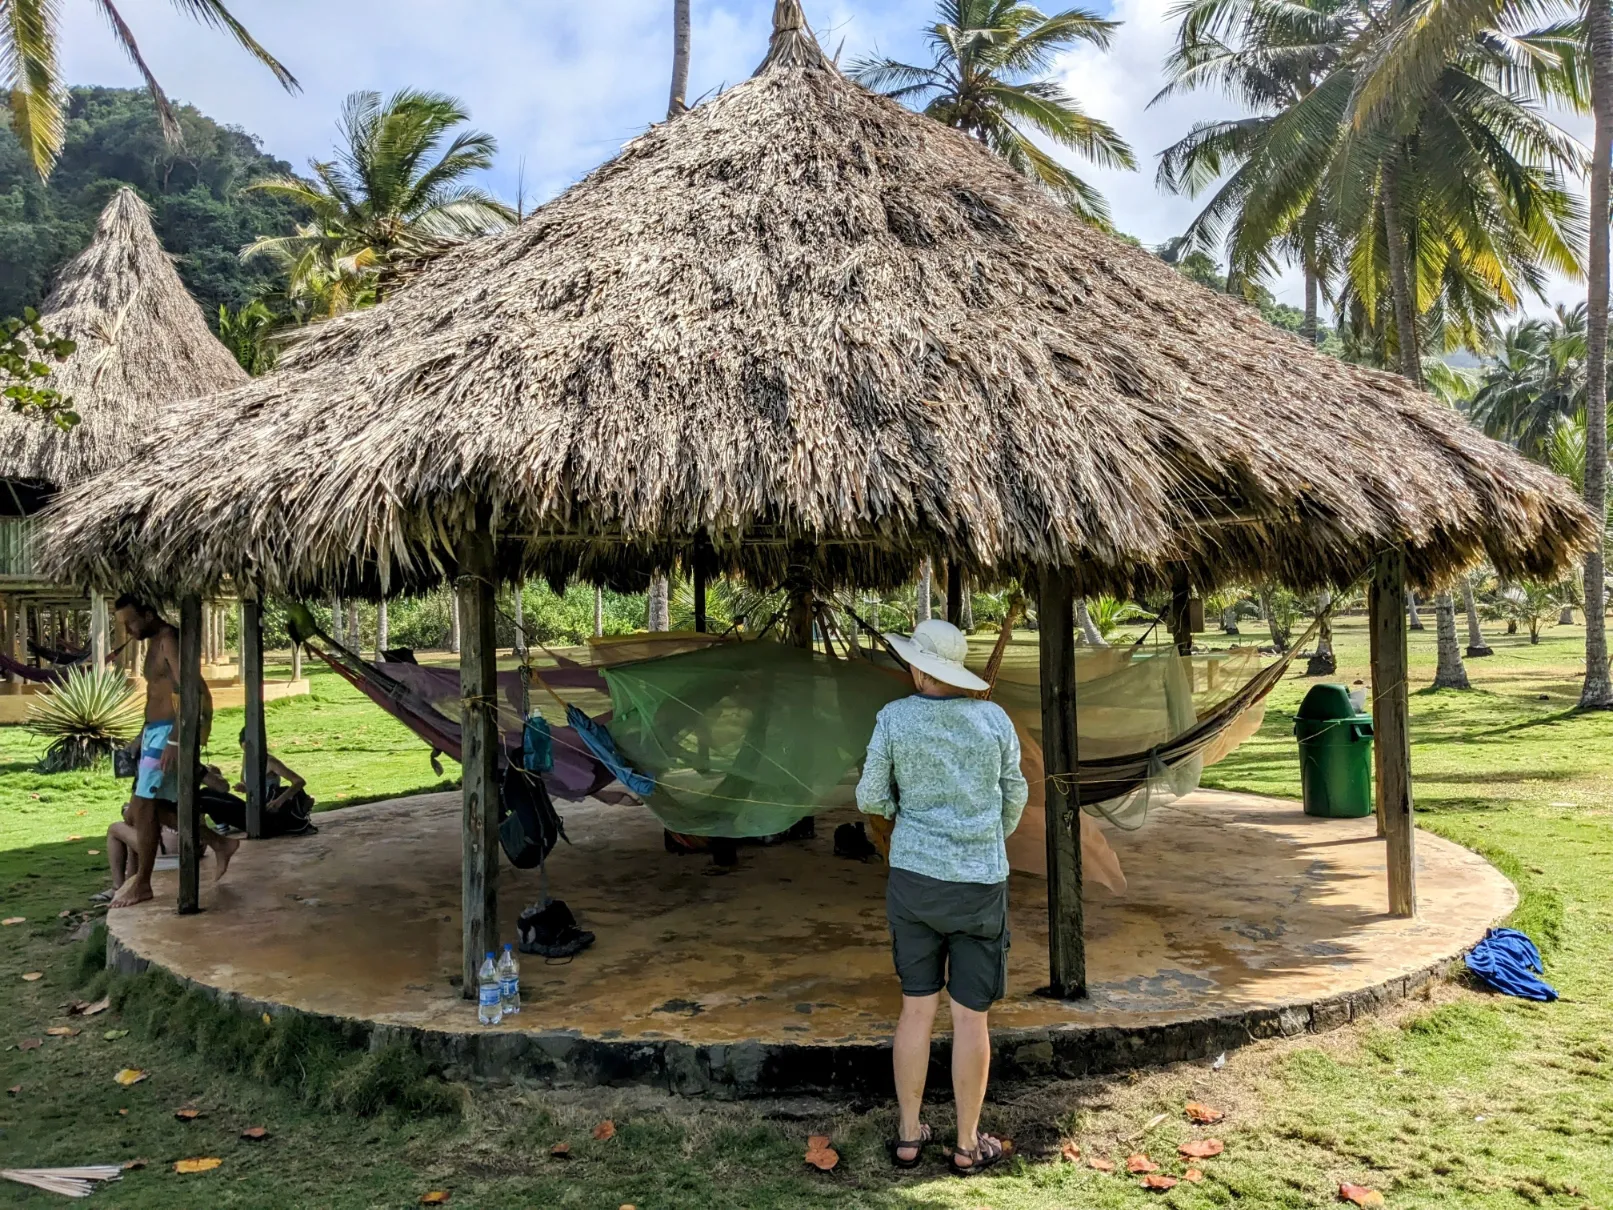
And when we arrived at about 10 am, we had no trouble getting hammocks. Only one of the 20 available hammocks was reserved at that hour.
But do what we did and bring extra clothing layers for the windy nights! Many complain about the cold when sleeping in hammocks in the park, but we did fine. Earplugs and an eye mask were also helpful.
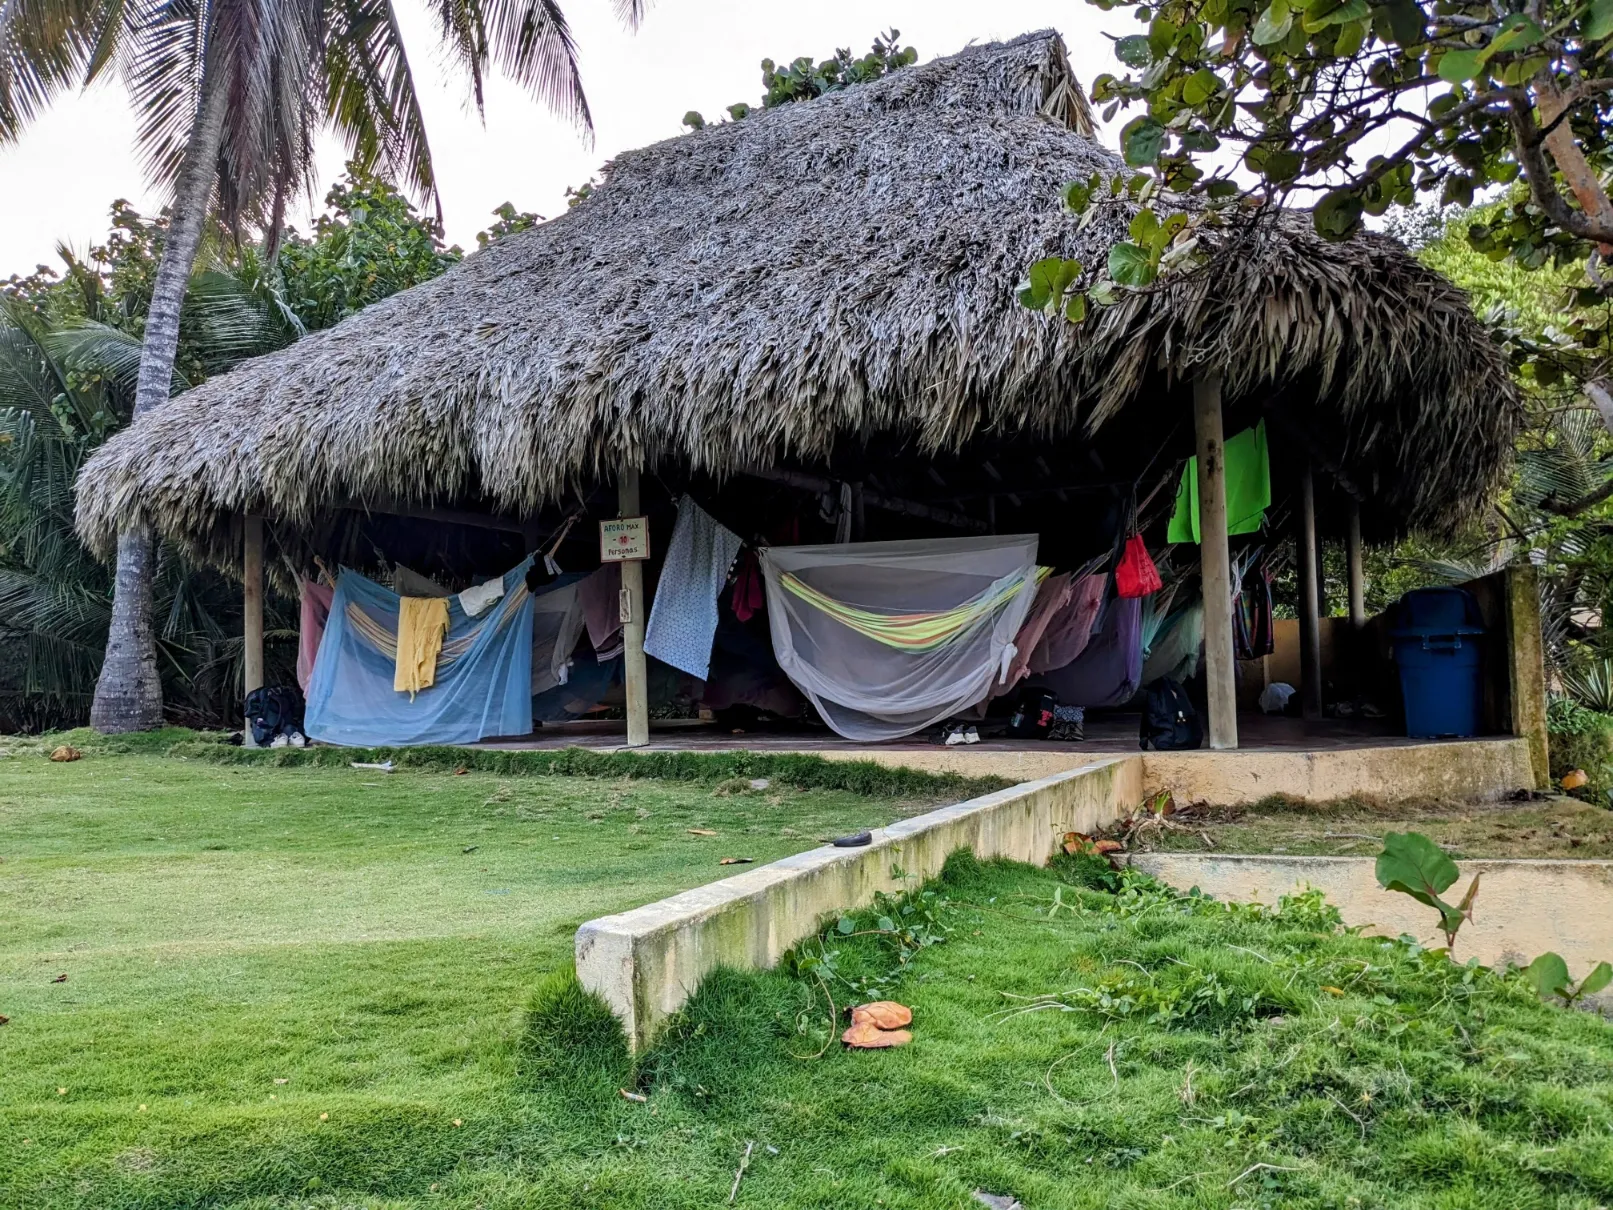
Hammock hut #1, where we slept. We shared it with 8 other people.
Hammock hut #2.
The view from the hammock huts was fantastic!
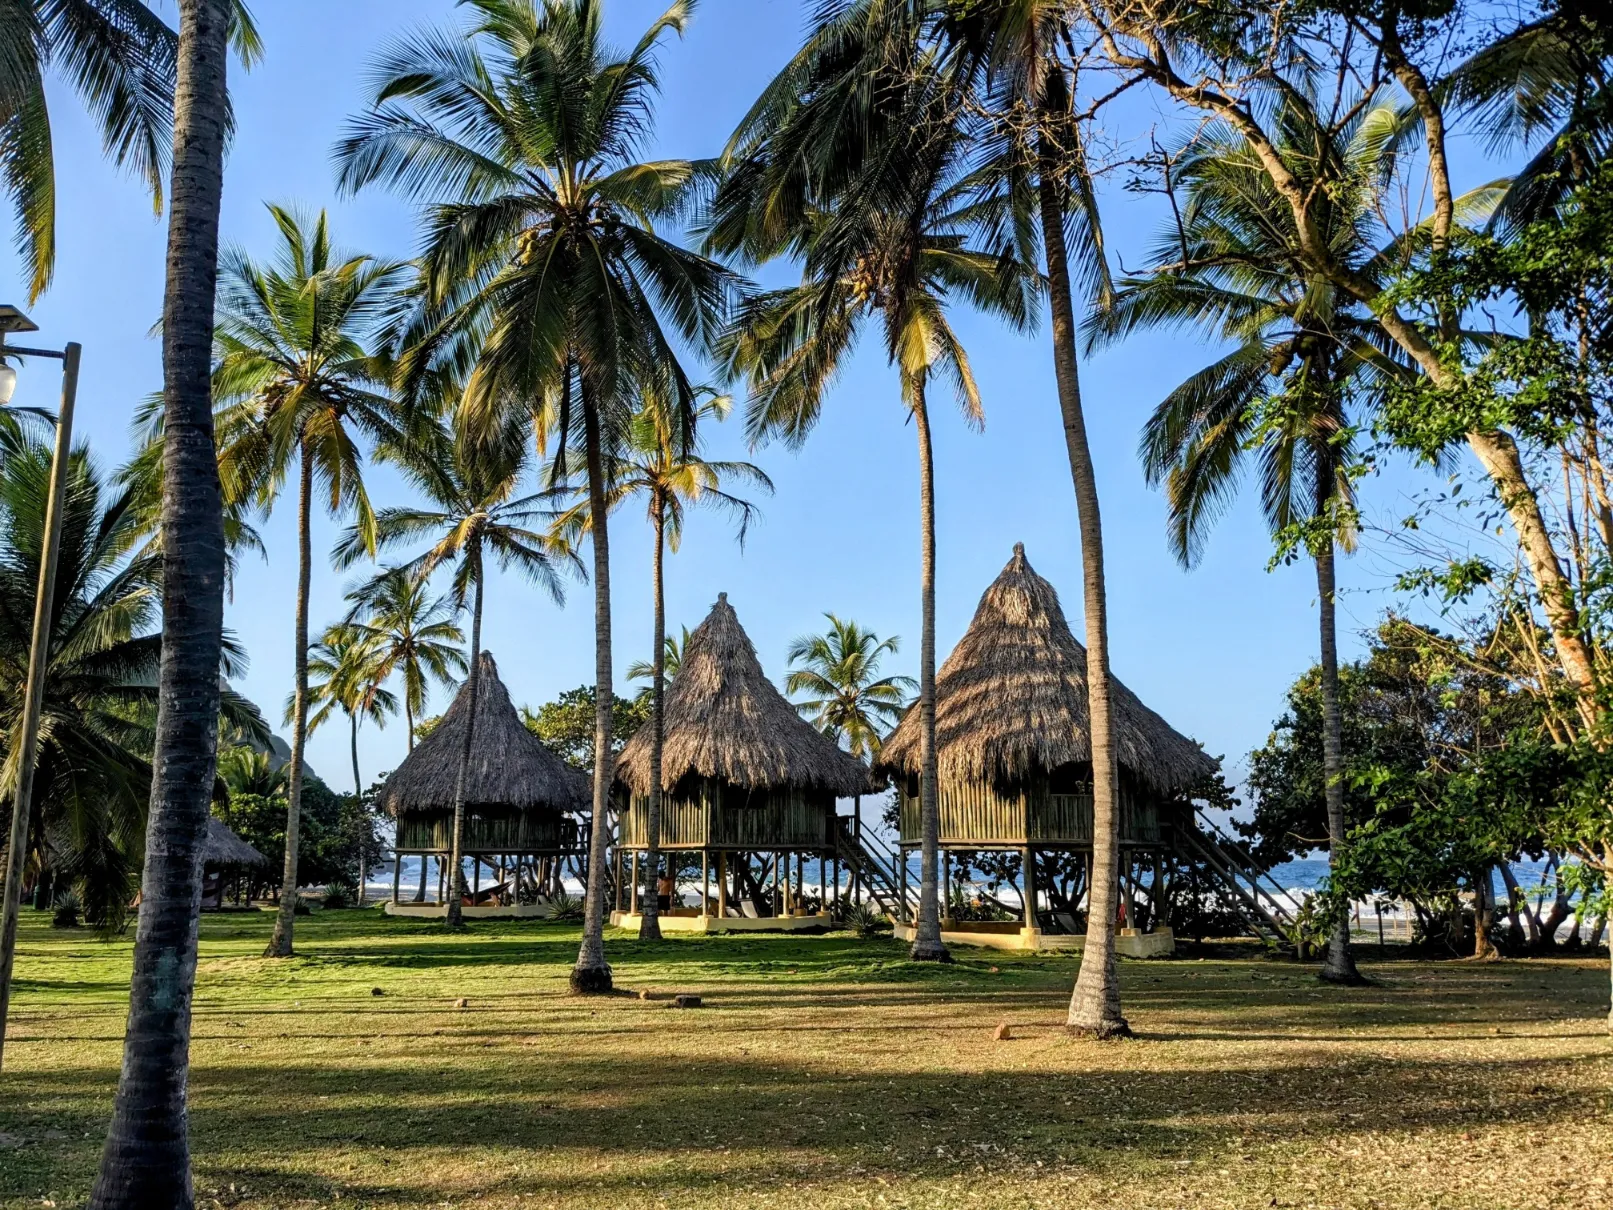
But the ecohuts looked pretty sweet too. Expensive though. They each had their own deck, hammocks, and comfy lounge chairs to sit in and soak in the views!
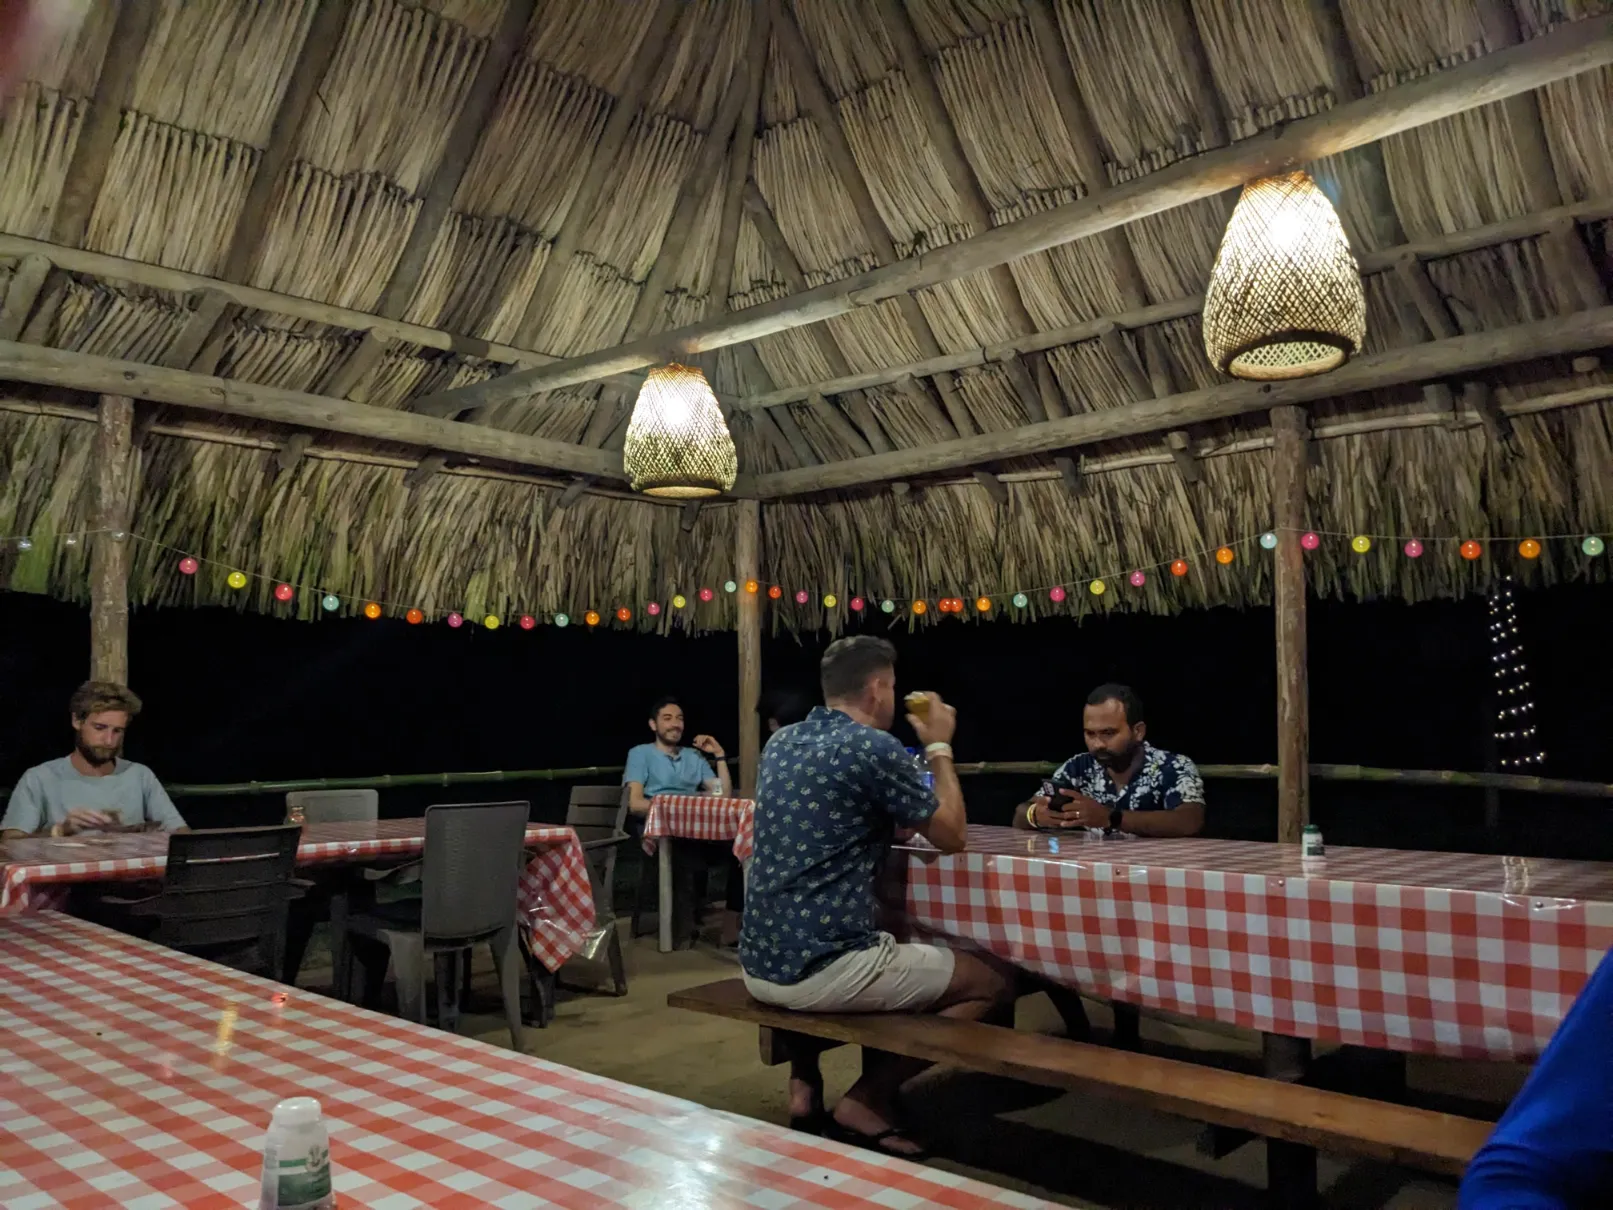
Meals were available in the dining area near the reception area.
Prices for meals varied.
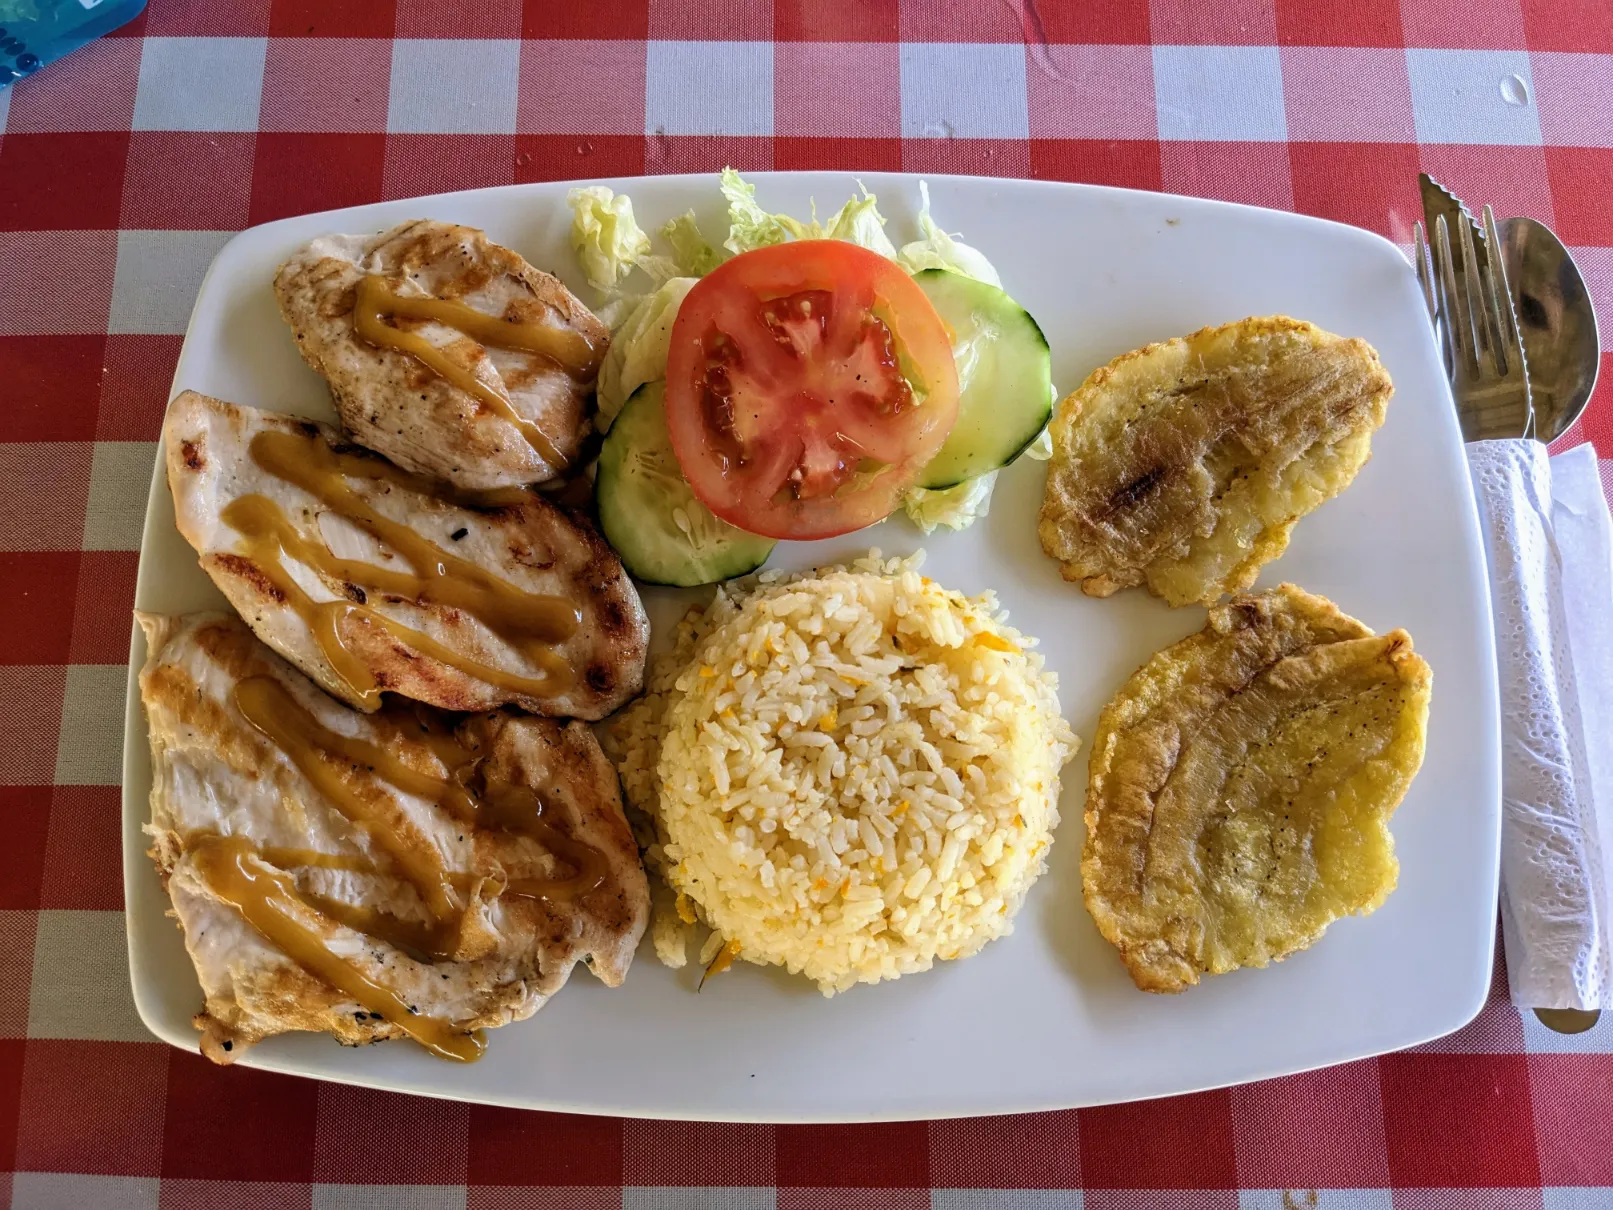
Our lunch with chicken, rice, salad, fried plantains, black beans (not shown), and juice (not shown) was pricey at $40,000 ($8.47 USD) each, but that was better than the going rate in the more accessible areas of the park.
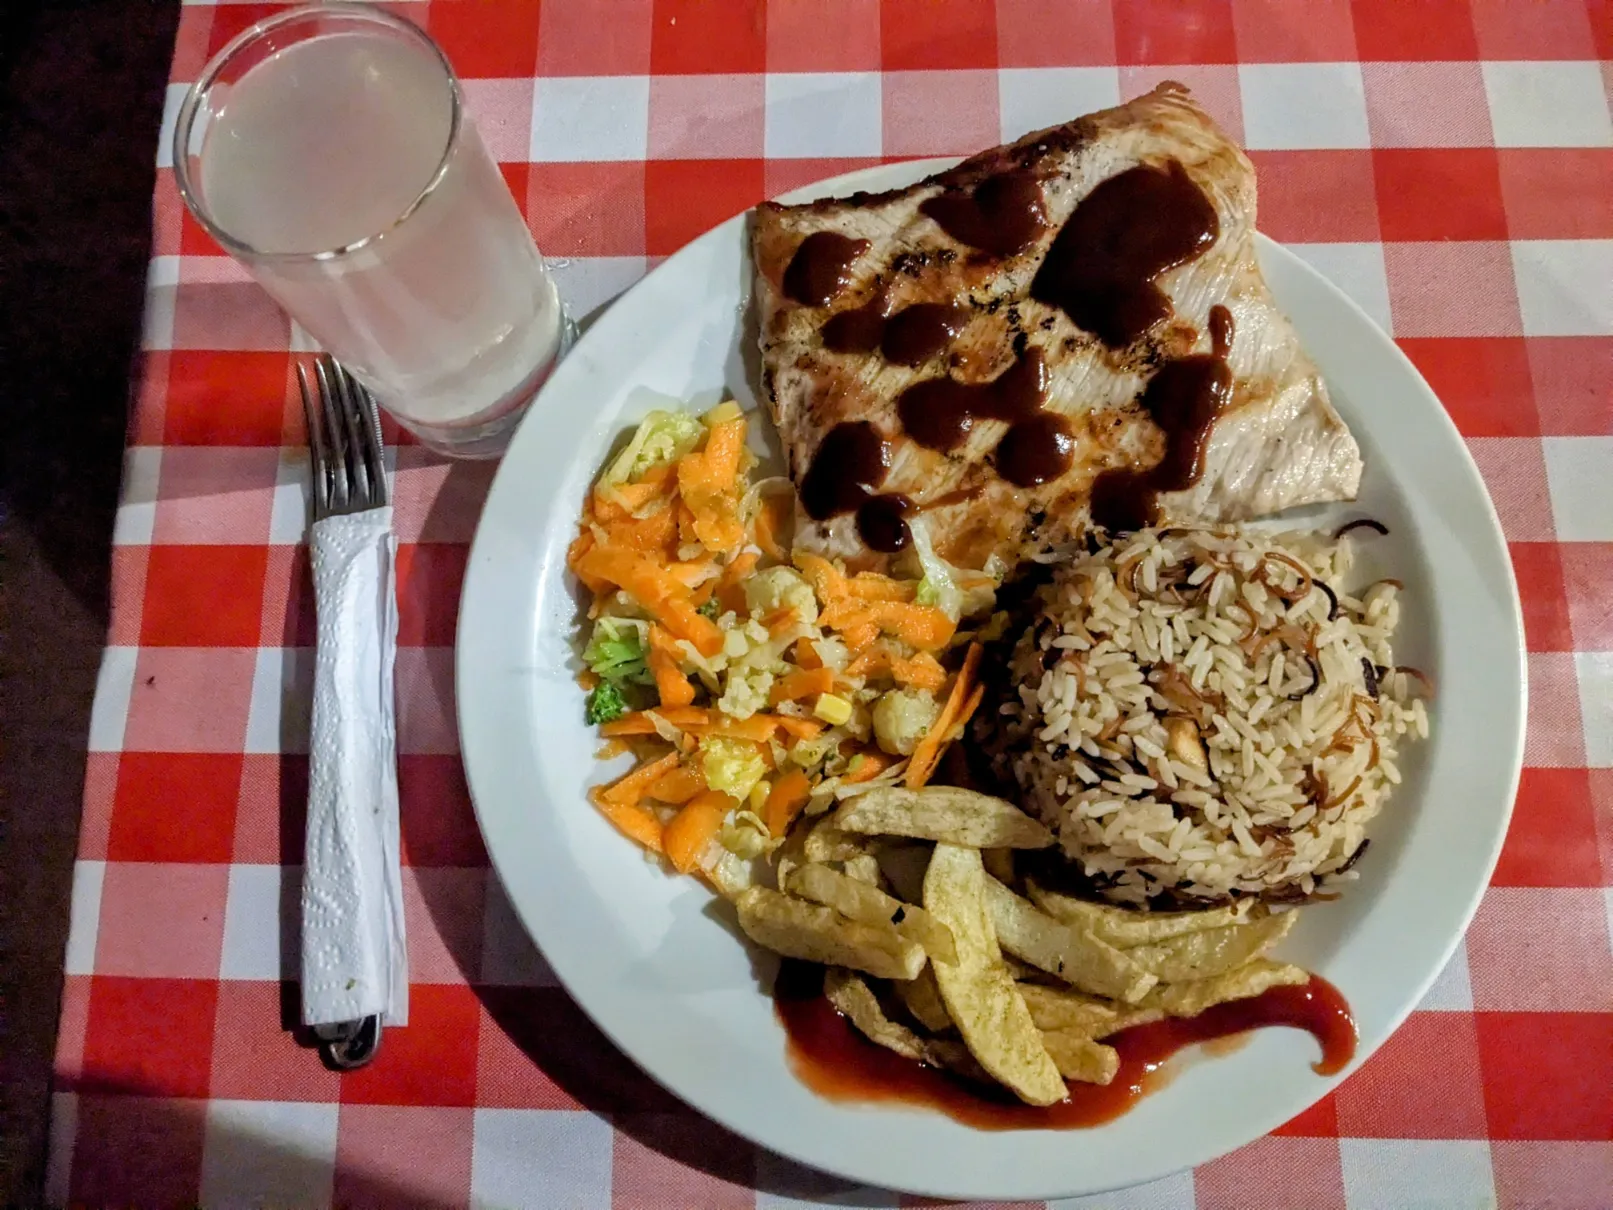
Our dinners were also $40,000 COP, and this time we got BBQ pork, rice with toasted almonds and coconut, salad, papas fritas, and lemonade.
There were several extended local families living here who took care of the grounds and cooked meals for guests.
It was fun watching the army of women operating the kitchen through the window!
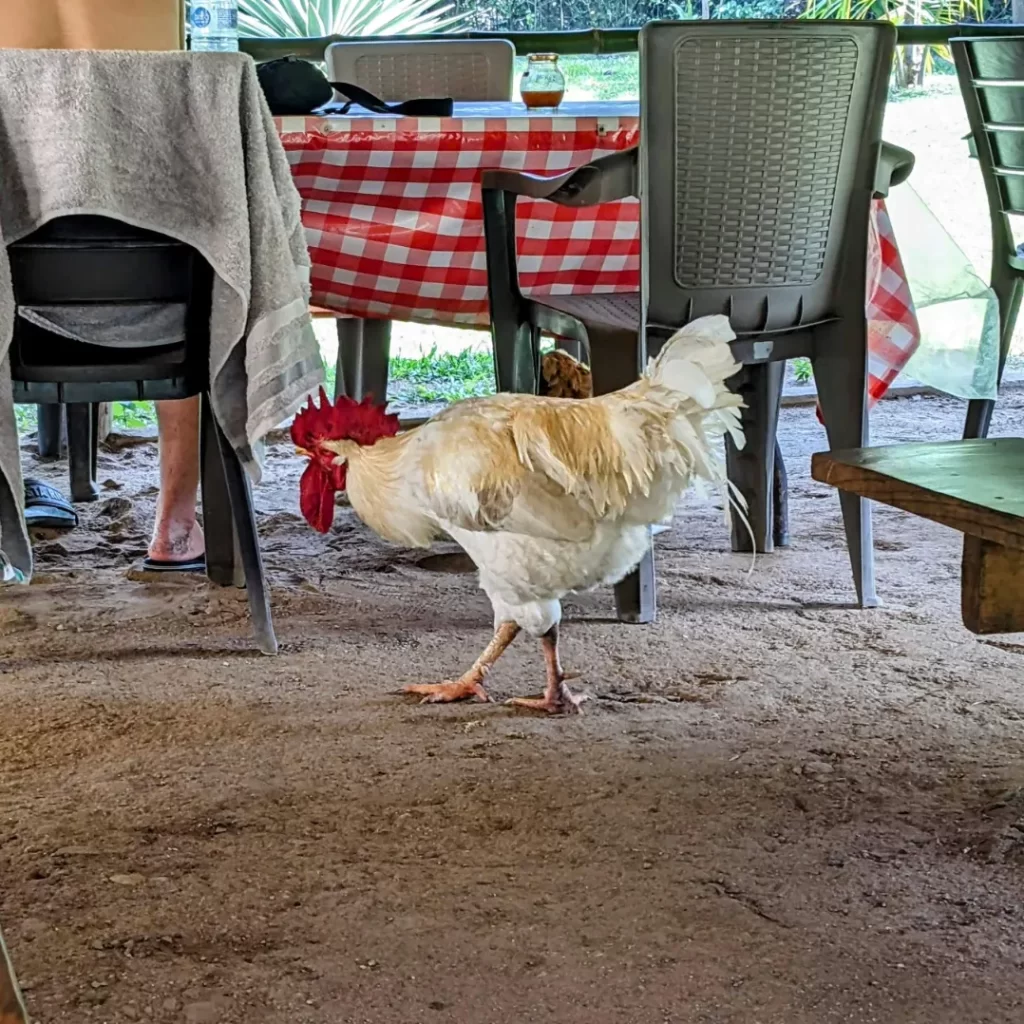
And we had the occasional animal guest during meals.
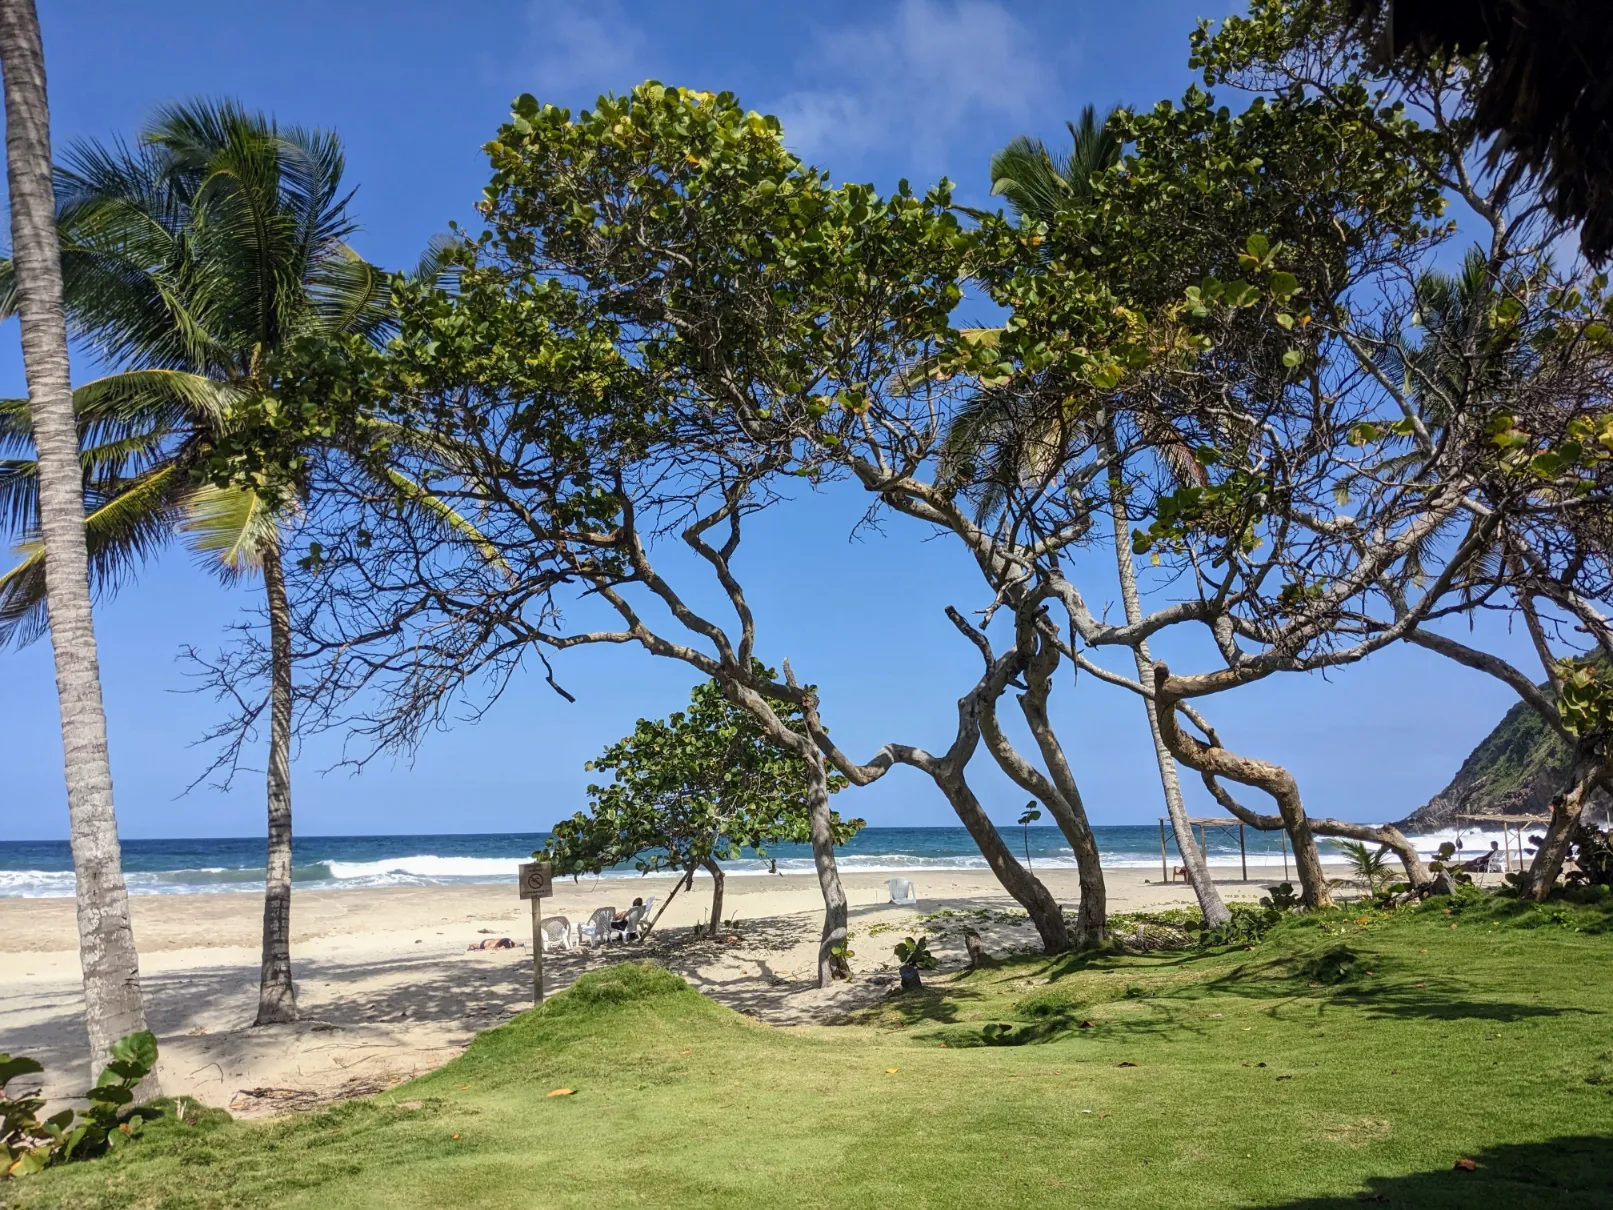
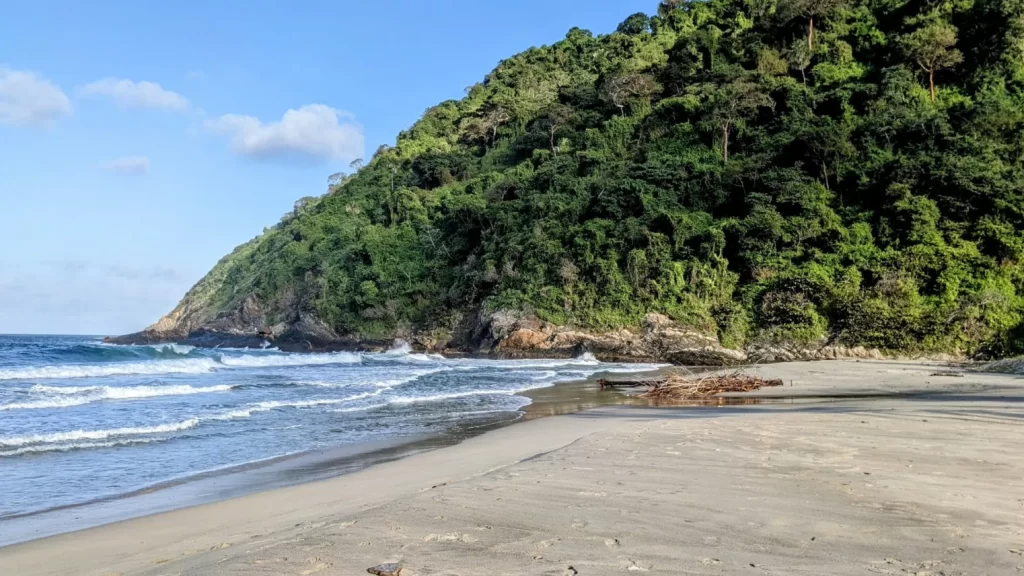
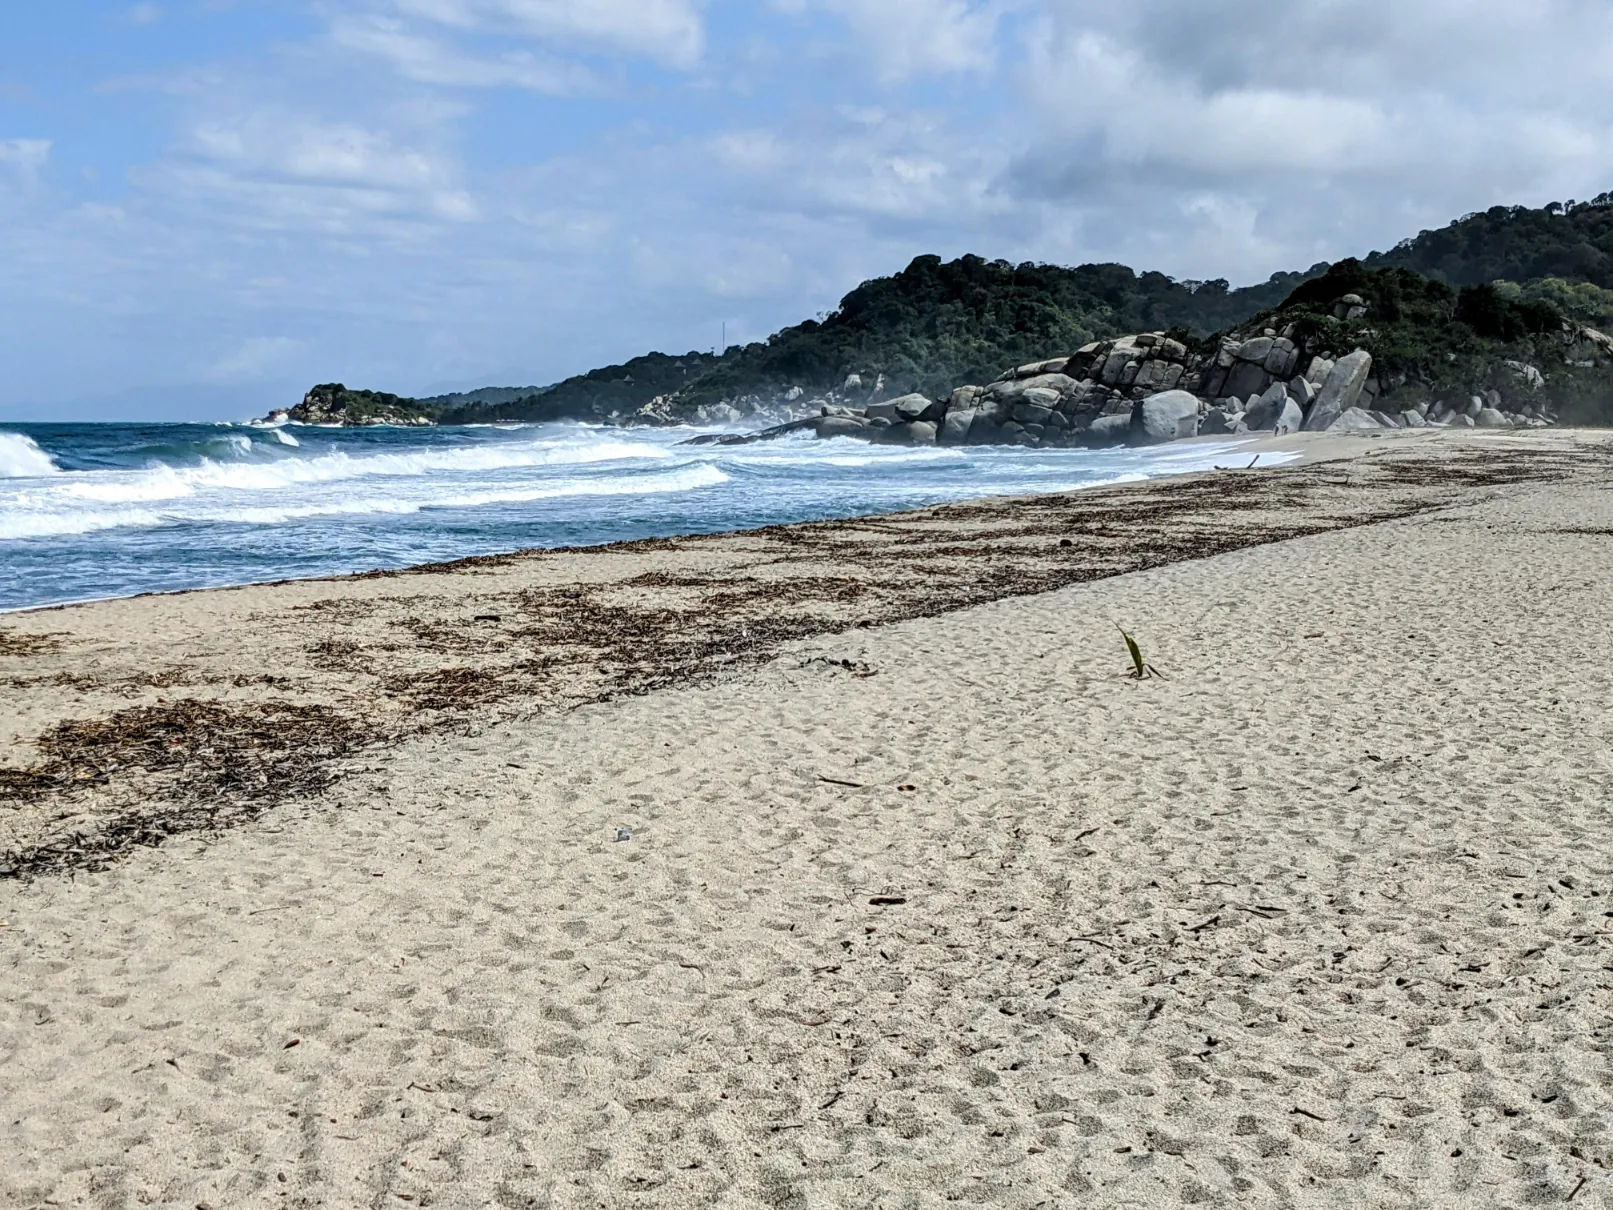
Playa Brava is the perfect place to find some shade on the pristine beach, relax with a book, and soak in the views. So that is what we did all day! It was wonderful.
We only had to share Playa Brava with about 20 other people, which was totally fine. Everyone had all the space they wanted, but it was also fun talking with visitors from all over the planet.
A burro photobombed us at one point…
Who apparently came to the beach to take a sand bath.
Swimming was allowed at Playa Brava, but the seas were pretty rough so we abstained.
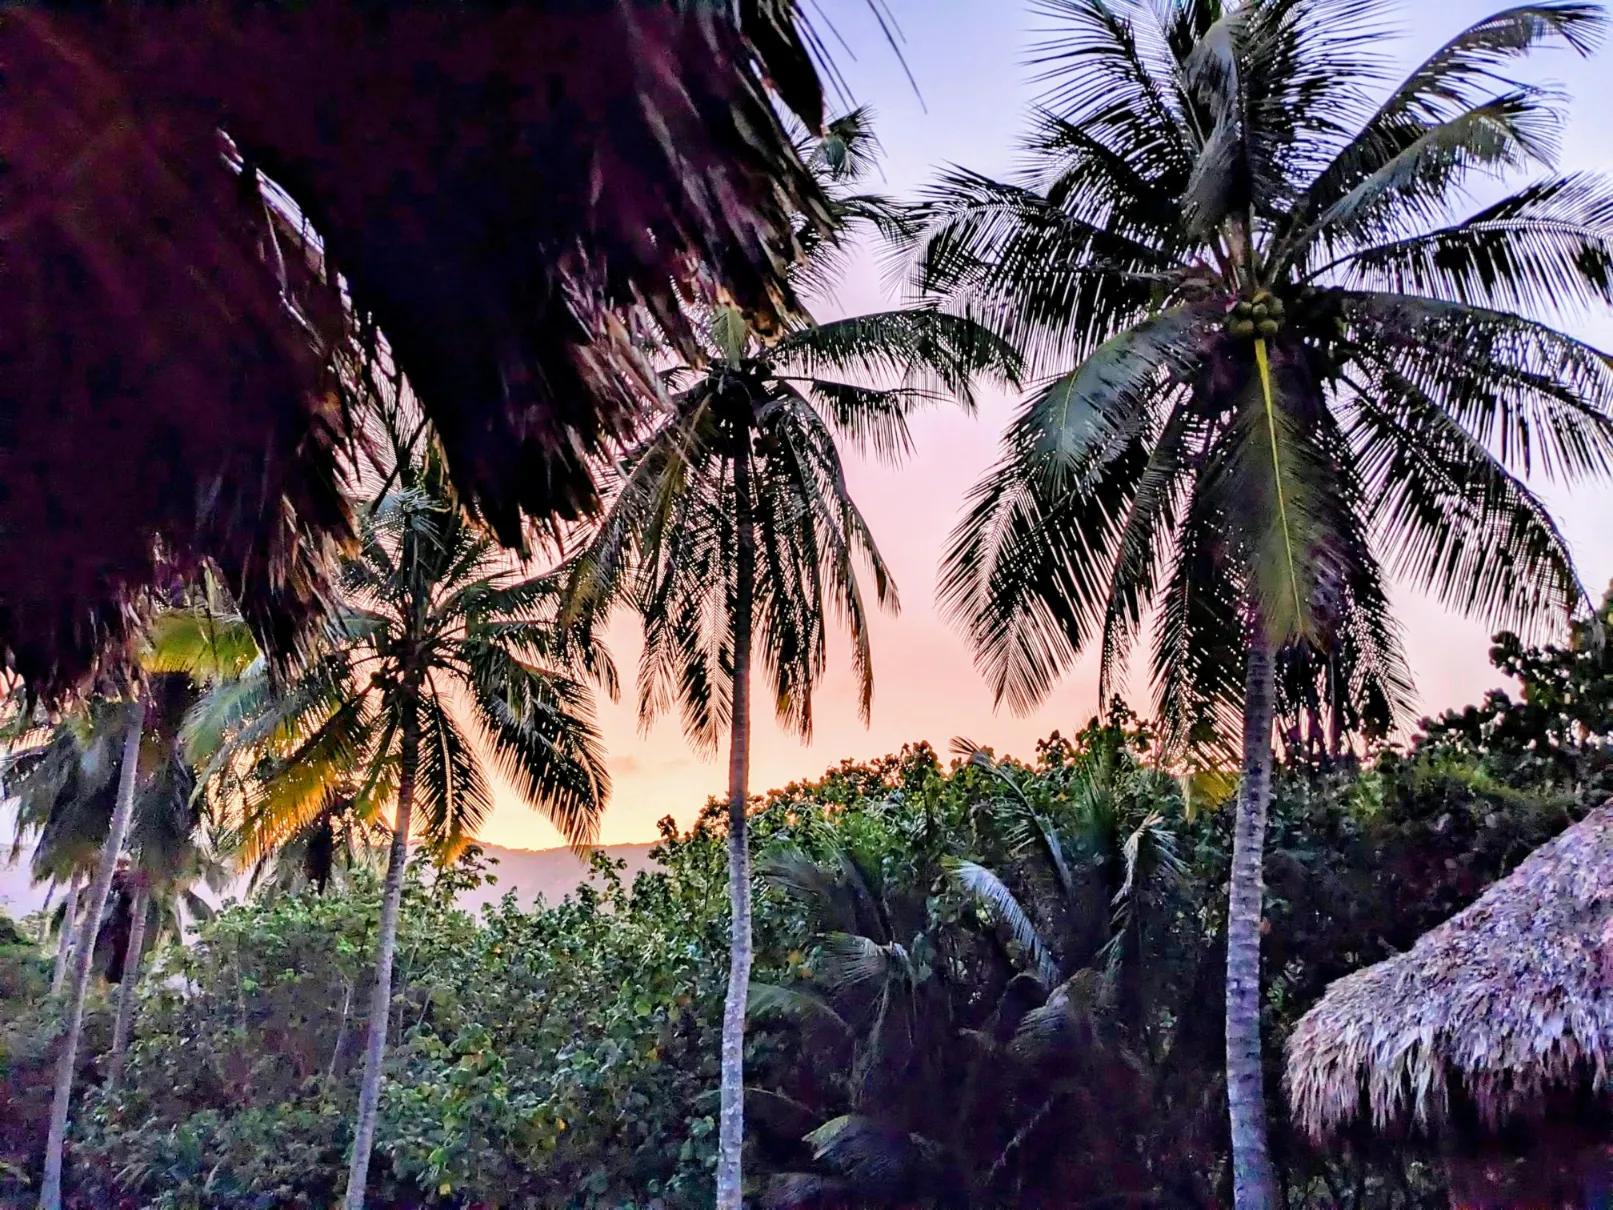
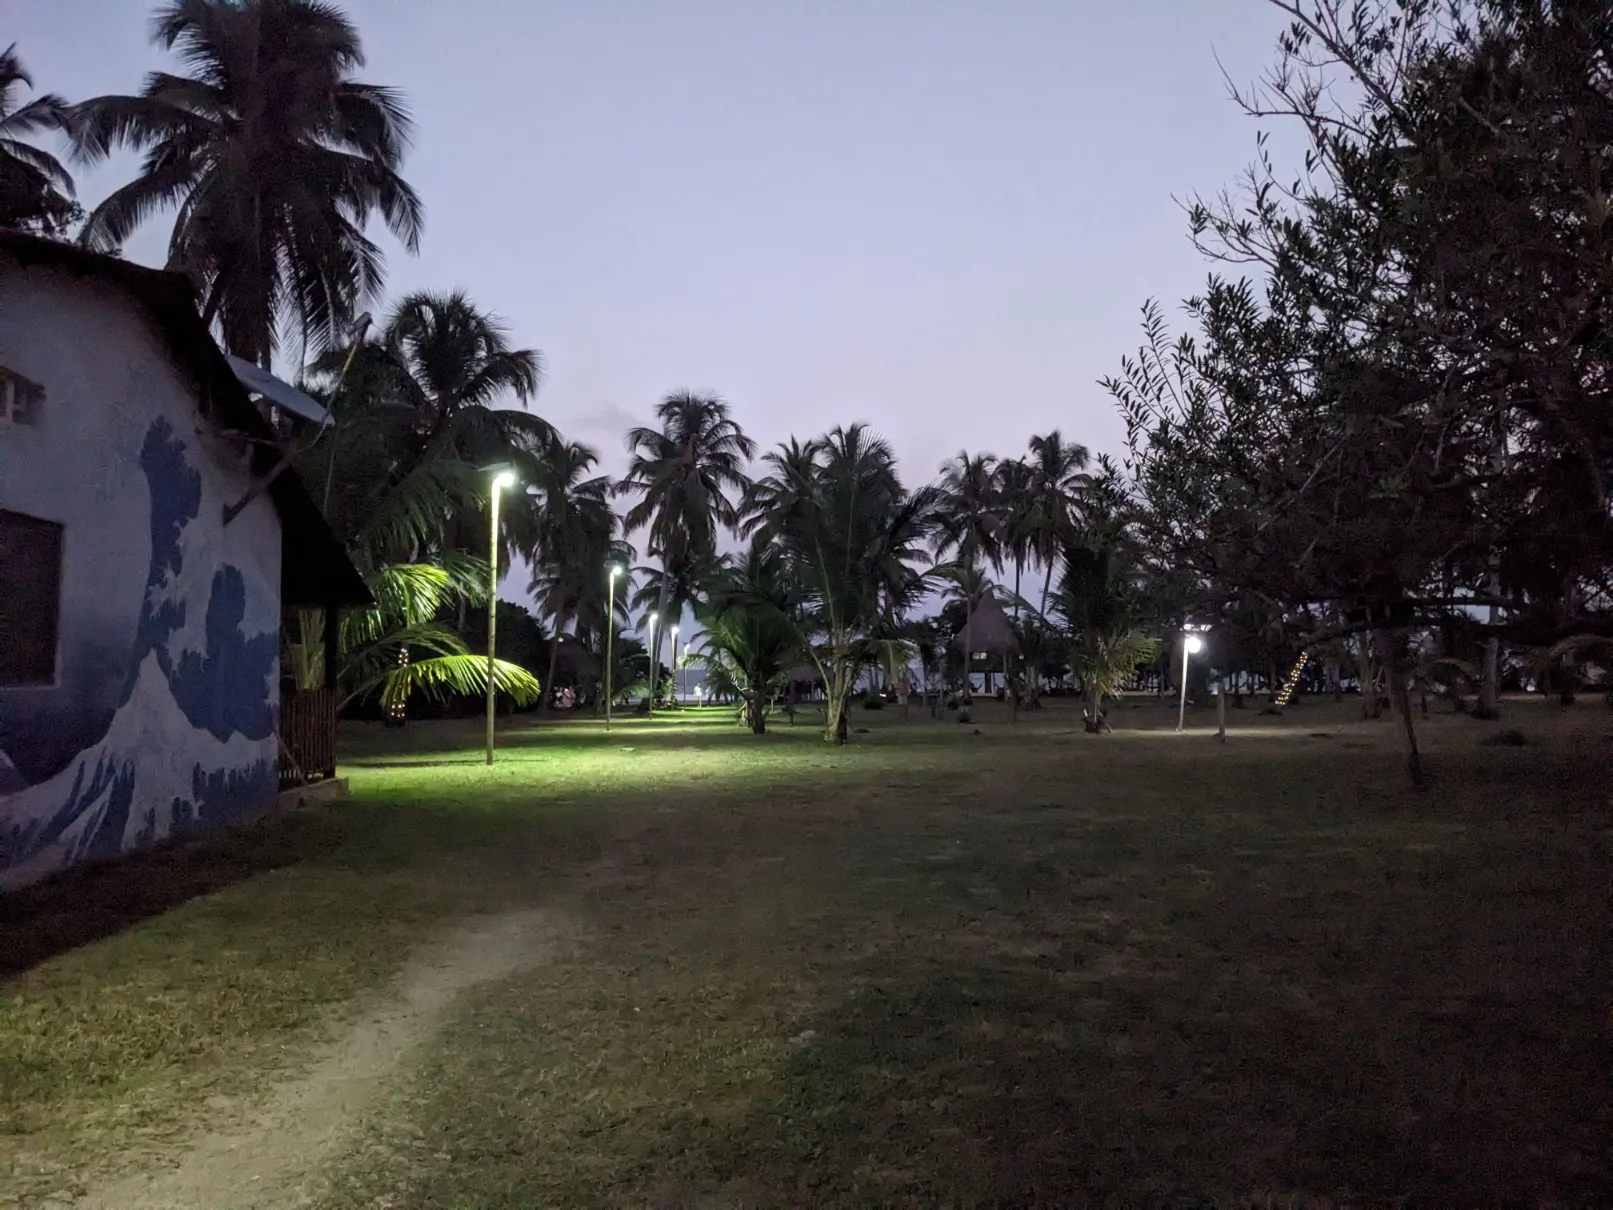
As night fell, the sunset was gorgeous…
As were the Playa Brava Teyumakke grounds.
We spent the evening on the beach stargazing. It was shocking how many we could see without any light pollution! We even saw multiple shooting stars.
What a great way to end our first day at Tayrona National Park!
Day 2 in Tayrona National Park – Coastal Hike to the Zaino Park Entrance
Our goals for the Day 2 hike were a bit different than Day 1:
Exit the park at the Zaino park entrance, while avoiding dehydration and heat stroke. The day will be hot!
Spend time at our preferred spots along the hiking route before the crowds form. Mainly, this was spending time at the extremely beautiful (and popular) Cabo San Juan.
Enjoy the beach views at each point along the hike we plotted.
At the end of the hike, catch a $5,000 COP ($1.07 USD) per person shuttle at the Museo Chairama parking lot. This shuttle would carry us to the Zaino park entrance, where the buses back to Santa Marta are located.
We woke up early and left Playa Brava at 7 am.
We did this because we knew the heat, humidity, and lack of shade near the coastline would be even worse than Day 1. And we knew that the total elevation change for our hike from Playa Brava to the Zaino park entrance would be even more brutal.
Here is the trail route we took:
The trail is 7.8 miles (12.6 km) long and has 1,503 feet (458 m) of total elevation gain. The elevation gain during the first third of the hike was even worse than Day 1, so go slow and drink lots of water!
Following the trail away from Playa Brava, the path started somewhat level…
But very quickly gained in elevation. Even worse than the day before!
Upward…
And upward…
And upward.
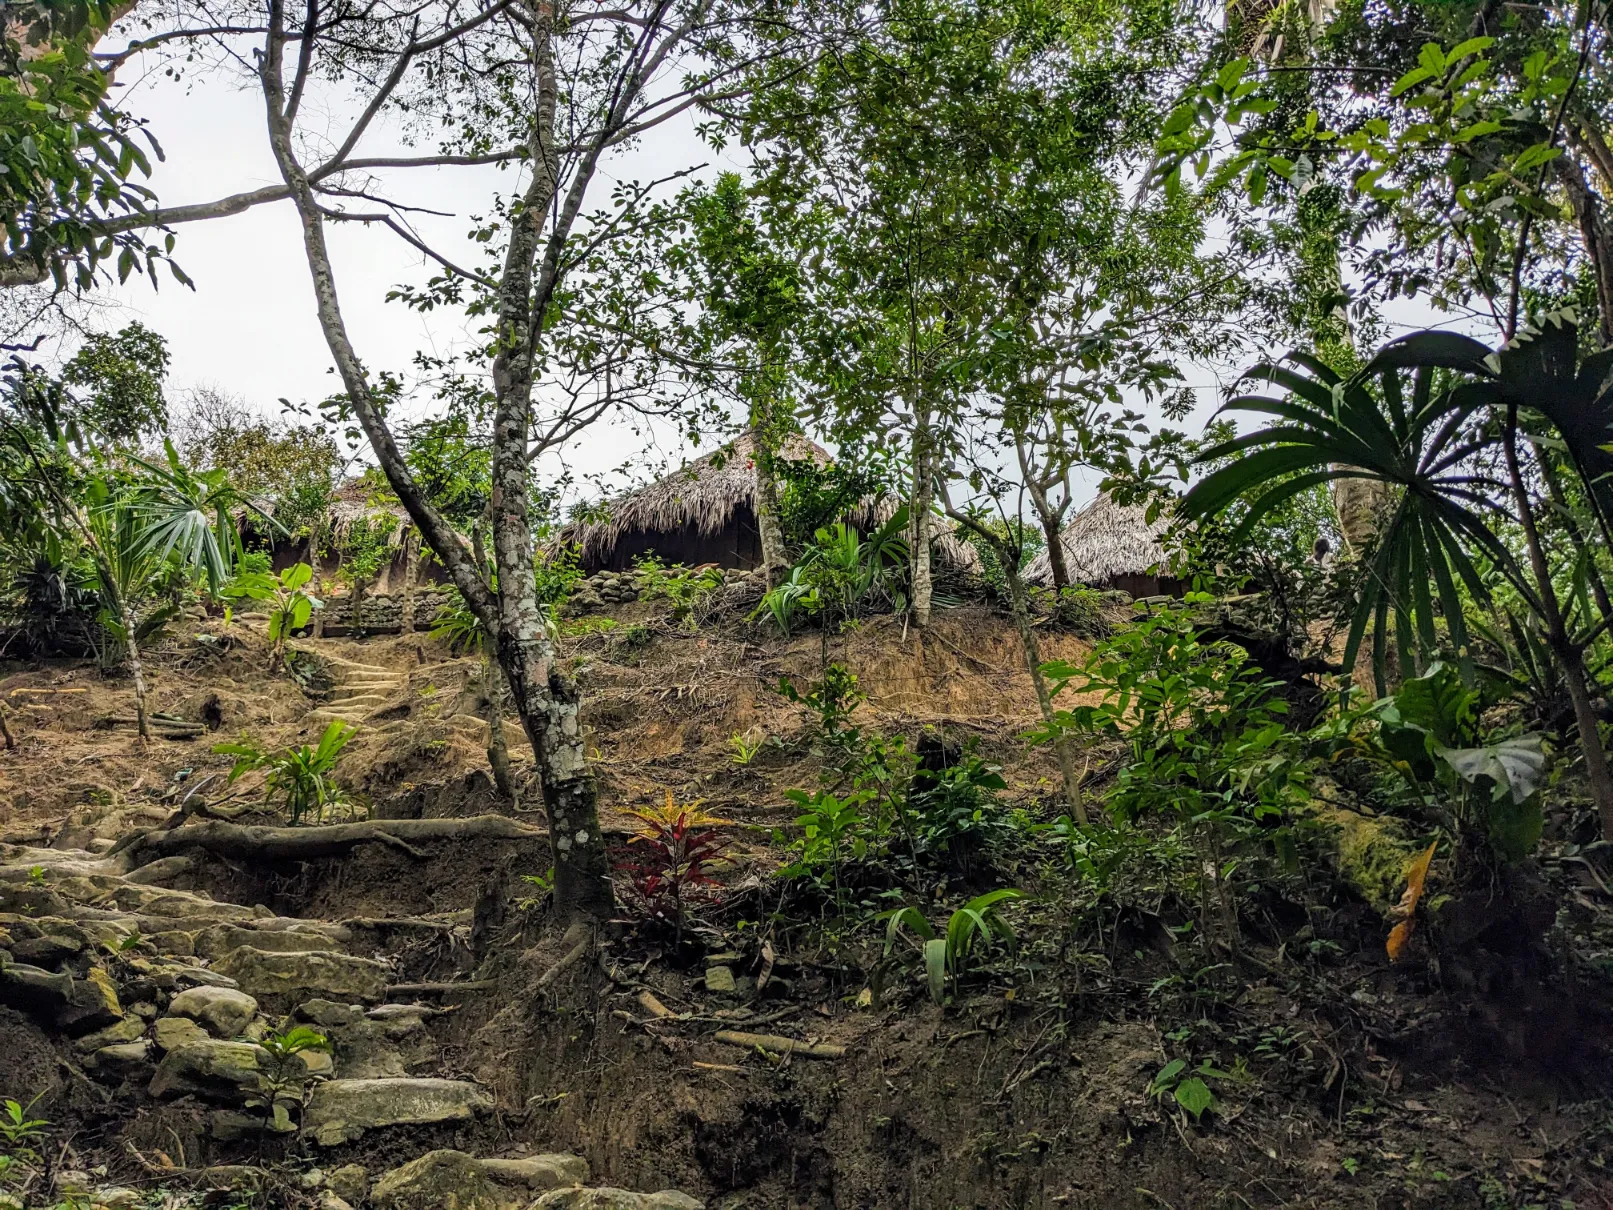
We also passed indigenous residences along the path.
The ascent was brutal.
But we went slow, drank lots of water, and made it to the highest elevation point, near the Pueblito village site (closed to the public). It was a good thing we were rested and well-fed from the day before!
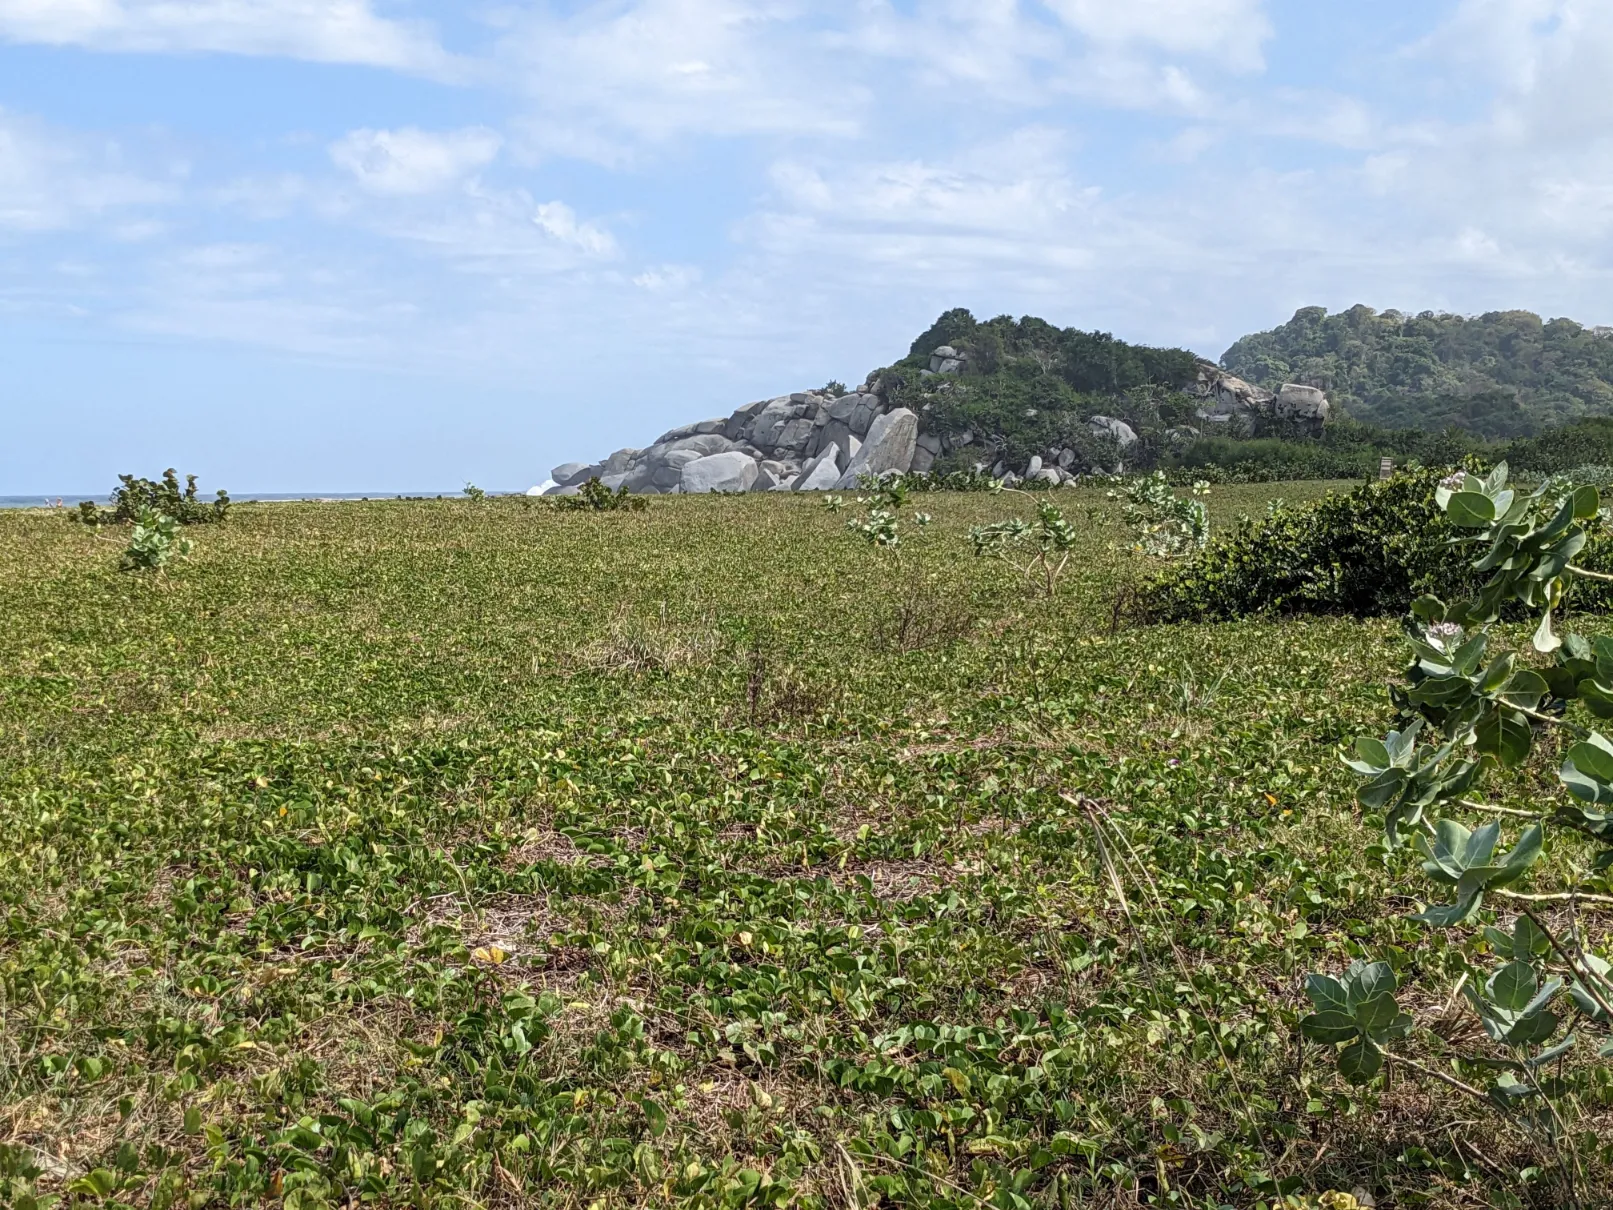
Eventually, the path leveled off, then descended downward back towards the coastline where it led to Playa Nudista…
Where we tried to peep on naked bathers. 😀
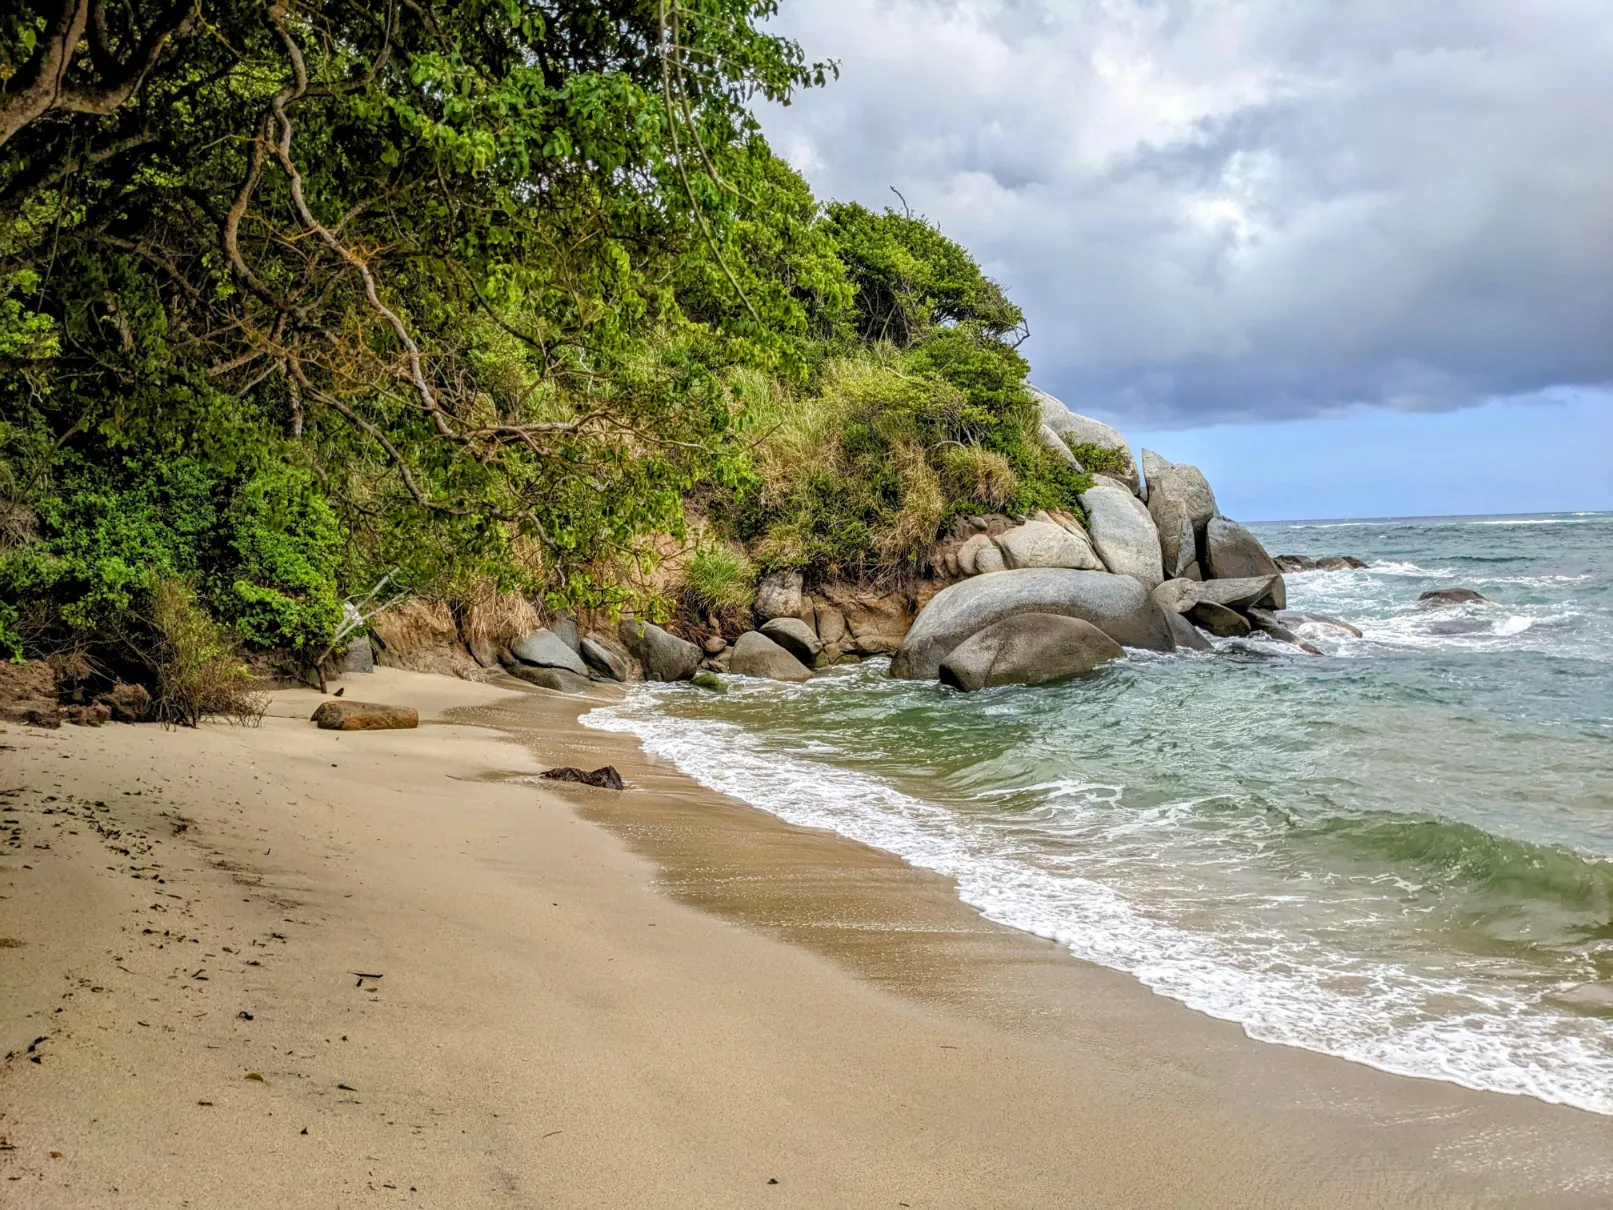
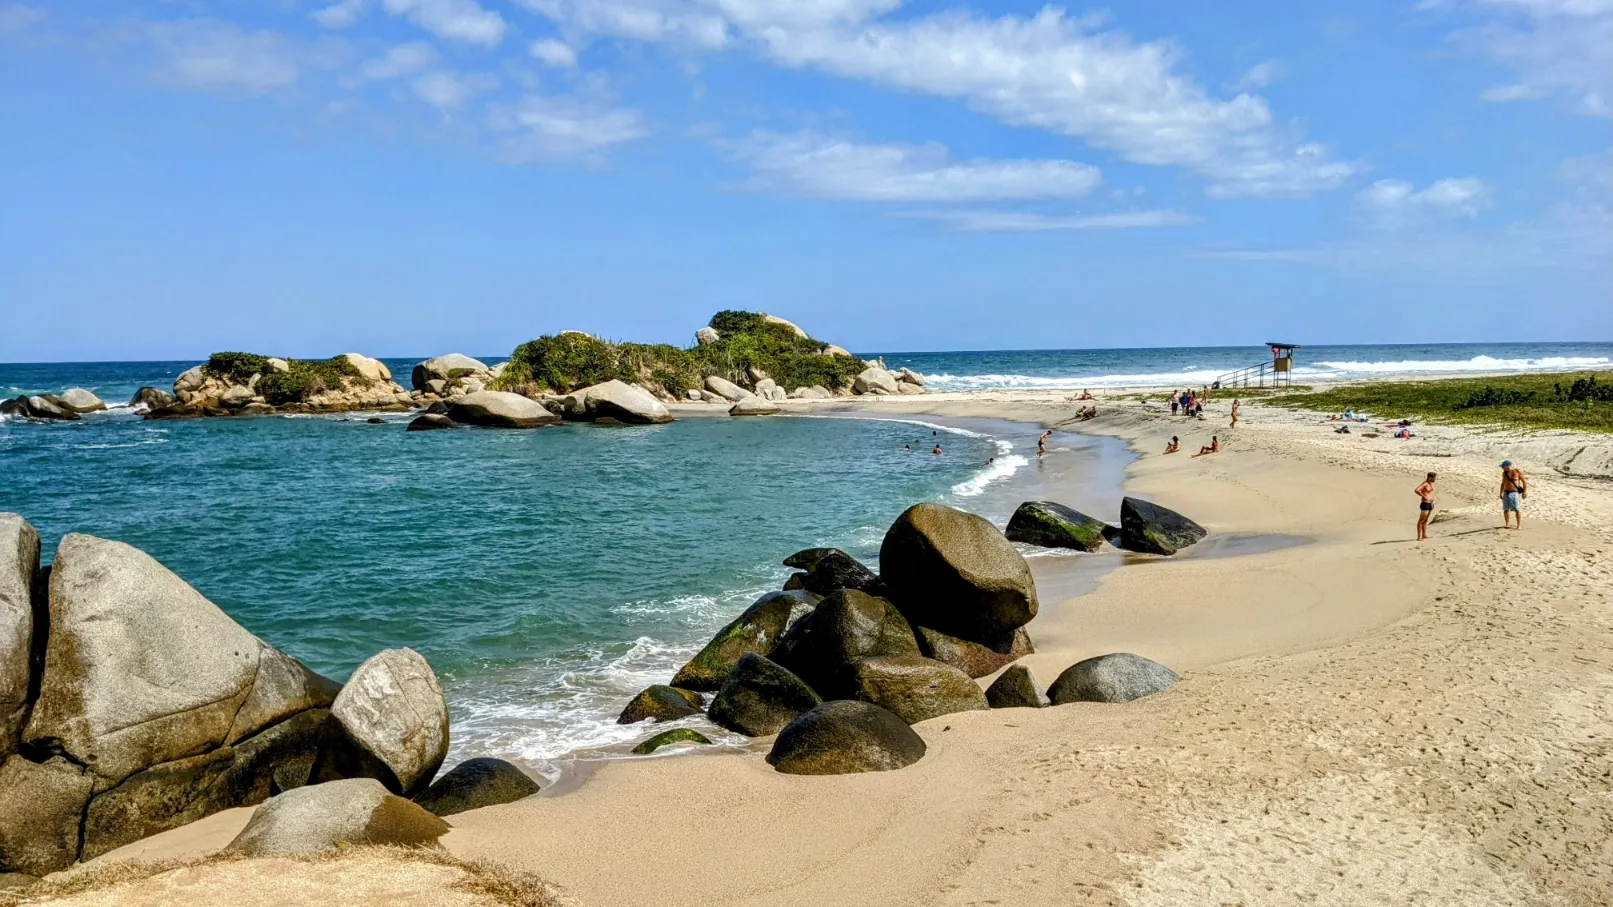
Unsuccessful, we moved further along the coast discovering tiny, largely deserted, unnamed beaches…
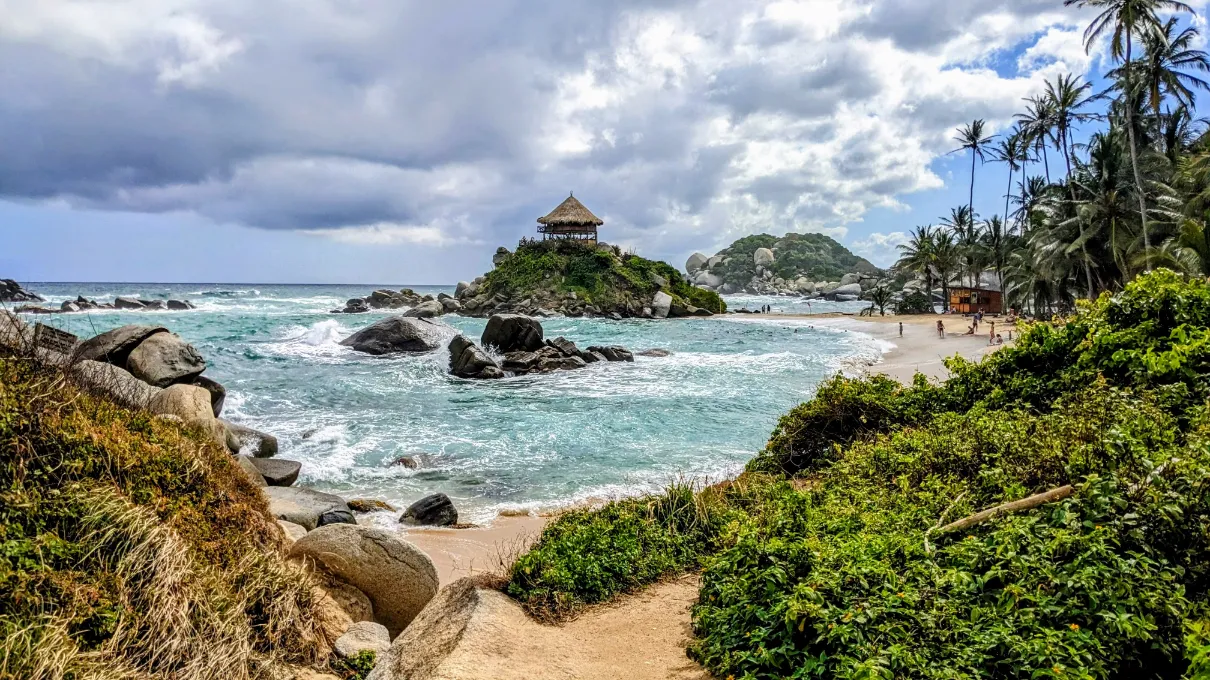
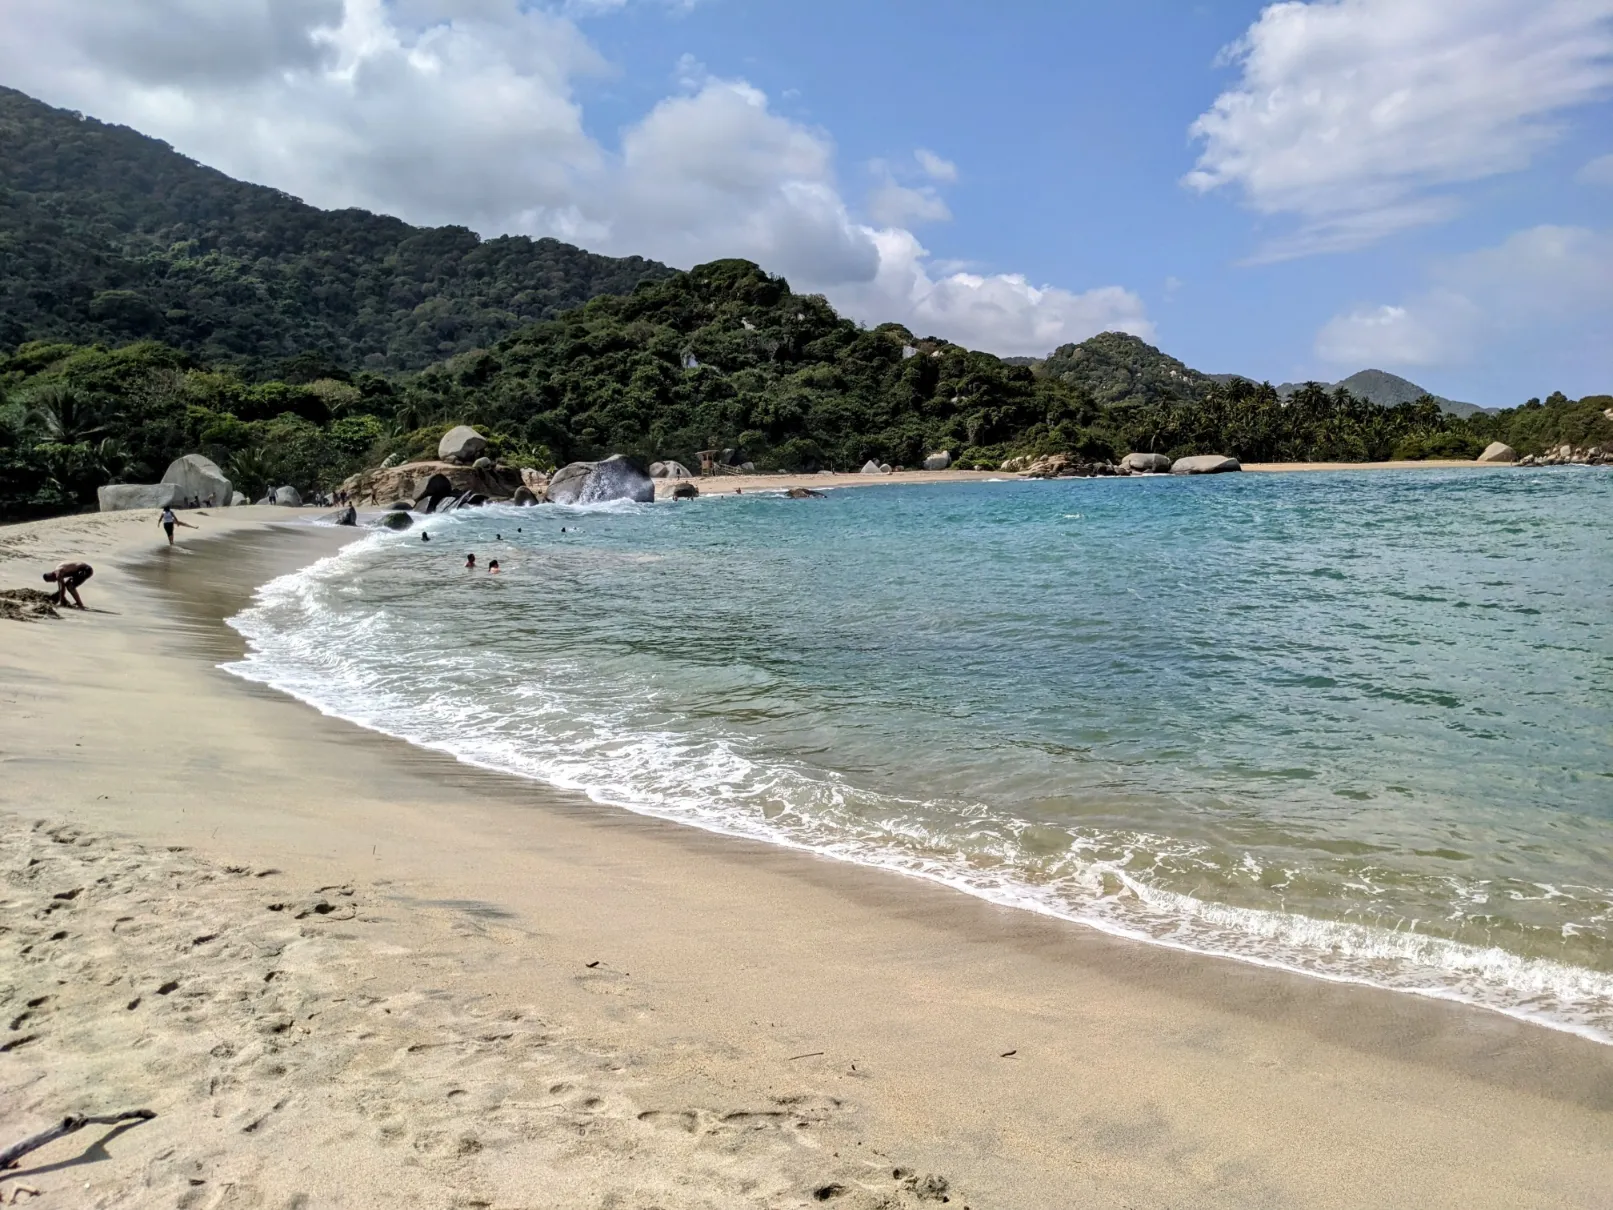
Before finally arriving at Cabo San Juan at around 10:30 am. Even at this hour, people were starting to build up, but it wasn’t bad.
The hut in the middle is where hammock campers sleep. Very cool!
As advertised, Cabo San Juan is spectacular! We can see why it is the most popular site in Tayrona National Park!
We ate brunch here, then laid down under the palm trees to hydrate and recover for a while. And in the 90 minutes we spent enjoying the beach, the tourist volume doubled!
And even more people were arriving. It was getting really congested, really fast!
So we refilled our water supply and continued on our hike. The paths, although mostly level by now, were getting a little clogged with day trippers.
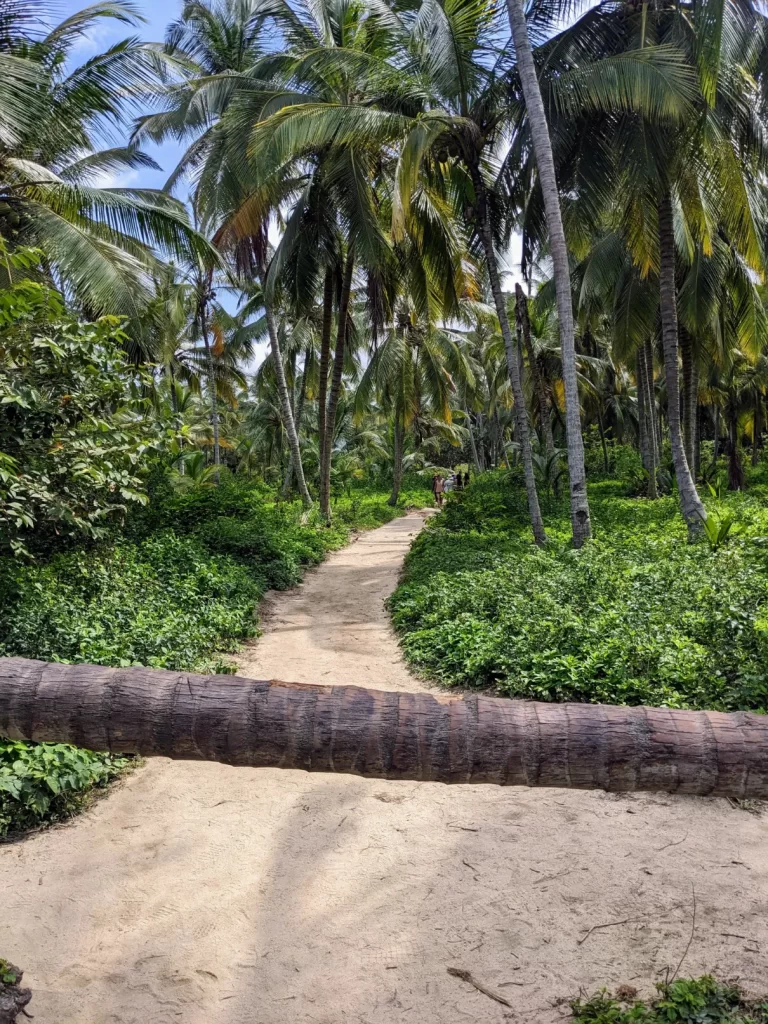
The trail took us past Playa Piscina…
Along palm tree-lined paths…
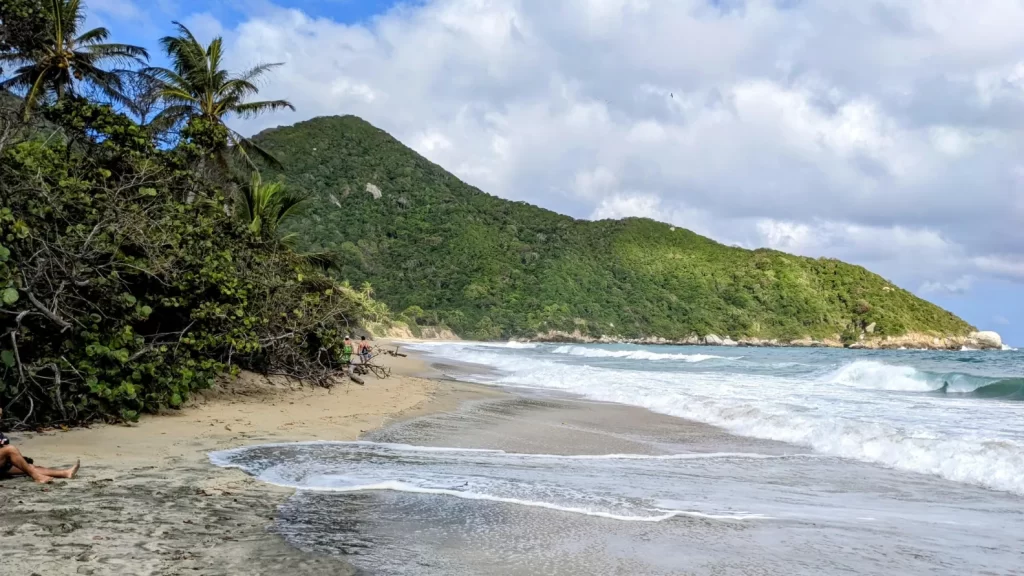
To the beaches along Playa Arenilla. They were gorgeous and way less congested than Cabo San Juan!
We were learning quickly that ANY beach was better than Cabo San Juan if you wanted to avoid crowds. None of the alternative beaches were really very congested at all! Consider that, if you are planning your own trip to Tayrona National Park on a peak season weekday.
At this point, we followed the beach path along Playa Arrecifes, a long stretch of trail where if you follow our map, makes it look like we are hiking in the ocean! Rest assured, it is a continuous stretch of shoreline, completely devoid of people when we went.
We were beginning to roast in the sun, so we were thankful that the path turned inward toward the rainforest…
And back on the trail that led to the settlement of Arrecifes. There were a number of lodging options here, some with hammocks! So if the heat and dehydration are getting to you at this point, this is a good place to stop for the day. It was around 1:30 pm when we arrived and honestly, it looked like a good place to lounge around!
Undeterred, and perhaps lacking good sense, we kept going.
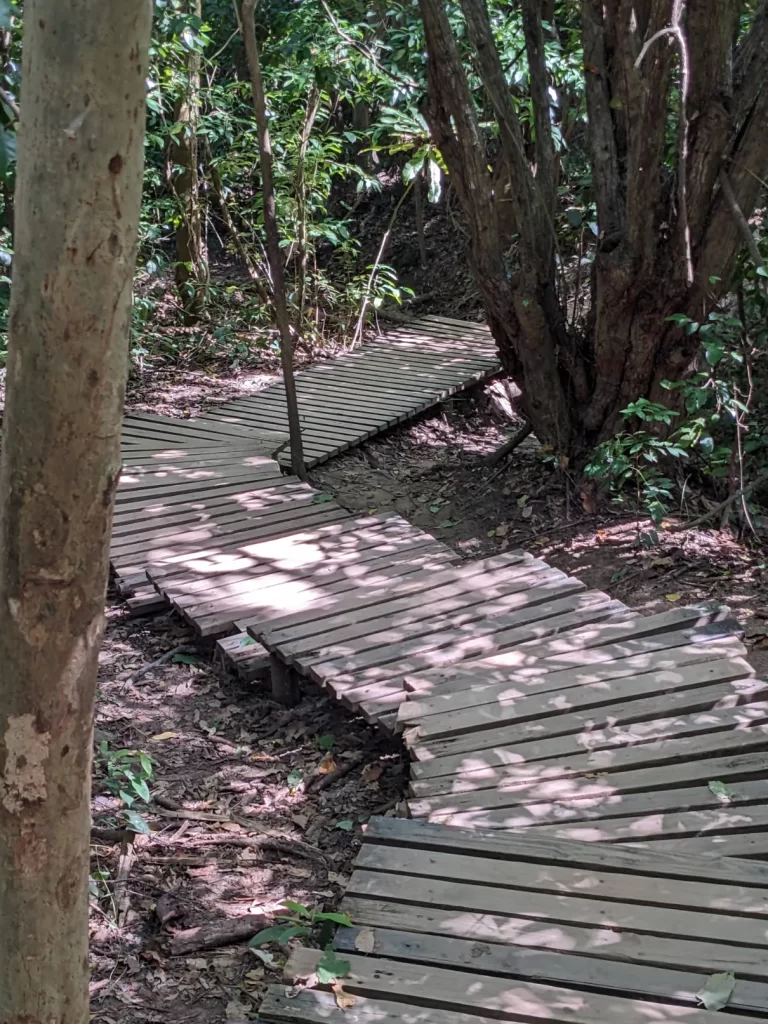
The path continued into the rainforest, where many of the trails were converted into boardwalks to preserve the environment there.
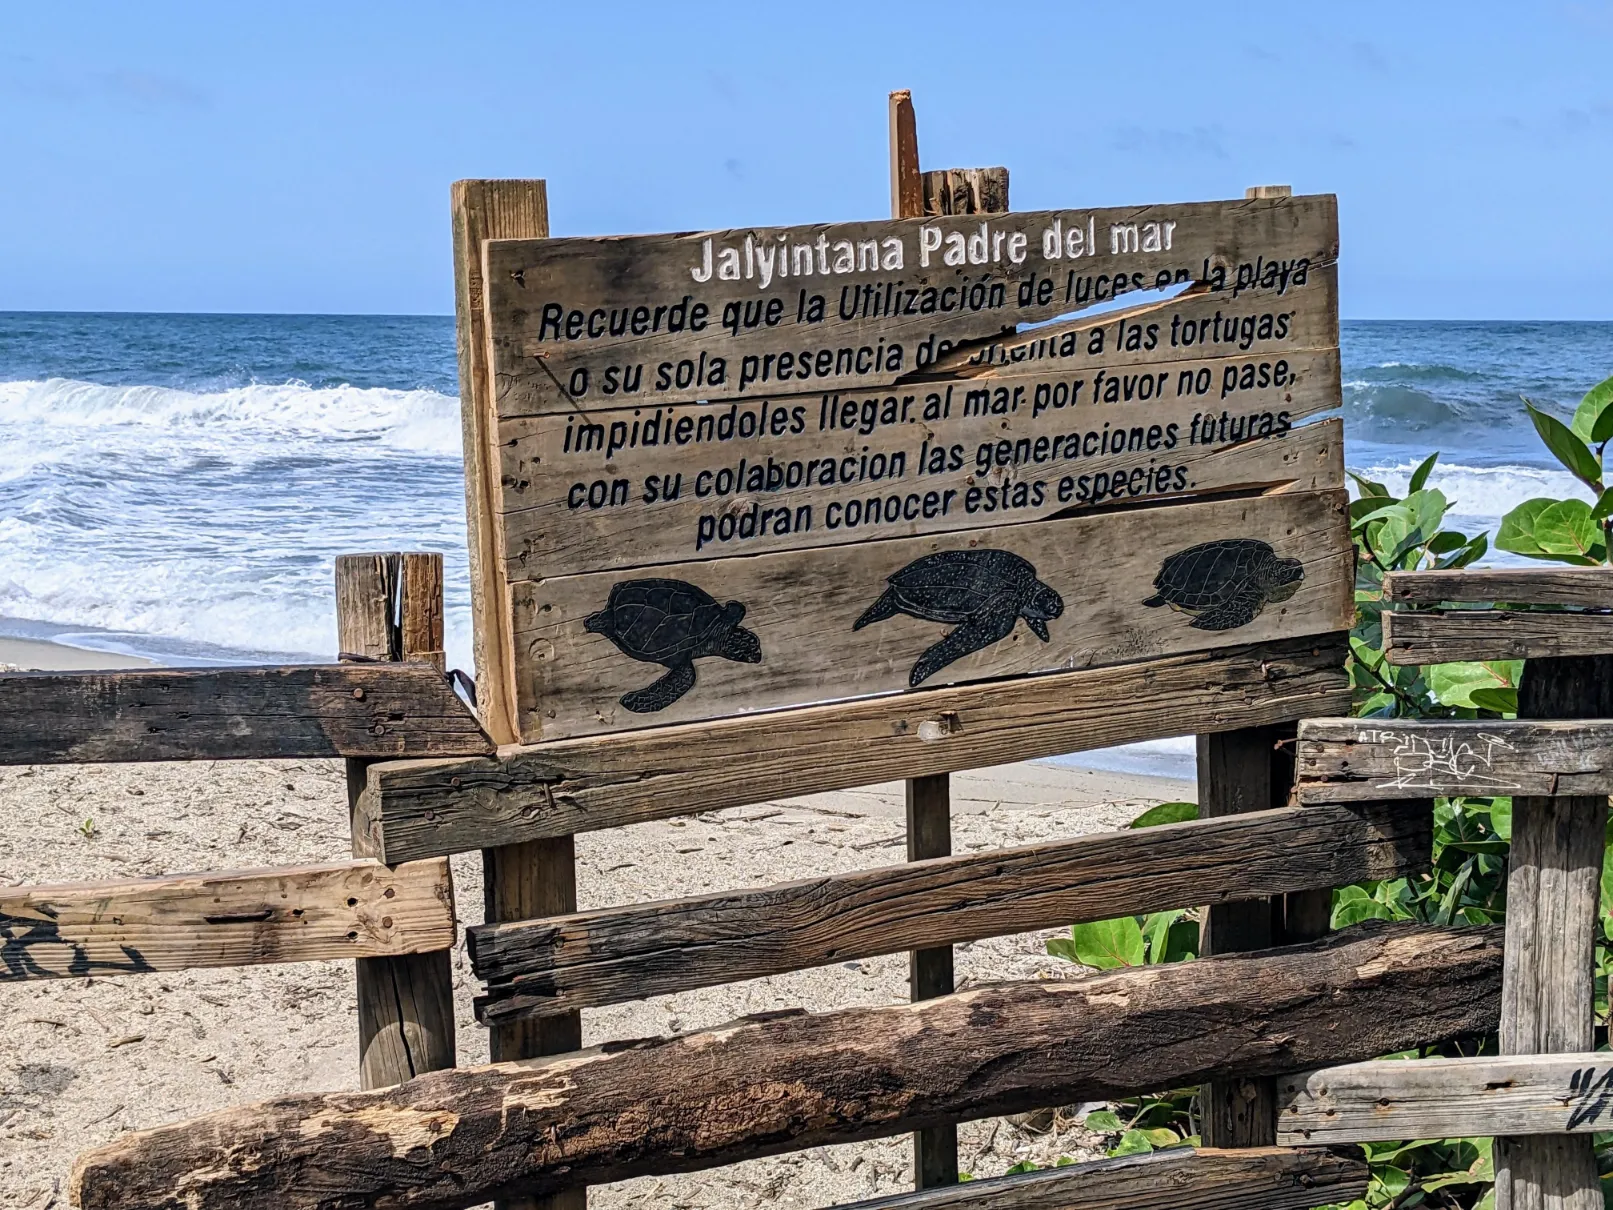
The shaded path wound back to the shoreline, where there was evidence of sea turtle nesting at certain times of the year.
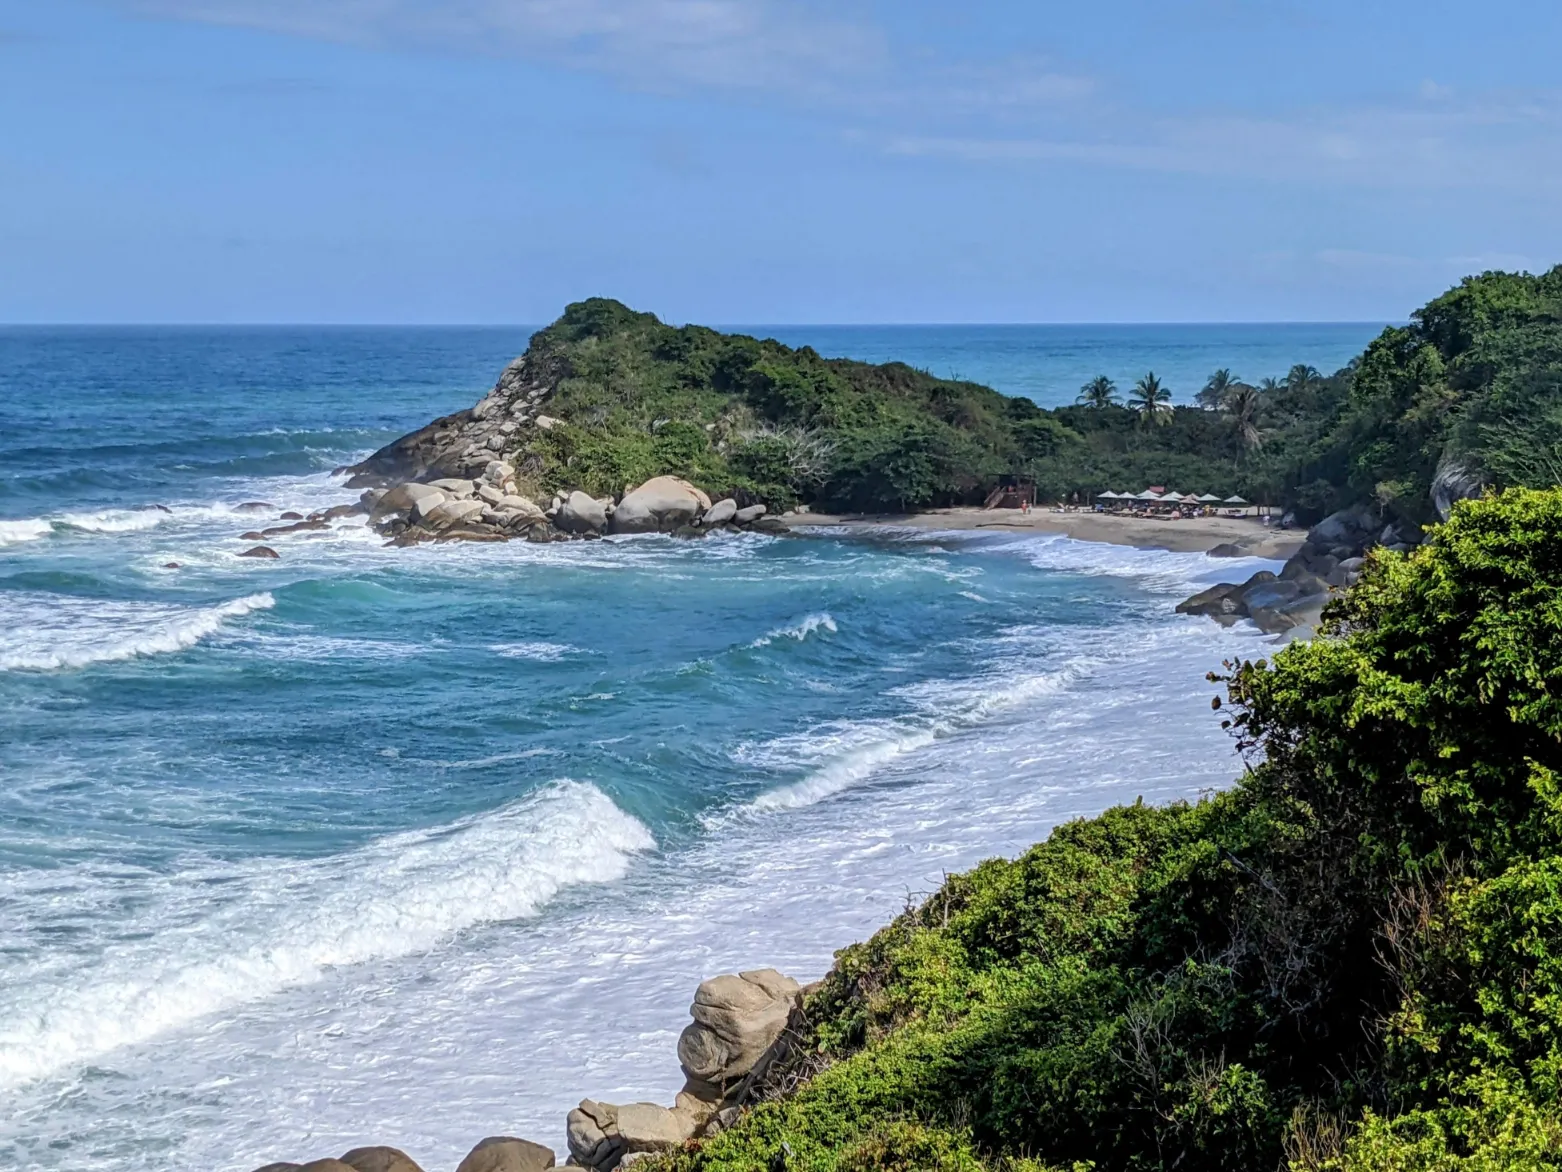
The path ascended up the rocky shoreline, providing spectacular views of the shoreline approaching Punta Castillete.
Amazing views, although the stairs going up were NOT appreciated at this point!
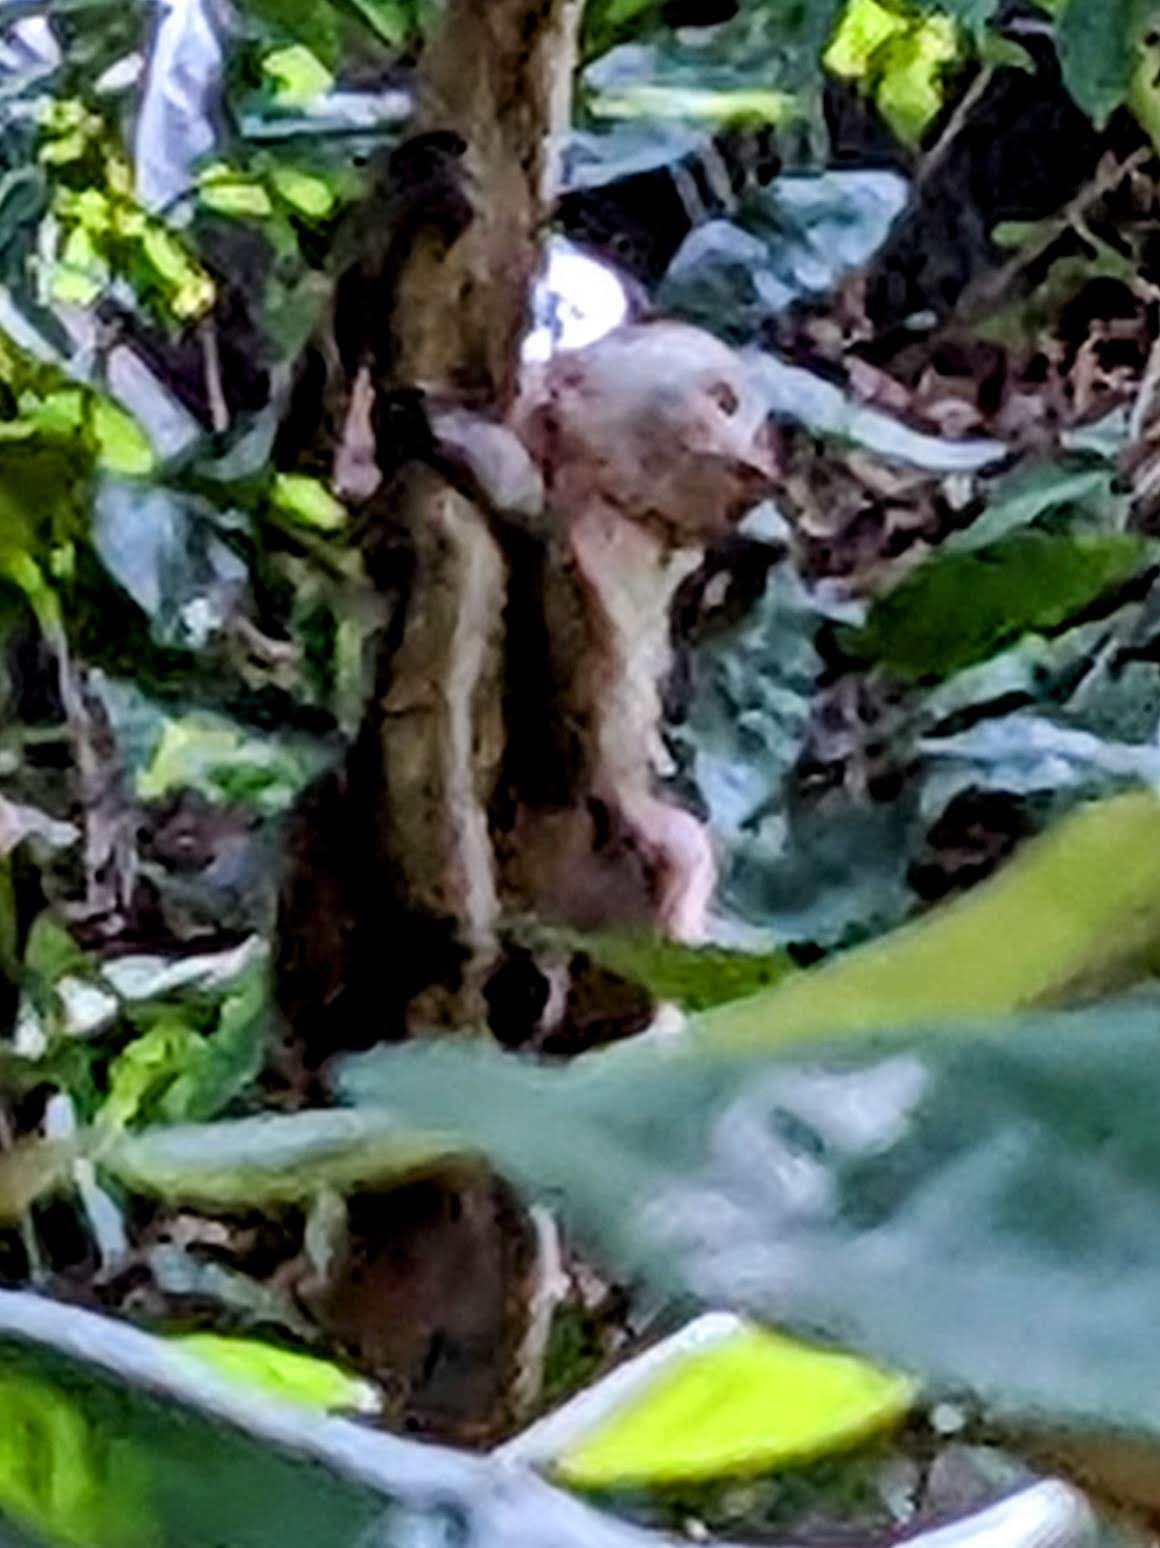
The path led back into the rainforest and converted back to an extended stretch of boardwalk. It was at this point we heard, and then saw, a family of Capuchin monkeys crossing the path at the tree canopy level!
We were able to get a few grainy cell phone photos and bigfoot-quality videos of them before they went deeper into the forest.
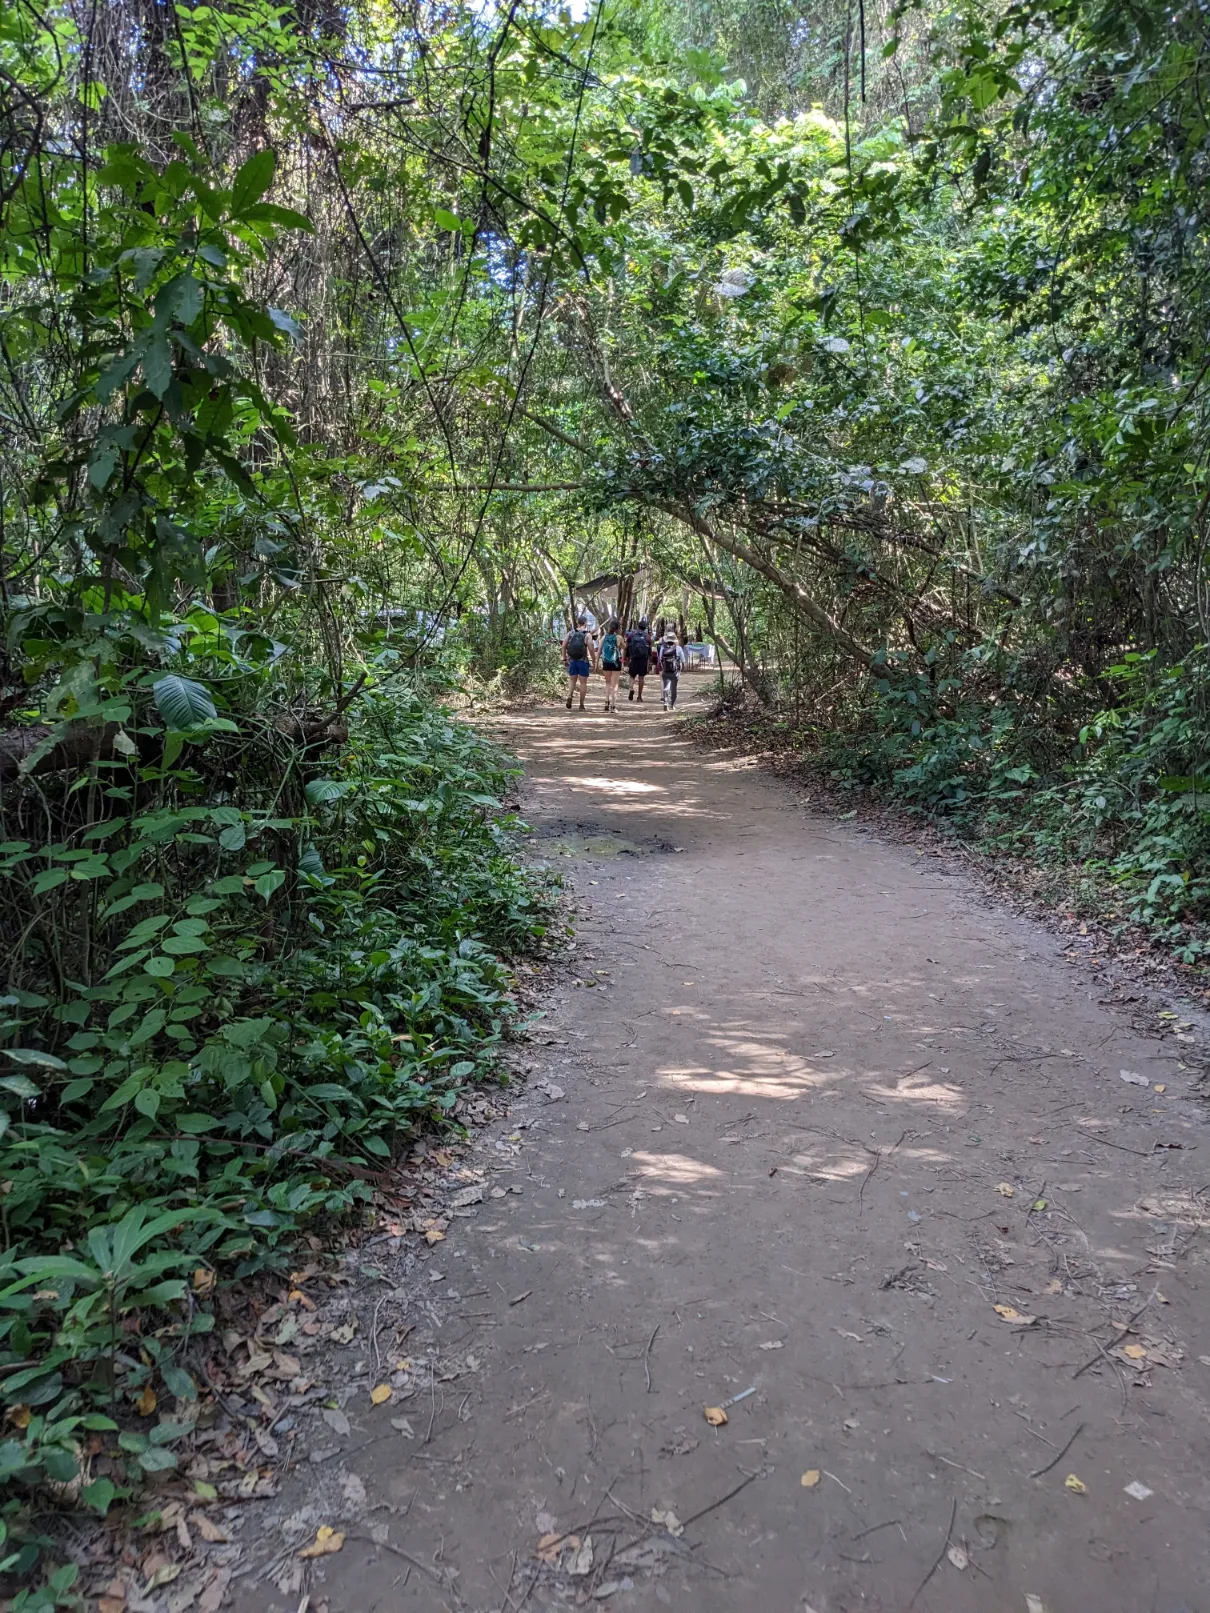
After one final push through the rainforest boardwalk, the path opened up to a much wider path…
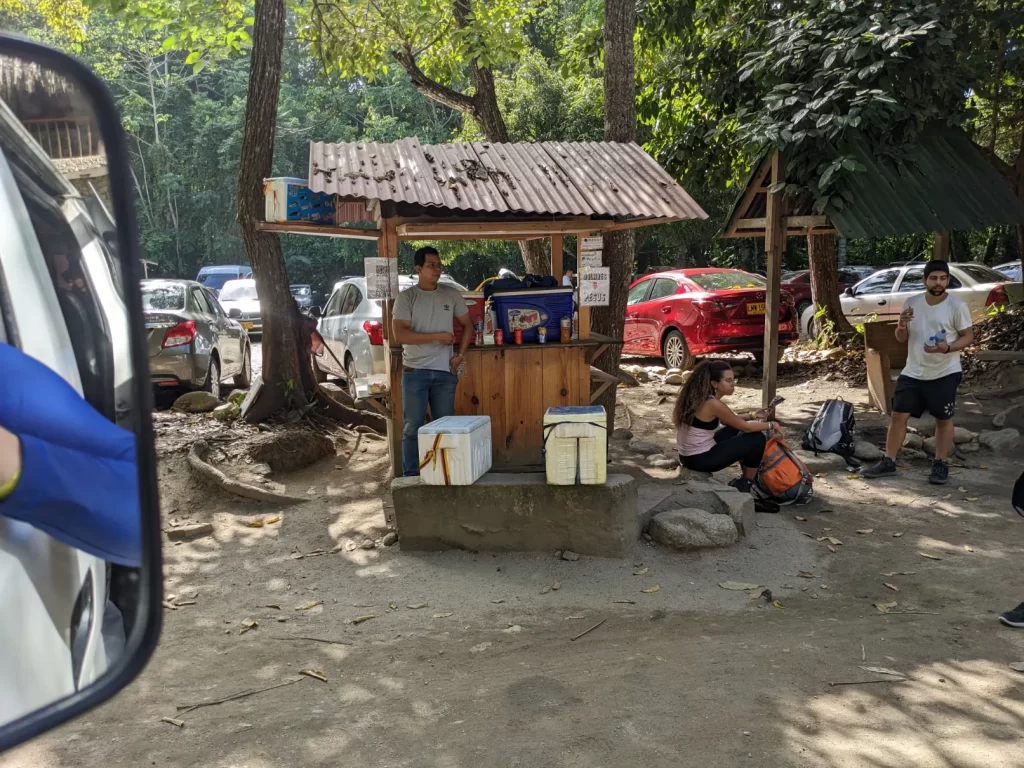
That led to the Museo Chairama shuttle pickup point! It was about 3 pm when we arrived.
We were very happy to fork over the $5,000 COP ($1.07 USD) per person ticket fare. Taking the shuttle cut off 45 minutes of additional walking back to the Zaino park entrance during the hottest part of the day!
Picture taken from the shuttle, waiting to depart to the Zaino park entrance!
After the shuttle took us to the Zaino park entrance, we immediately hopped on the bus back to Santa Marta ($8,000 COP/$1.71 USD per person). And from there, we took the public bus back to Taganga!
It was a fun and rewarding two days, but we were really beat!
Closing Thoughts & Considerations
Tayrona National Park was really spectacular!
And although we were very tired at the end, we were glad we planned our visit the way we did. In the end, we did a great job seeing the greatest hits of Tayrona National Park, while avoiding the vast majority of the crowds.
A few closing thoughts:
Cabo San Juan and the main trail connecting it to the Zaino entrance are easily the busiest areas of the park, at least during peak season weekdays.
If you have time for a second night in Tayrona National Park, renting a hammock in the Arrecifes area is the perfect place to break up our long Day 2 hike.
It was a shame that the Pueblito village site is closed to the public, but I’m sure they have their reasons. The entrance has been closed for several years now, but it would be great if it were reopened someday. It would really add to what you can visit from the Calabazo entrance!
The rainforest trail must be a hot mess during the rainy season. We’re pretty sure we would have slid and fallen to our deaths in the mountains! 😀
We hope that you found our experiences useful!
Until next time…
Thanks for reading!
If our posts have saved you time, money, or are enjoyable in some other way, BUY US A COFFEE! It helps cover the costs of our blog, keeps our blog ad-free, and motivates us to continue posting about our experiences.
And leave a comment below and subscribe to get email notifications whenever we post!
Hello! If you are bringing in motorbikes from the outside, you *may* be able to ride to the hostel area near the highest elevation since the dirt road is theoretically public and used by the locals. But I’d reach out to the park authorities (or the hostel near the top of the incline – Hostal Dos Quebradas) for verification! The hostel should know for sure.


 - Ek Balam and Cenote X'canche")


 - Ek Balam and Cenote X'canche")


6 thoughts on “How To Visit Tayrona National Park and Avoid Crowds”
A wonderful couple of days!!
It was! There is a reason it has become the most popular national park in Colombia.
Hello! merci pour le tips ! On va louer des moto 2 semaines, est ce que on peut rouler en moto sur les 7 premier Km du sentier au depart de Calabazo ?
Merci
Hello! If you are bringing in motorbikes from the outside, you *may* be able to ride to the hostel area near the highest elevation since the dirt road is theoretically public and used by the locals. But I’d reach out to the park authorities (or the hostel near the top of the incline – Hostal Dos Quebradas) for verification! The hostel should know for sure.
Hi,
Does anyone know if the motobike have a side car, or is it just a regular motorcycle where you have to sit behind the driver?
All the motorbikes we saw were without a sidecar, with the passenger riding behind the driver.