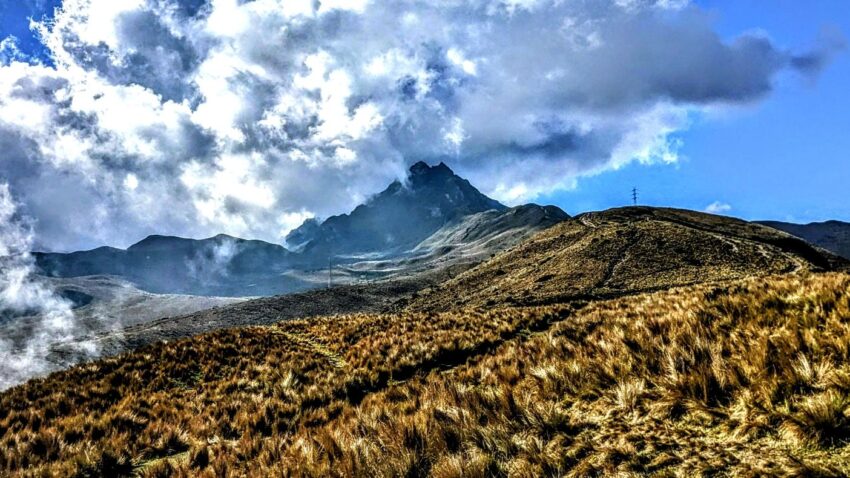
Climbing to the Cumbre Rucu Pichincha Summit – A TTT Guide
As regular readers know about us by now, we love a good hike. And we aren’t afraid of a challenge. So when our friend Xime suggested we all climb to the summit of an active volcano close to our Airbnb in Quito, we were all ears. How bad could it be? It turned out that the hike to Cumbre Rucu Pichincha, as the volcano’s caldera is called, would be a journey that would test our limits in ways we would not soon forget.
What a day it was!
We’ll show you what we did, step-by-step, so you can do it too if you visit Quito!
A TTT Guide to Climbing to the Cumbre Rucu Pichincha Summit
- Volcán Pichincha and Cumbre Rucu Pichincha
- Preparing for the Cumbre Rucu Pichincha Hike
- Getting to the Cumbre Rucu Pichincha Trailhead
- Two Travel Turtles Hike to Cumbre Rucu Pichincha
- Closing Thoughts & Considerations
Volcán Pichincha and Cumbre Rucu Pichincha
Volcan Pichincha is an active stratovolcano that last erupted in 2002. It is also where the TelefériQo gondola summit is located, which seems like a curious match. Volcan Pichincha has two caldera peaks (= cumbres), Wawa Pichincha and Rucu Pichincha.
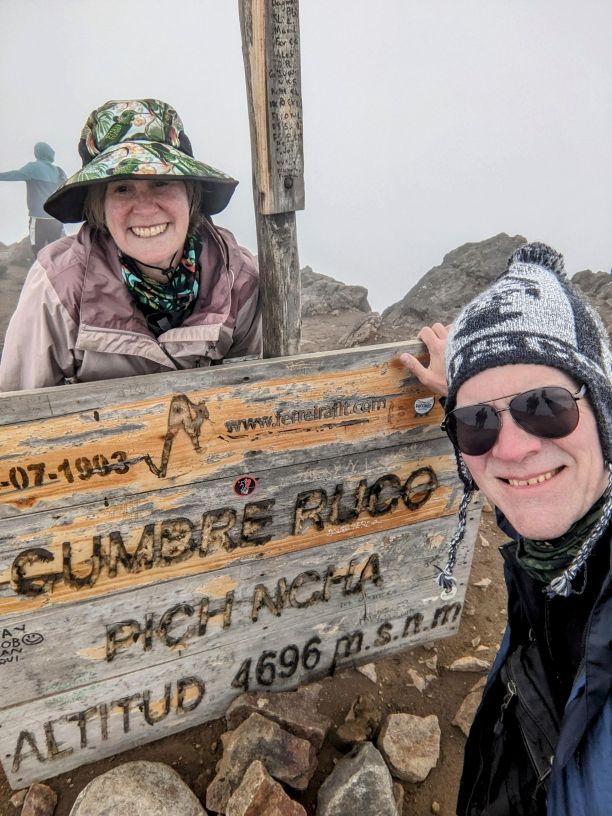
Cumbre Rucu Pichincha, or “old person summit Pichincha” in indigenous Kichwa, is the shorter of the two at 4,696 meters (15,407 feet). The trail to Cumbre Rucu Pichincha is a popular altitude acclimatization hike to prepare for more challenging climbs in the Andes.
But that said, it is a high-difficulty climb on its own due to the steep terrain and unpredictable weather at altitude.
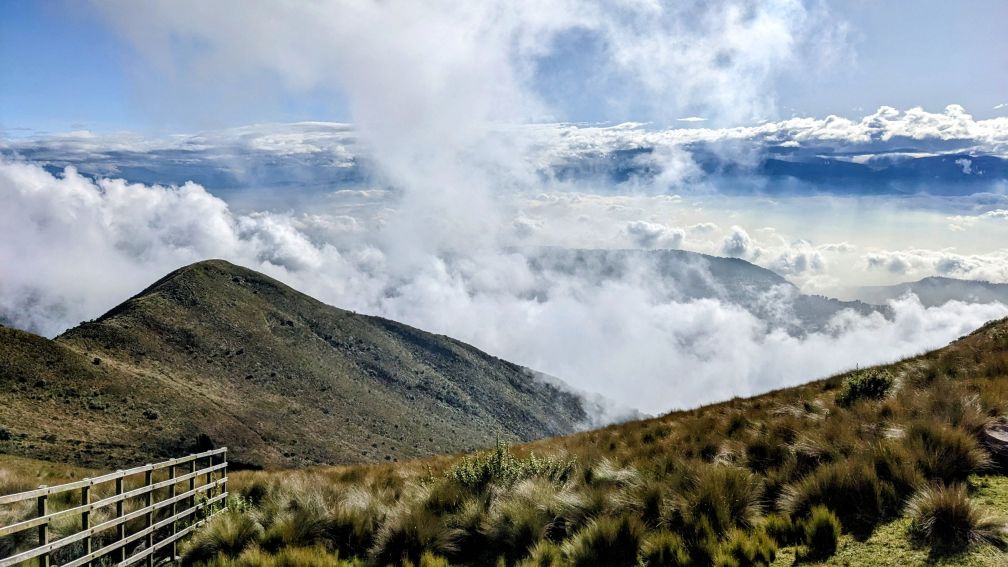
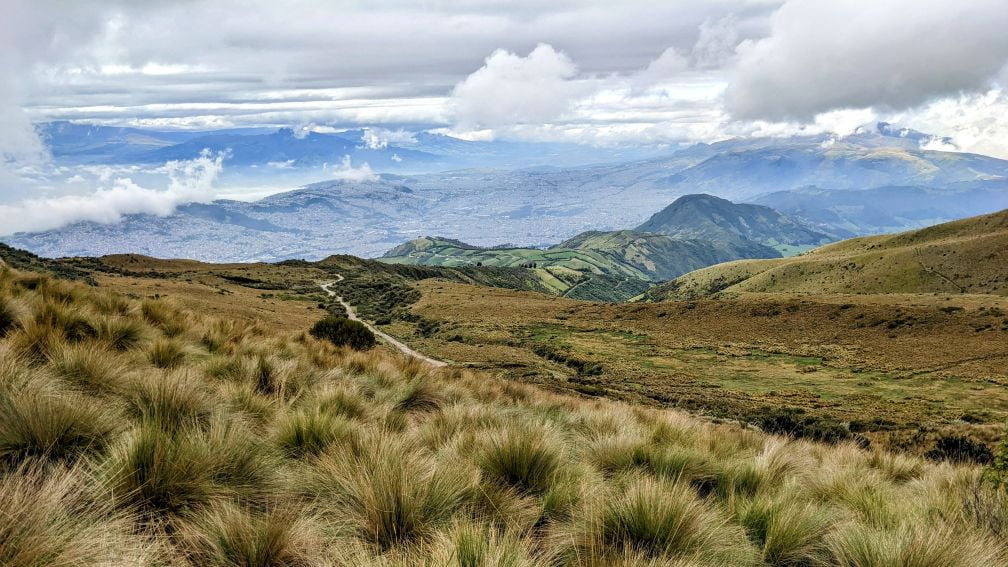
We could tell from our previous visit to the TeleferiQo that the views on this hike would be spectacular!
Preparing for the Cumbre Rucu Pichincha Hike
The altitude is pretty extreme by normal standards, so we prepared like we were going for a hike in the early wintertime in the northeastern United States.
In our case, this meant a top and bottom base layer, over which we wore long pants and a pullover. Over that, we wore a vest. And when the weather was windy or rainy, we would put on a hard shell windbreaker over everything.
We also brought light gloves, a winter hat, and ear protection. And sunblock for our face, neck, and hands.
Good hiking boots were required as well, as the terrain is absolutely brutal for about half of the hike. Serious mountain goat-type terrain.
Finally, we had day packs to stow our gear as the weather changed.
We also made sure to bring water and snacks to fuel our climb!
We planned to start our hike in the morning, as soon as TeleferiQo opened at 8 am. The weather is almost always best in the morning and can change rapidly as the day progresses. So do your due diligence and check the weather in advance if you plan on doing this hike.
Here is a map of the 6.2-mile (10-kilometer) round-trip hike we took. Plan for it to take at least 5 hours. And note the topography elevation gain as you approach Cumbre Rucu Pichincha!
Getting to the Cumbre Rucu Pichincha Trailhead
Pretty simple.
Just go to the TeleferiQo in Quito, buy tickets, and ride to the top!
If you are unsure how to do this, we show you how in our post: Our First Week in Quito Ecuador.
Once at the top, you’ll walk to the trailhead.
Two Travel Turtles Hike to Cumbre Rucu Pichincha
Here is a blow-by-blow account of our hike to Cumbre Rucu Pichincha.
It wasn’t easy. Be warned.
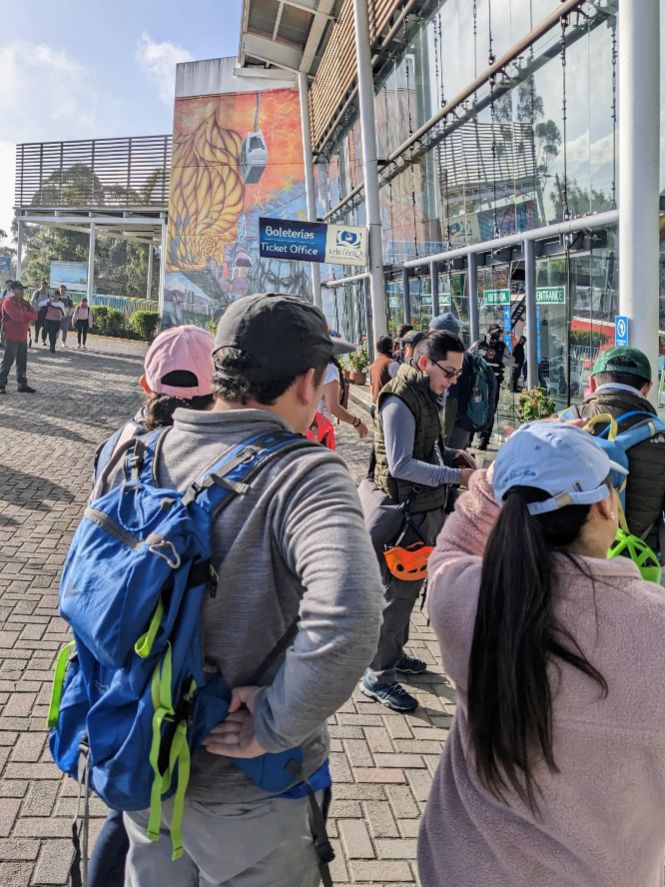
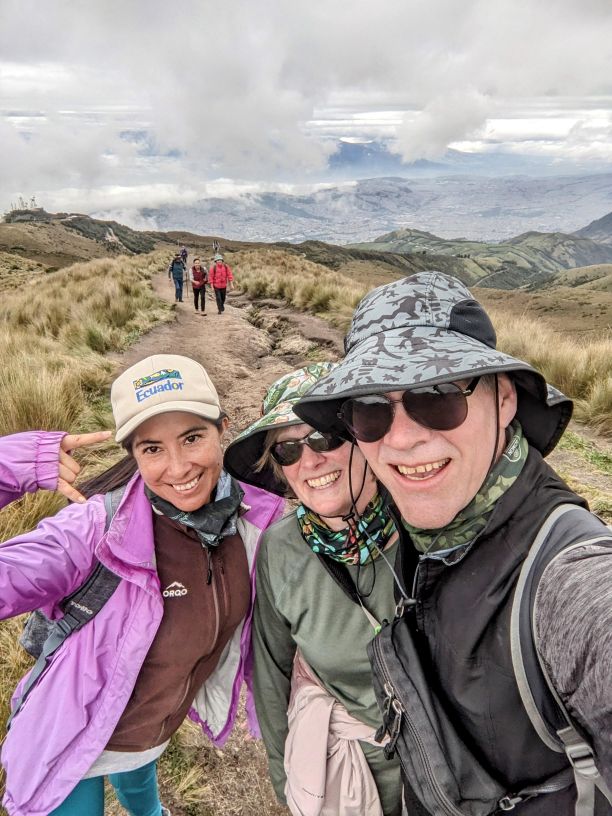
We woke up bright and early on a Saturday and met Xime at the bottom of the TeleferiQo at 8 am.
A line was already forming of hikers eager to get an early start on the day.
We purchased our tickets ($9 USD each, round trip) and took a gondola to the TeleferiQo station further up Volcan Pichincha to an altitude of 3,945 m (12,943 ft).
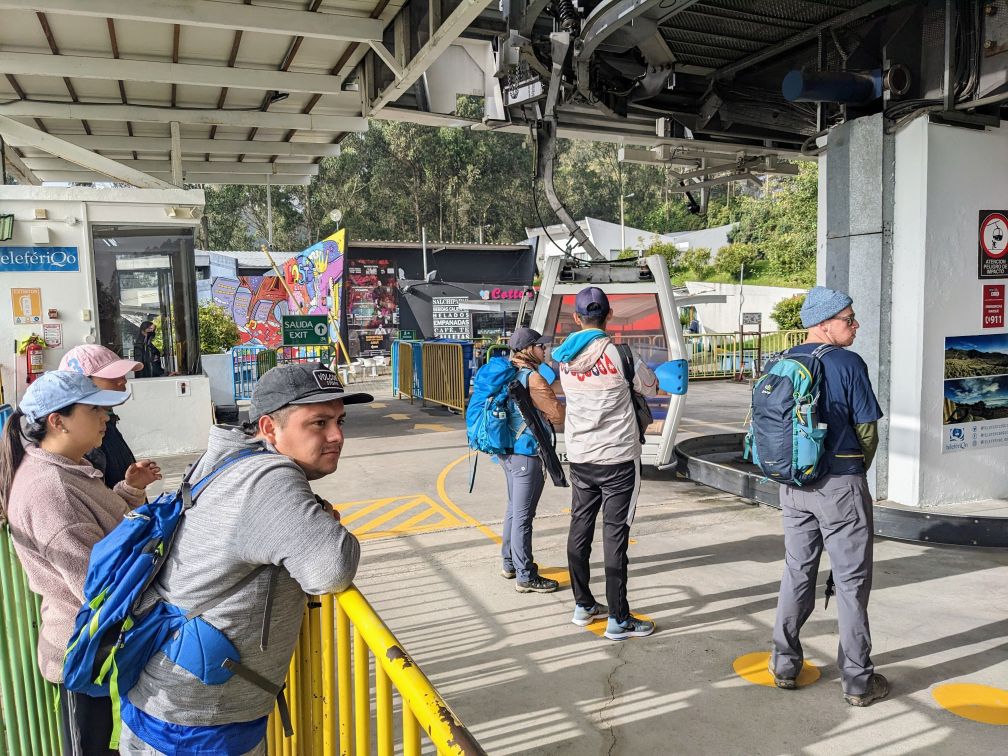
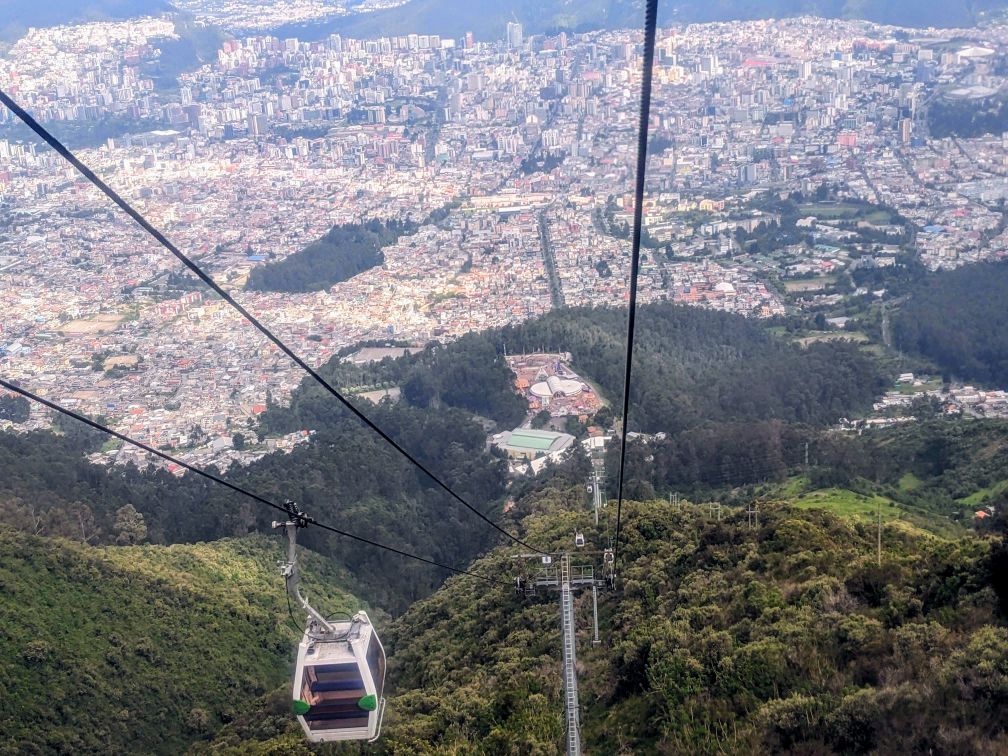
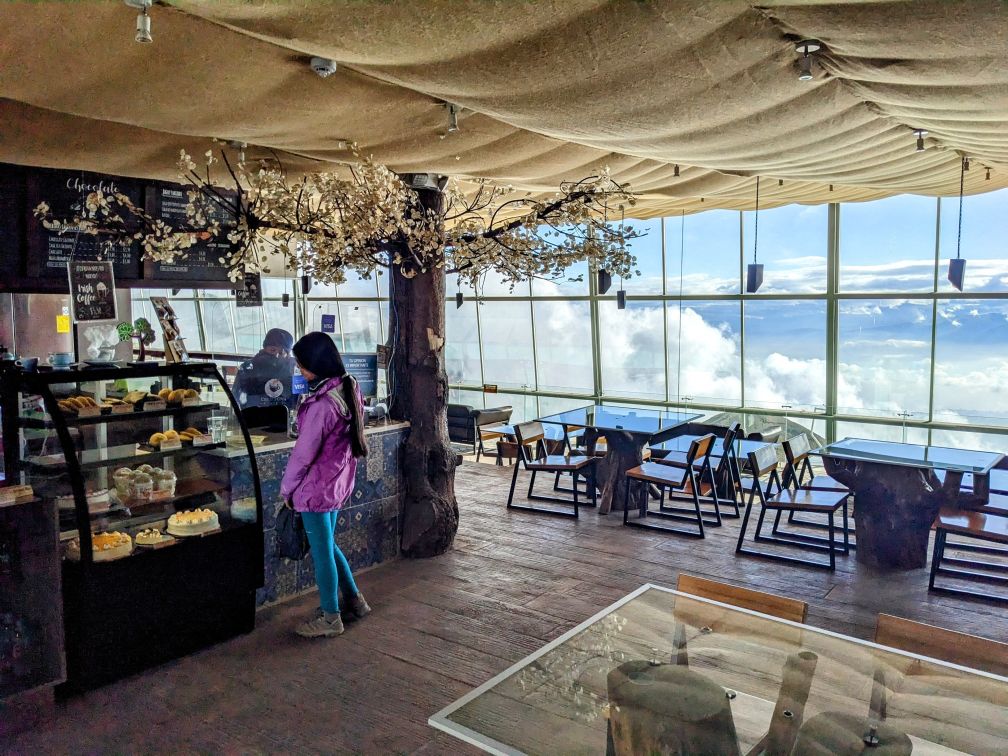
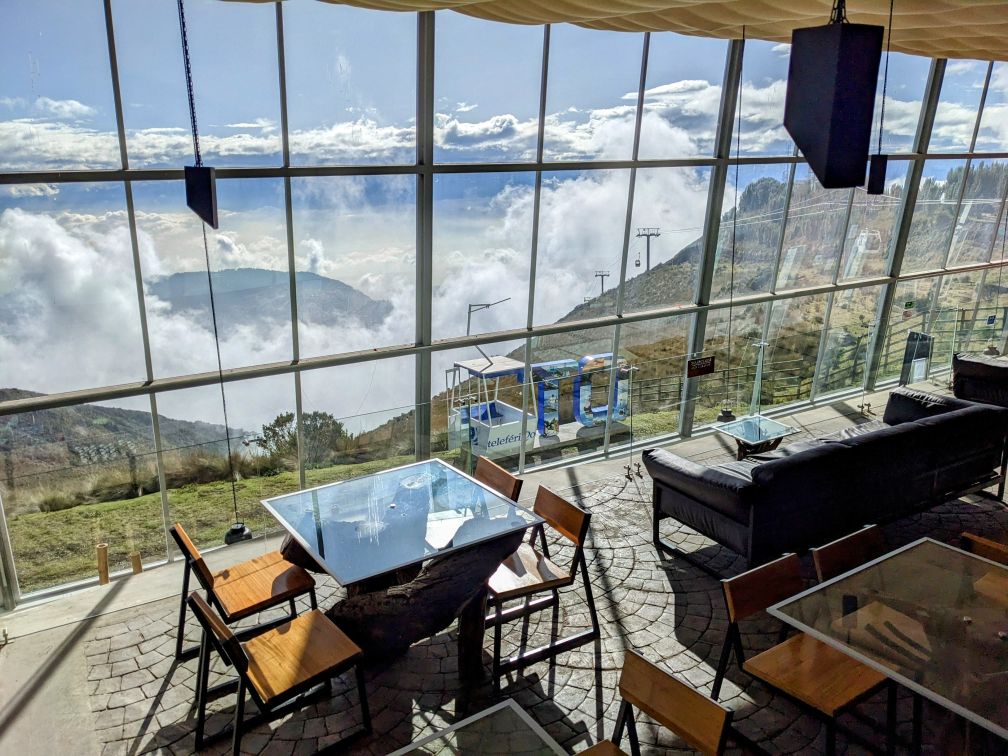
We exited the gondola station and immediately went to the cafe at the top for some last-minute caffeine intake and bathroom use.
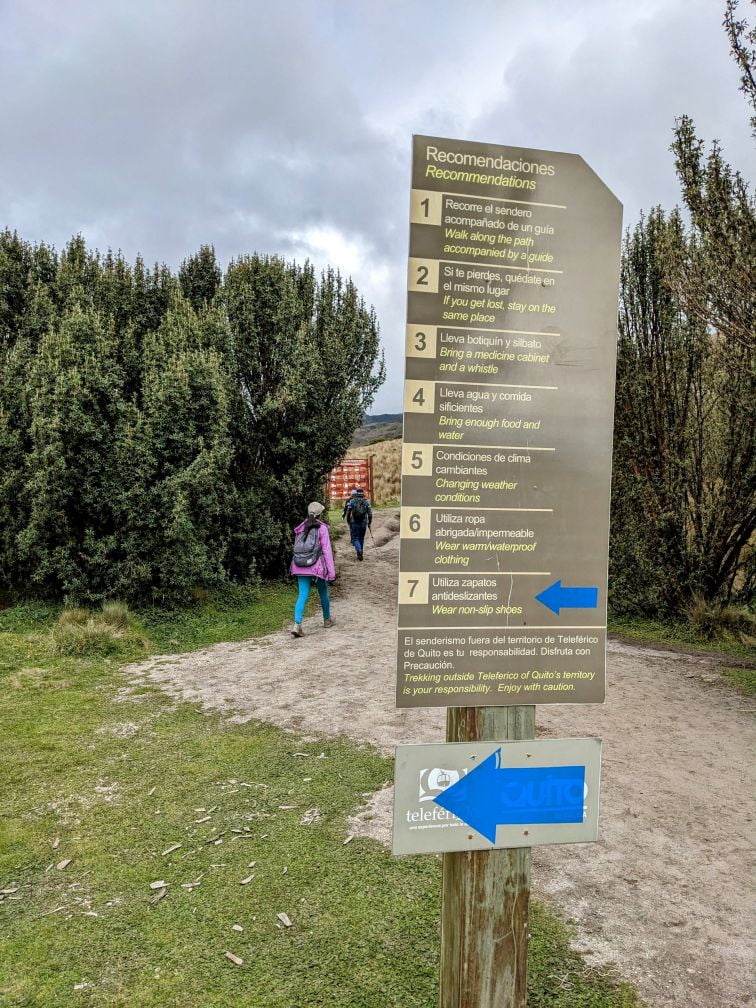
We then headed off to the trailhead by just following the signs to Cumbre Rucu Pichincha.
We quickly reached the sign for the main trailhead, where our journey started in earnest. The weather was pretty good when we started, and we were hopeful that the clouds around Cumbre Rucu Pichincha would burn off as the sun rose.
We were in high spirits when our adventure began!
Stage 1 – Onwards and Upwards
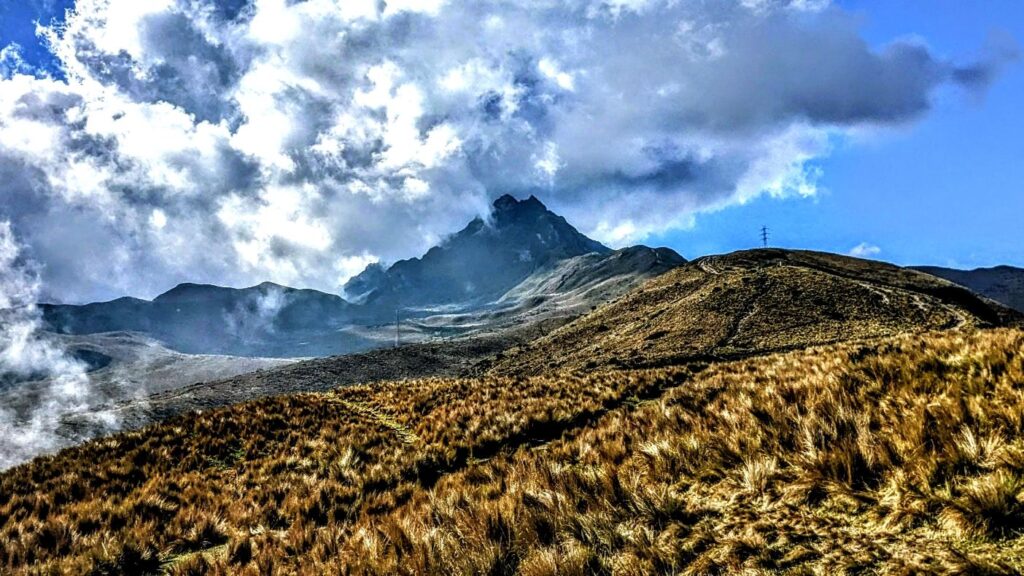
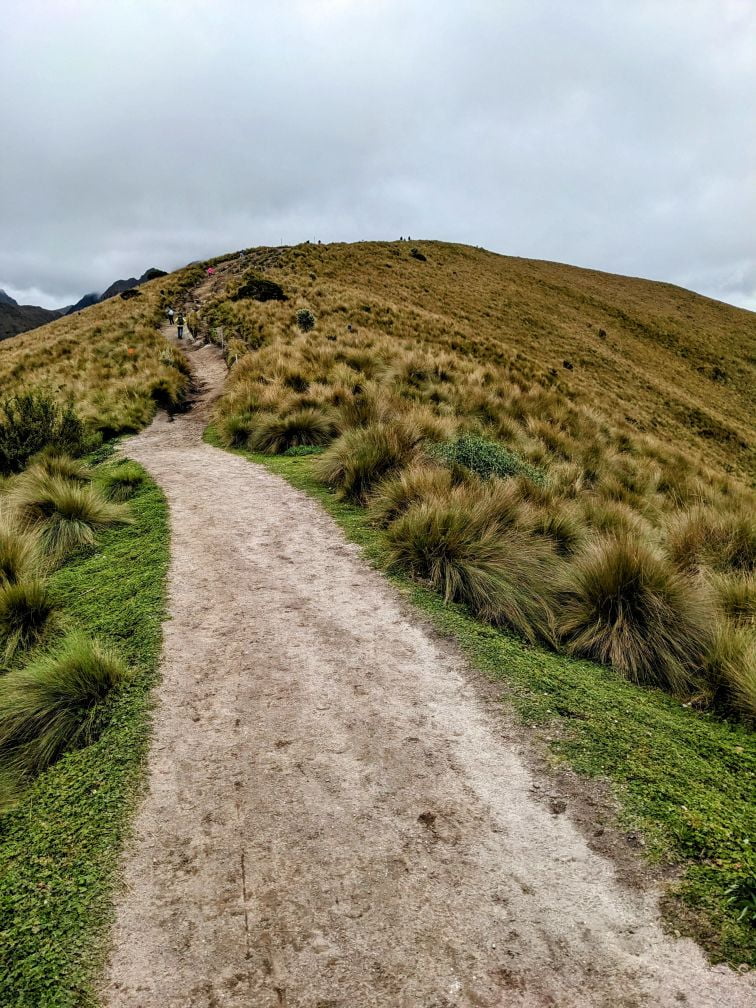
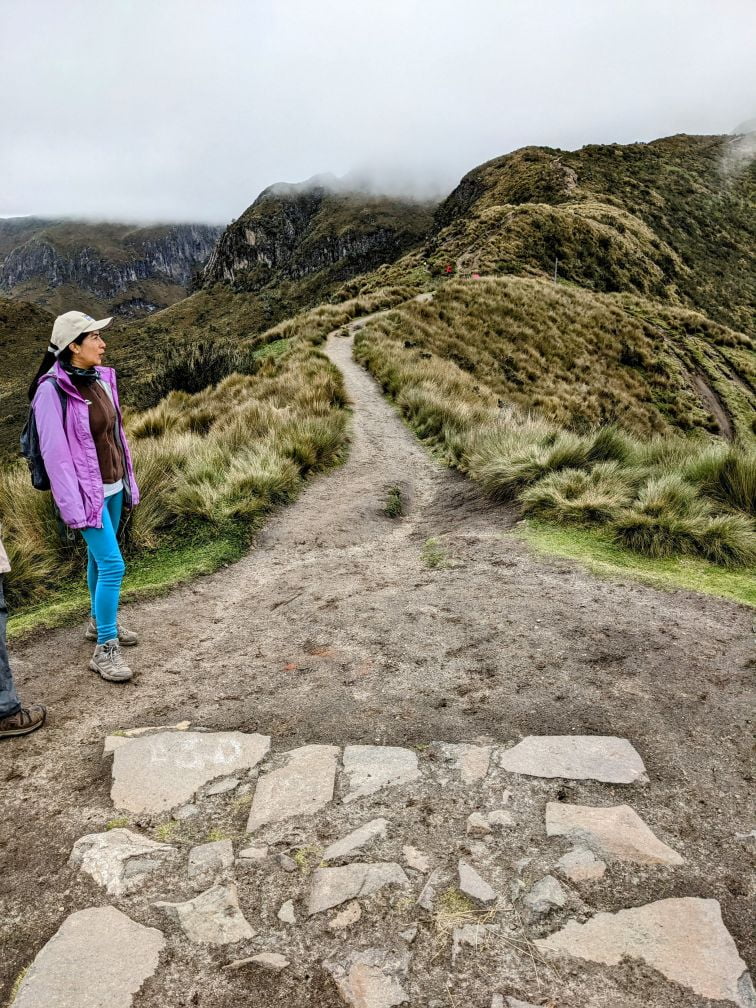
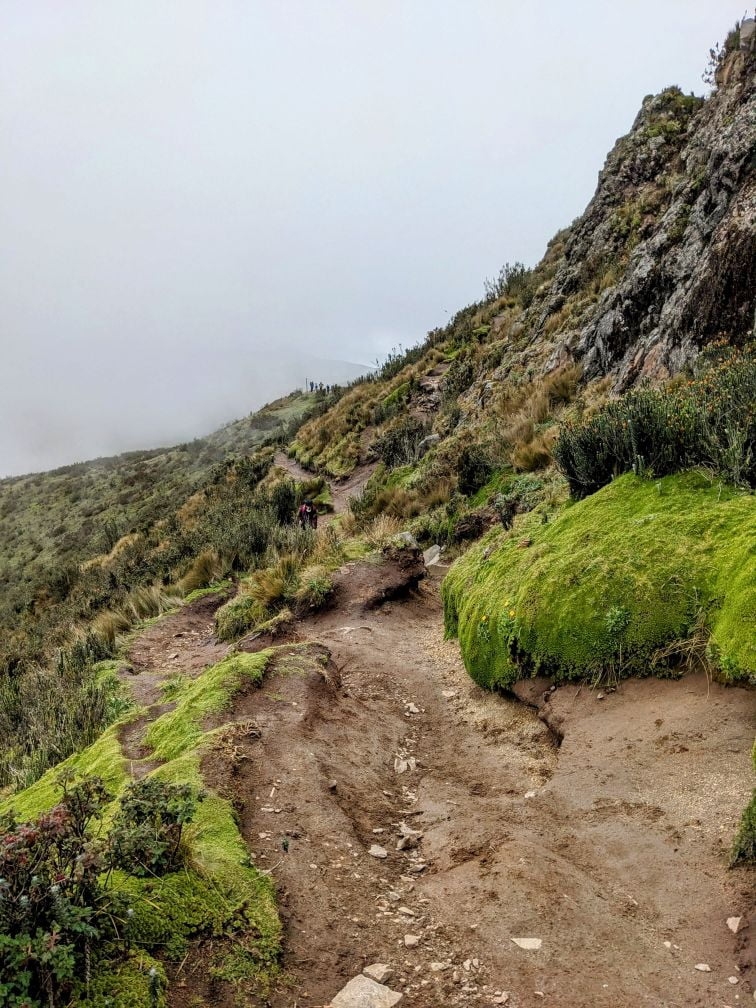
The initial segment of the hike was basically a constant upward slog along trails through alpine fields.
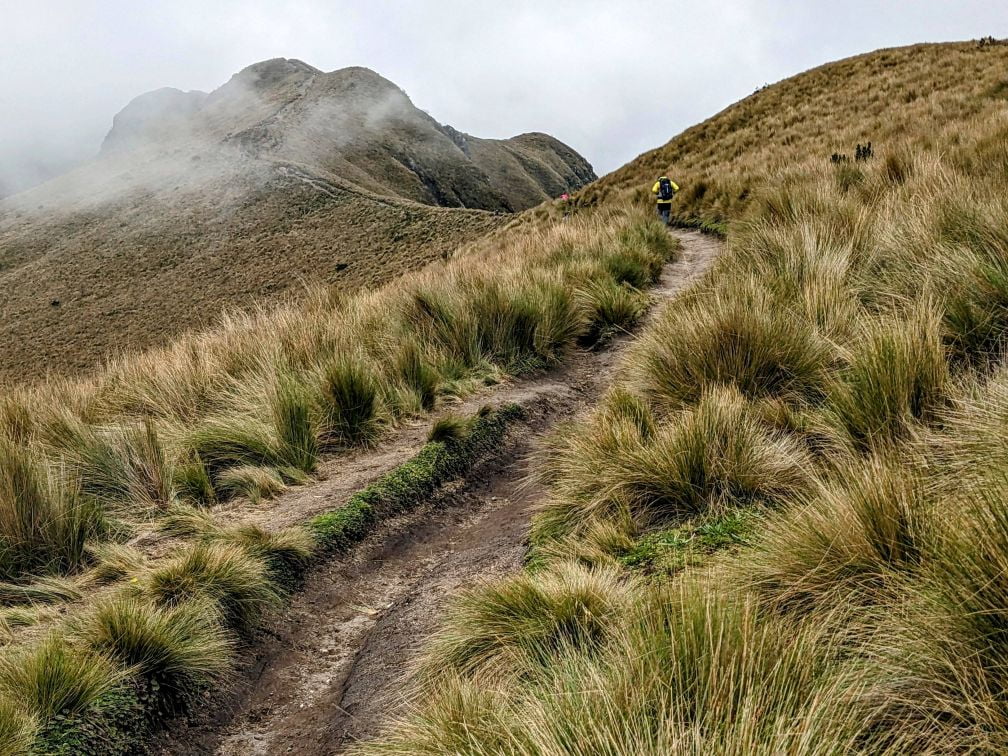
It was a workout, but we took our time and it was fine.
The altitude wasn’t really affecting us at this point, so we would occasionally stop and chat or just enjoy the views around us.
Stage 2 – Plateaus and a Change of Terrain
Eventually, the path leveled off a bit.
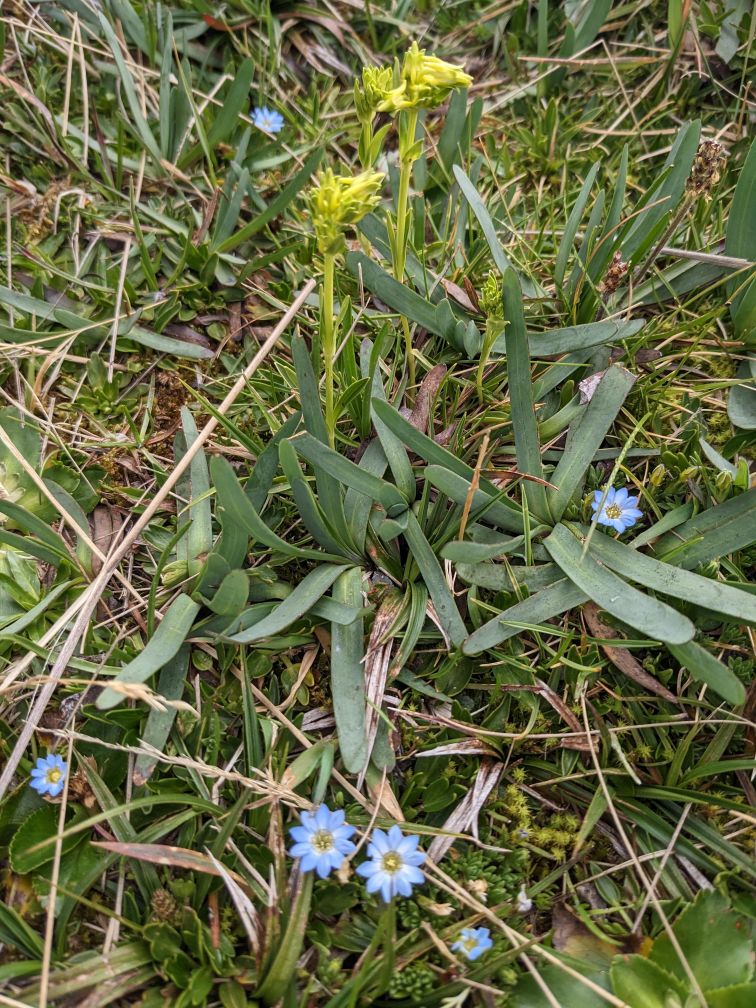
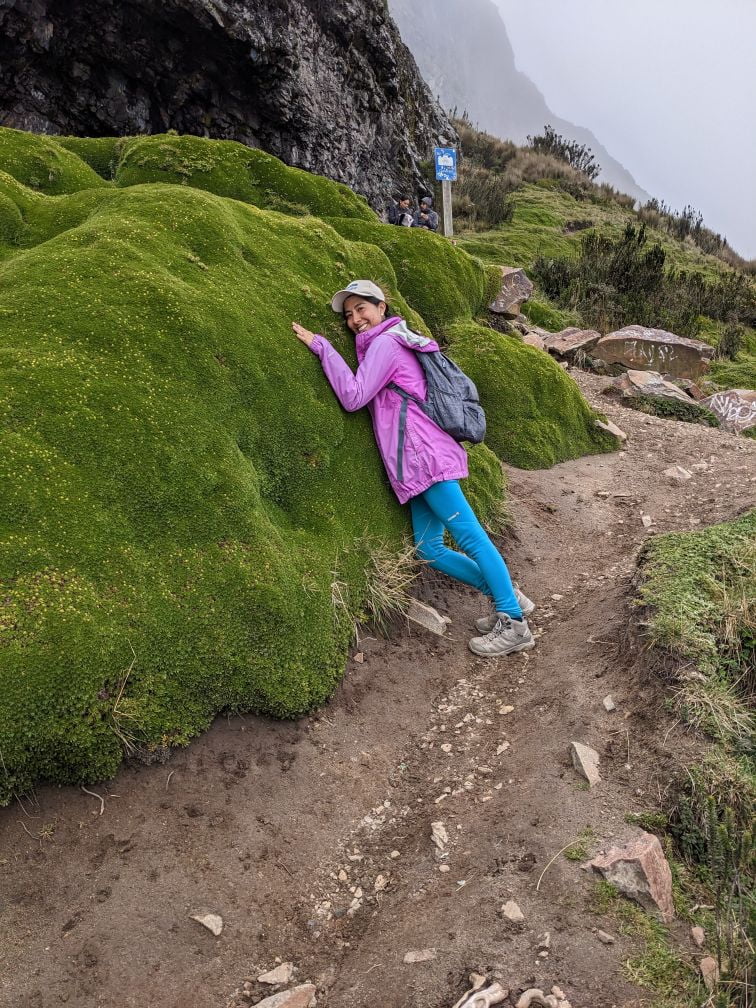
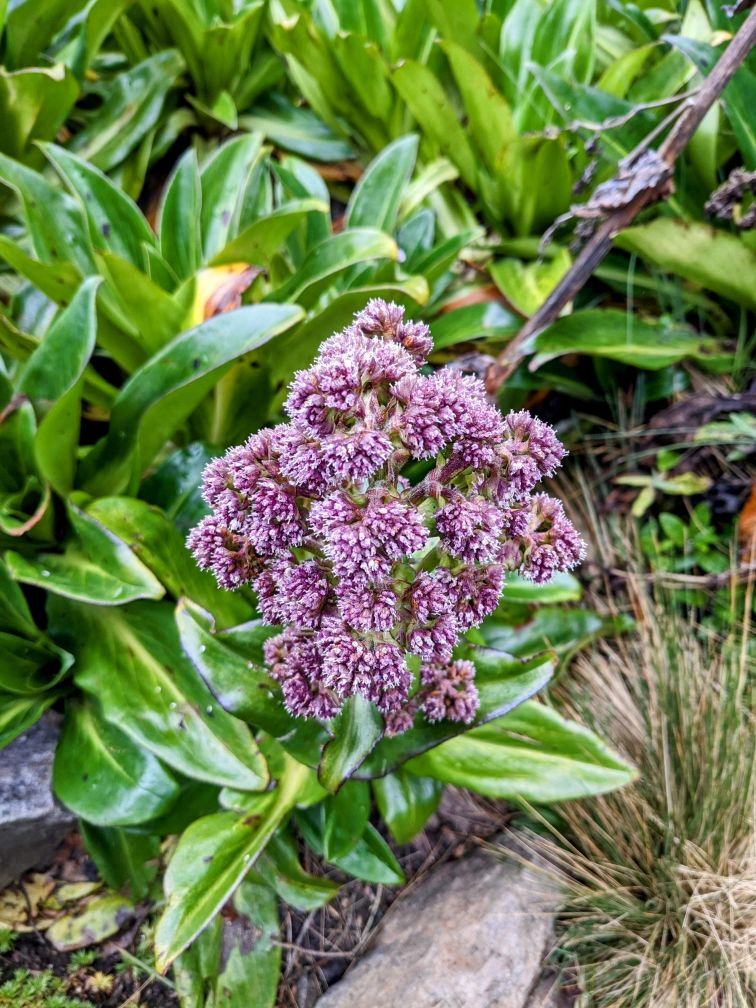
And the vegetation was starting to change.
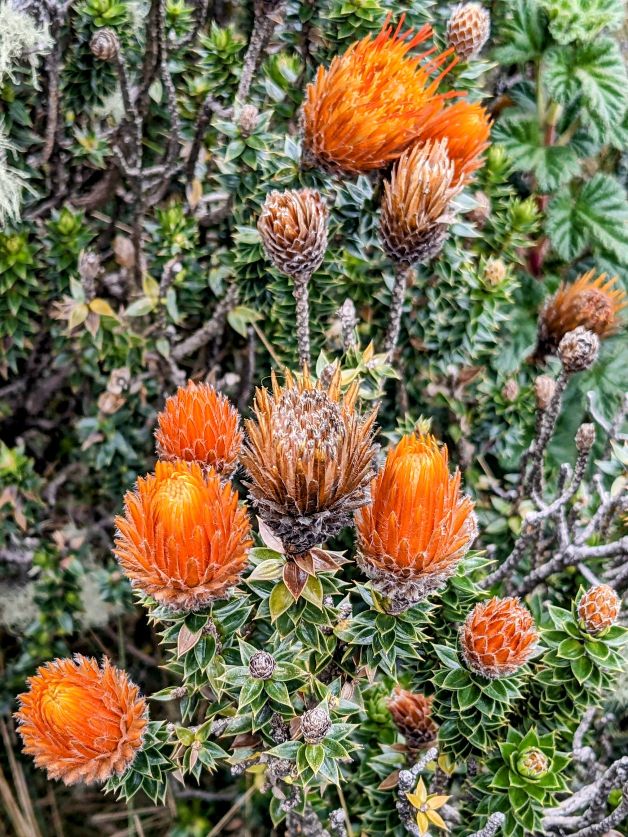
But we noticed that we were seeing some changes in topography ahead.
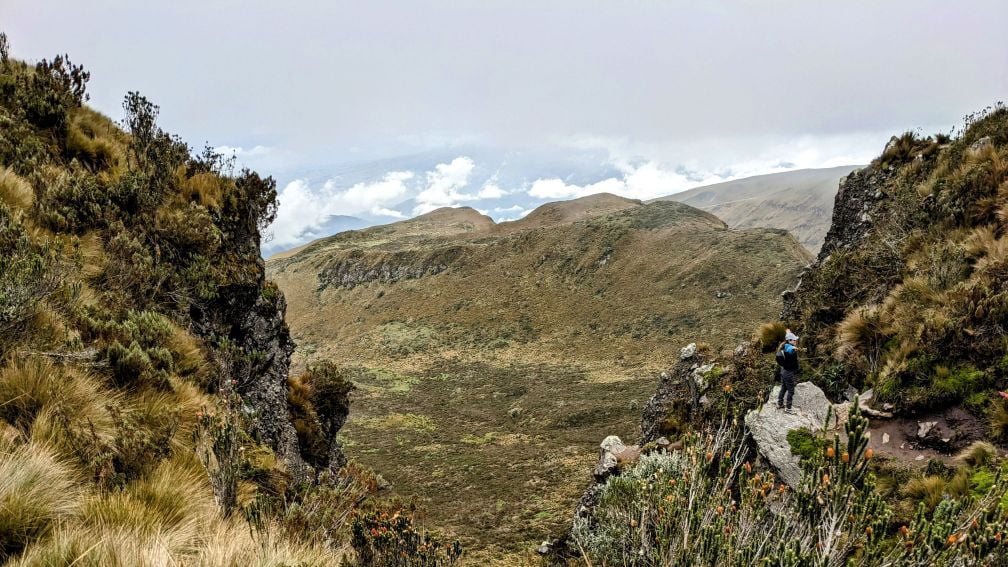
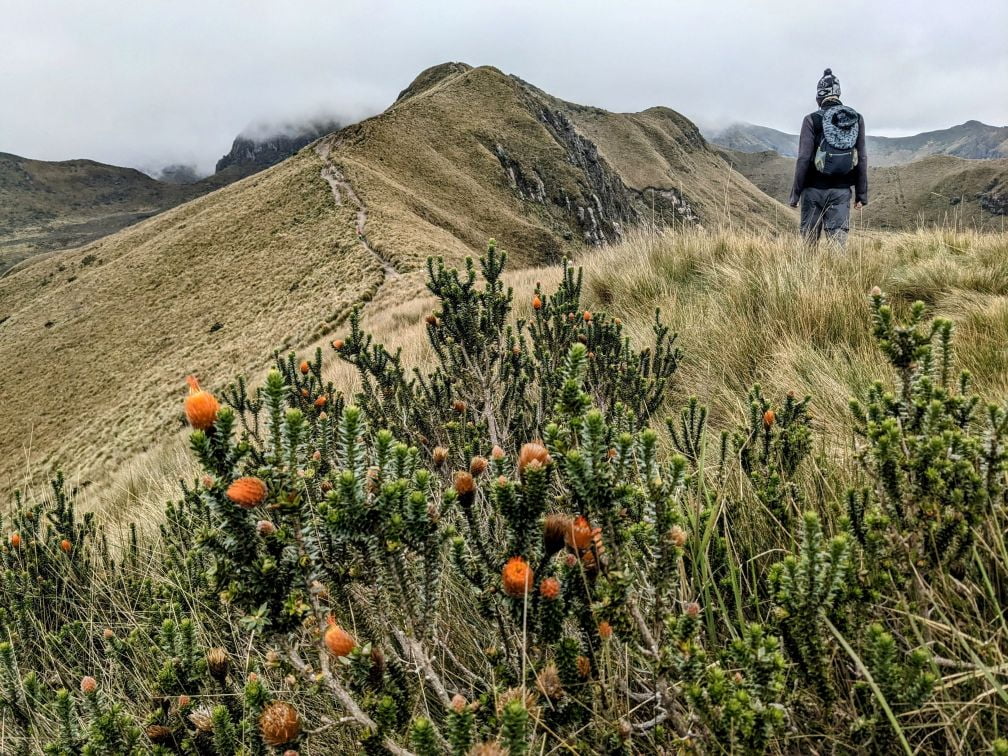
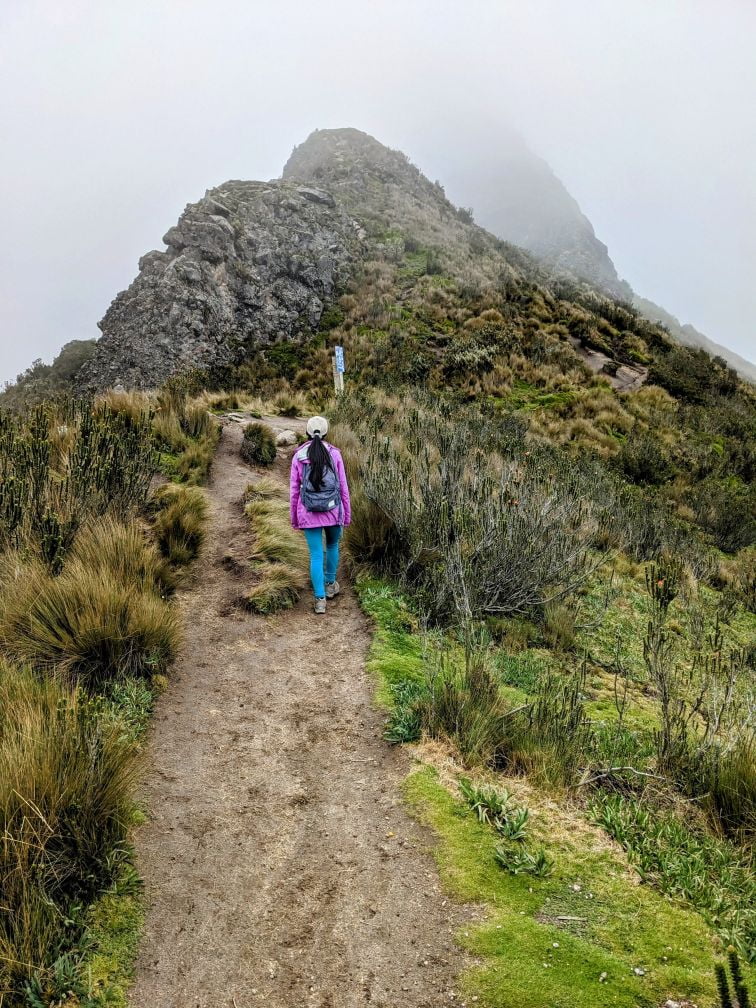
We definitely were moving into more rugged terrain. And unfortunately, fog was starting to roll in.
Stage 3 – The Way of Suffering
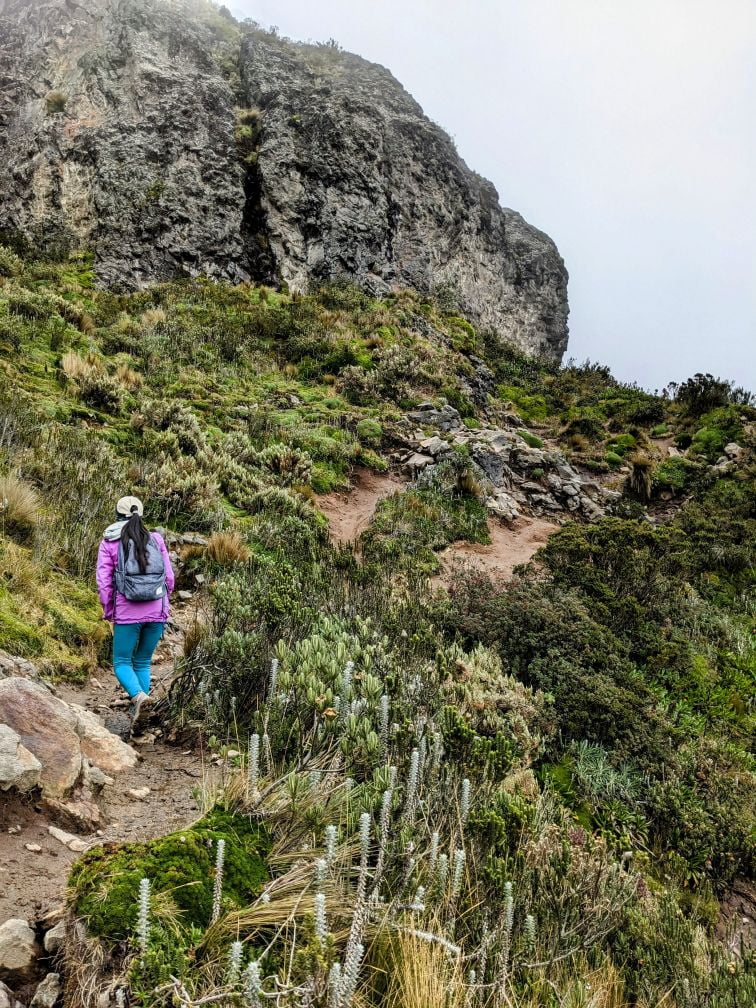
As we approached the incline that led to Cumbre Rucu Pichincha proper, changes in terrain and vegetation became even more extreme.
It wasn’t so bad at first.
But the ever-increasing altitude was starting to take its toll. So we had to go slow, and stop regularly to let our bodies recover.
We couldn’t rest for long though, as the weather was not improving.
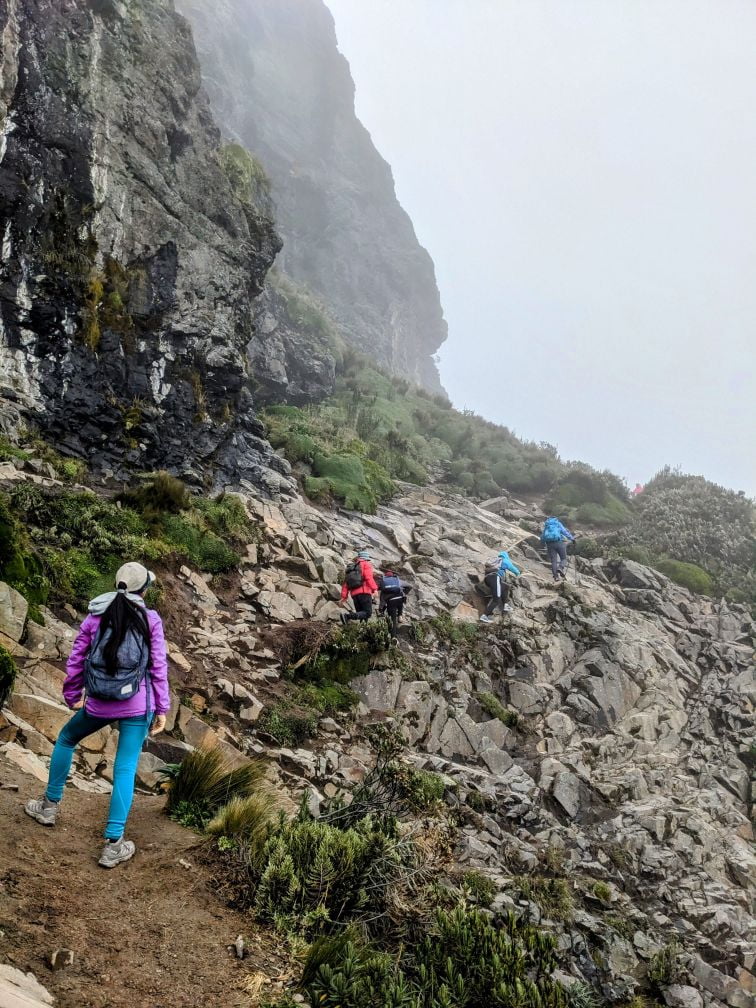
Neither was the terrain.
The combined effects on our bodies were not fun. We took breaks every couple of minutes to recover.
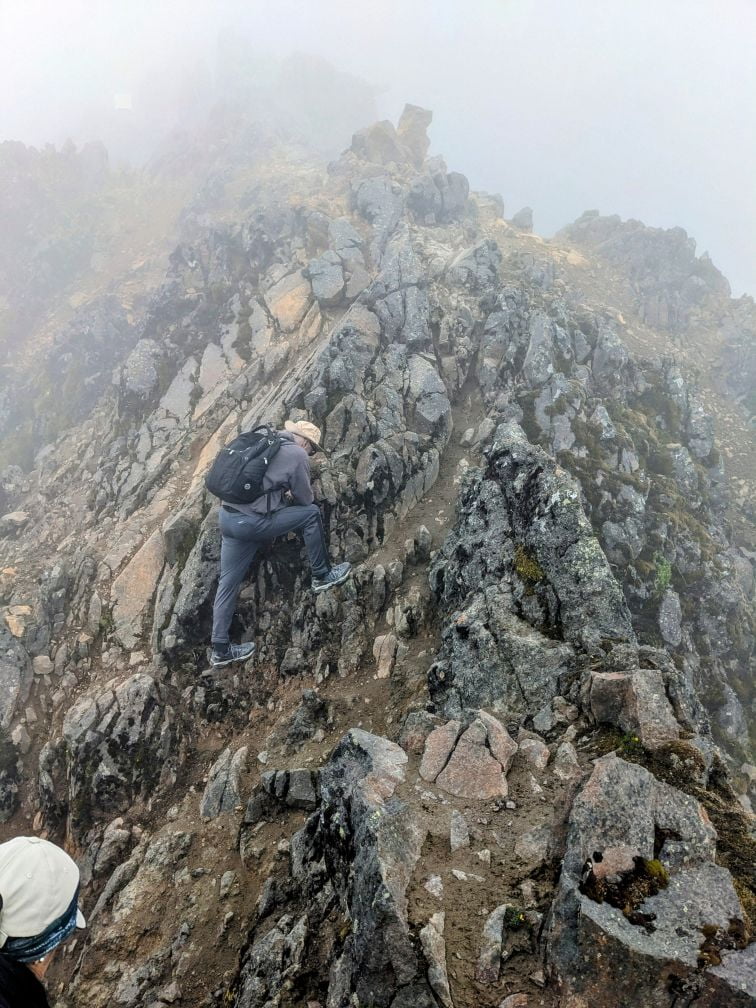
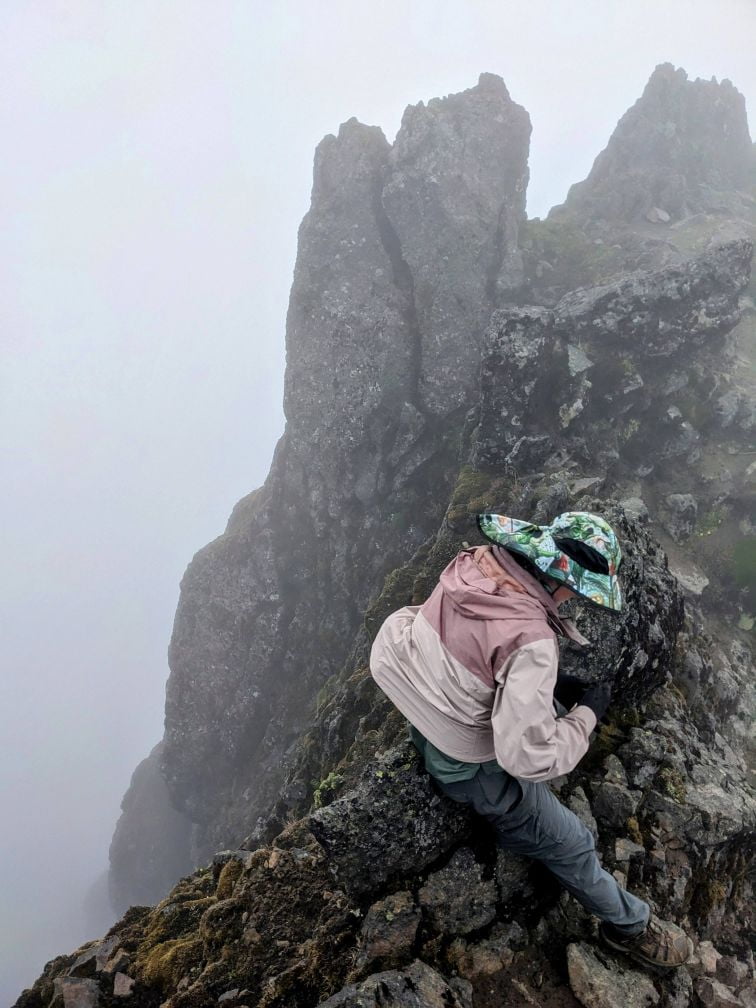
And as we moved ever upwards, the effects of altitude got even worse. Unfortunately, the incline we needed to climb was now approaching mountain goat levels of silliness.
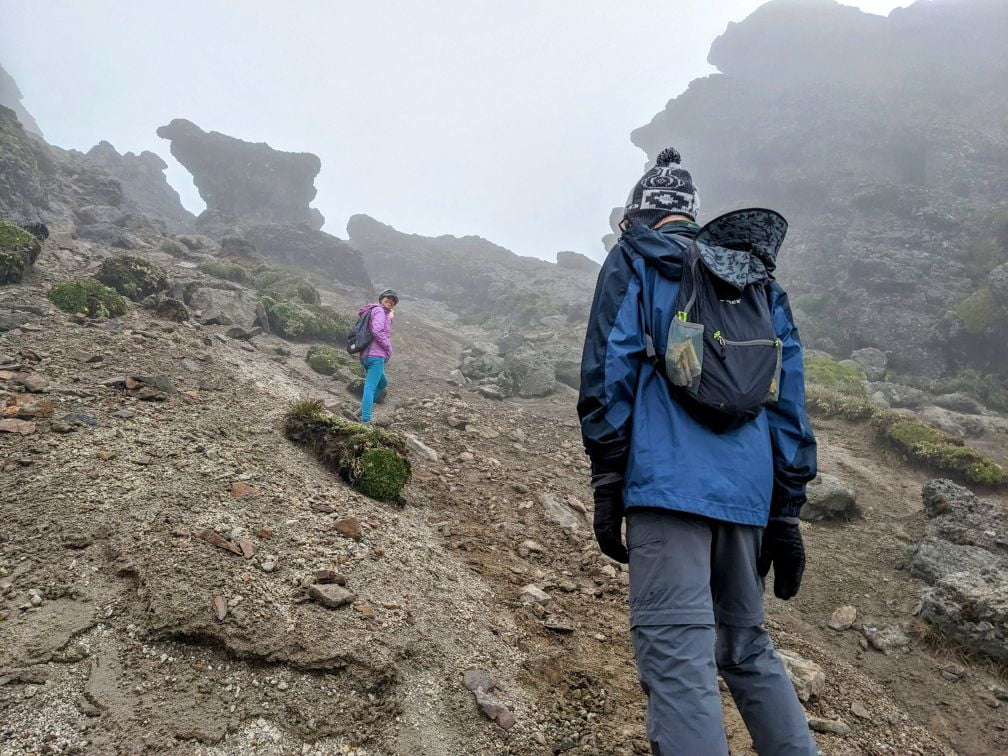
We had to climb carefully. One wrong move and serious injury could occur…or worse.
The last 500 meters took forever to scale and the effect on our bodies was excruciating.
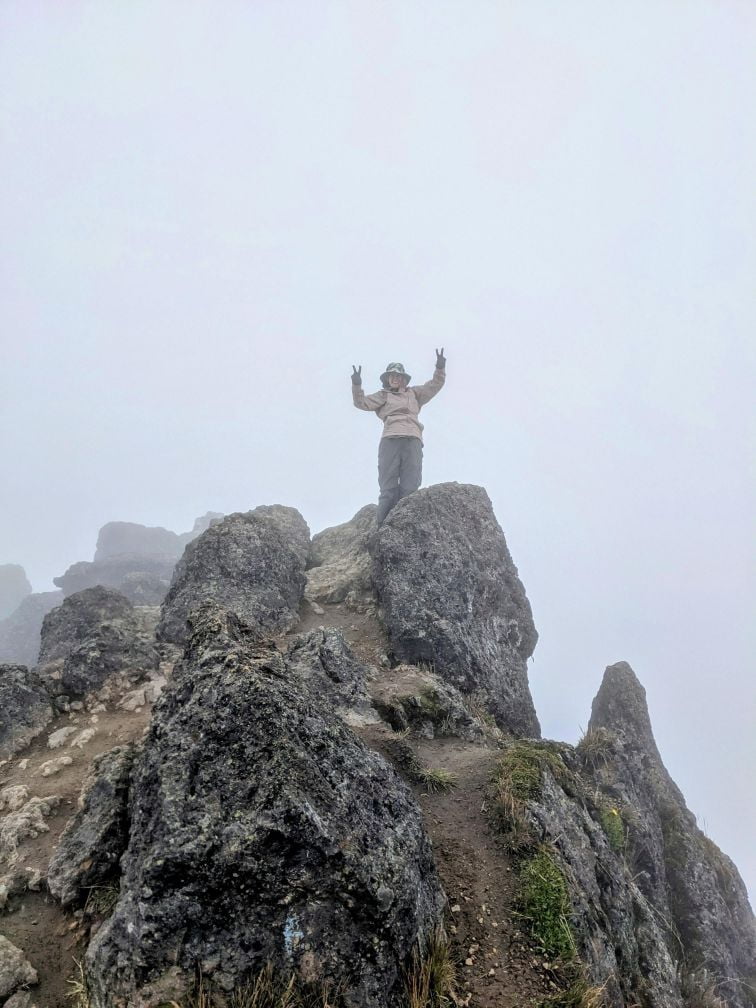
But as we climbed the last semi-vertical surface with our legs turned to complete jelly, we finally reached Cumbre Rucu Pichincha!
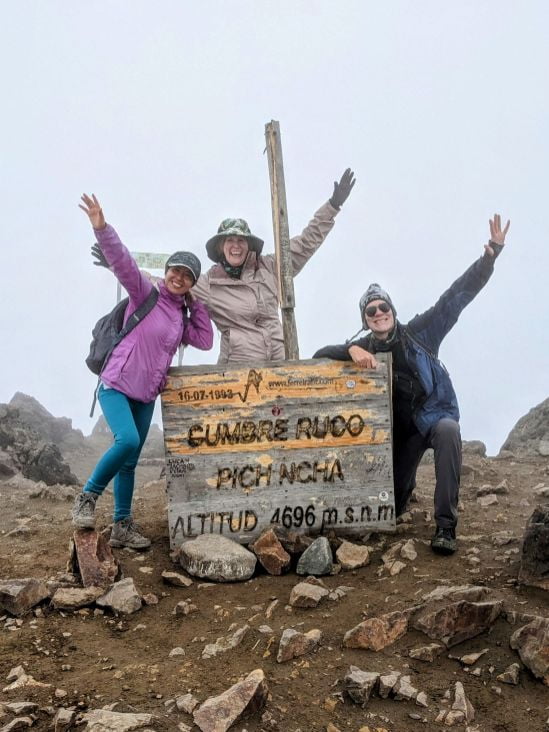
Stage 4 – Descent to the Trailhead
Descending down the volcano sounds like it would be easy and a lot of fun!
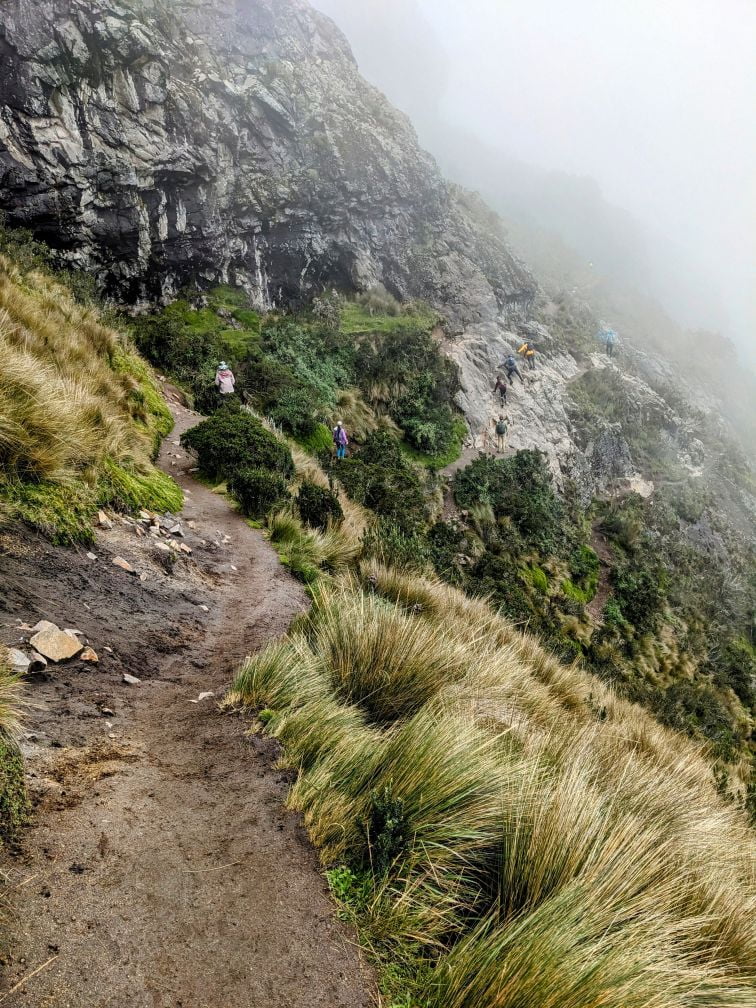
But in reality, it was super dangerous, at least during the initial descent from Cumbre Rucu Pichincha.
The ground was treacherous and the incline extremely steep!
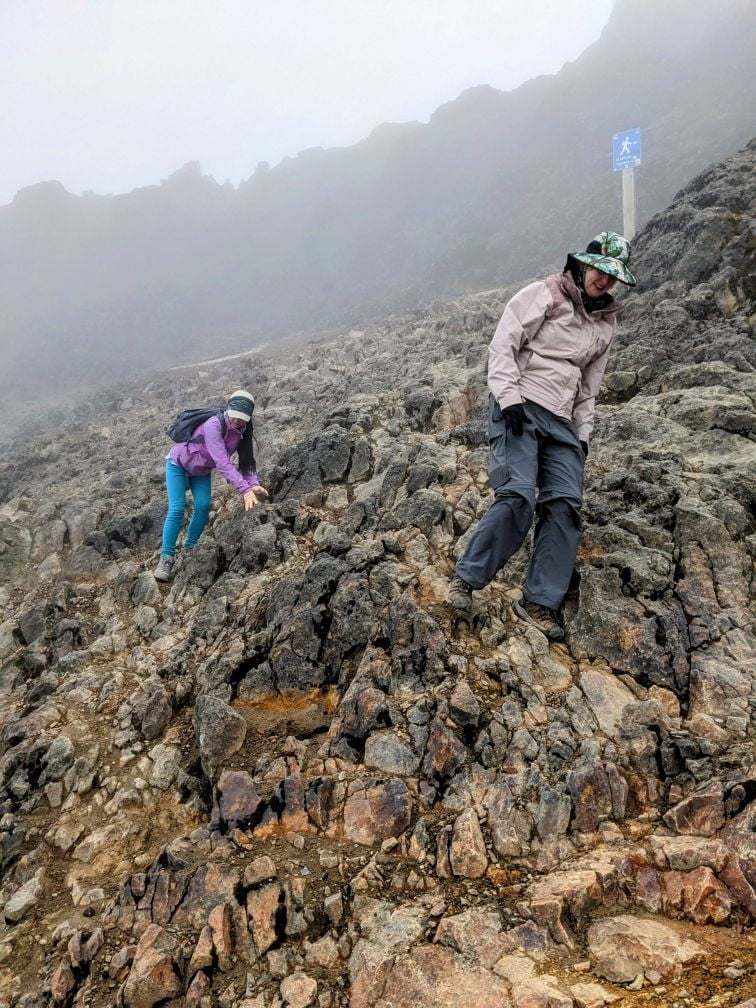
And in the parts where the ground was volcanic sand, we almost skied down parts of the mountain.
Not nearly as enjoyable as it sounds.
Also, the wind was picking up, the drizzle was making the rocky surfaces slippery, and it was getting even colder!
Needless to say, we took our time.
But as a reward for our efforts, we had a close-up viewing of a Carunculated caracara, a bird endemic to Ecuador.

Once we approached the start of the Stage 3 zone, things started to level off a little.
But our legs were absolutely shot. We took our time.
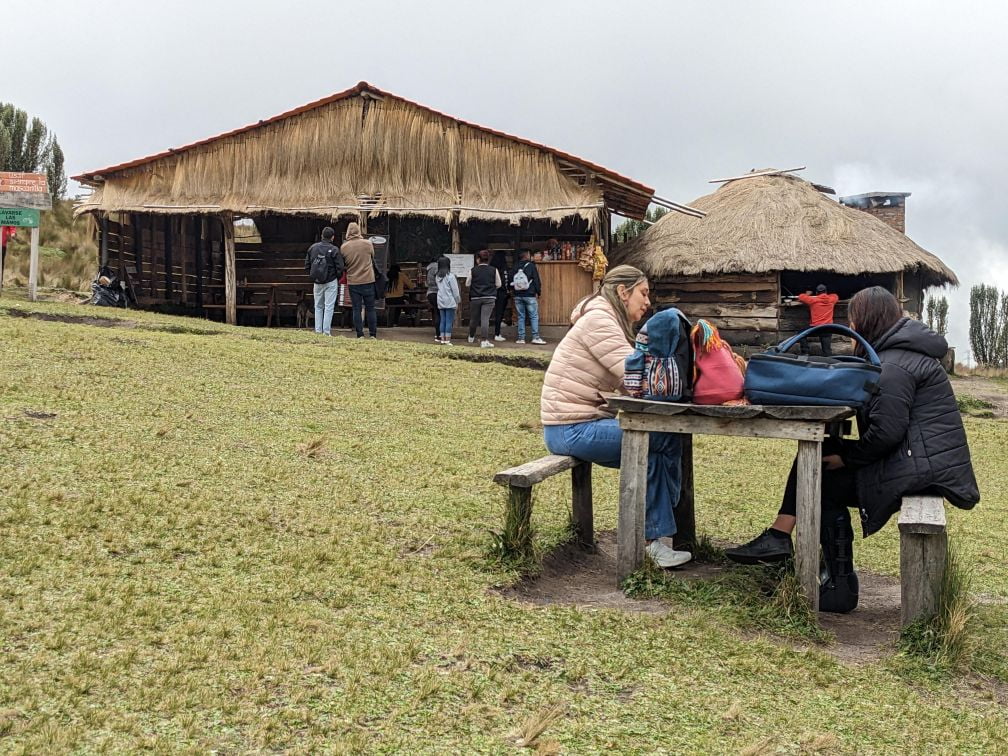
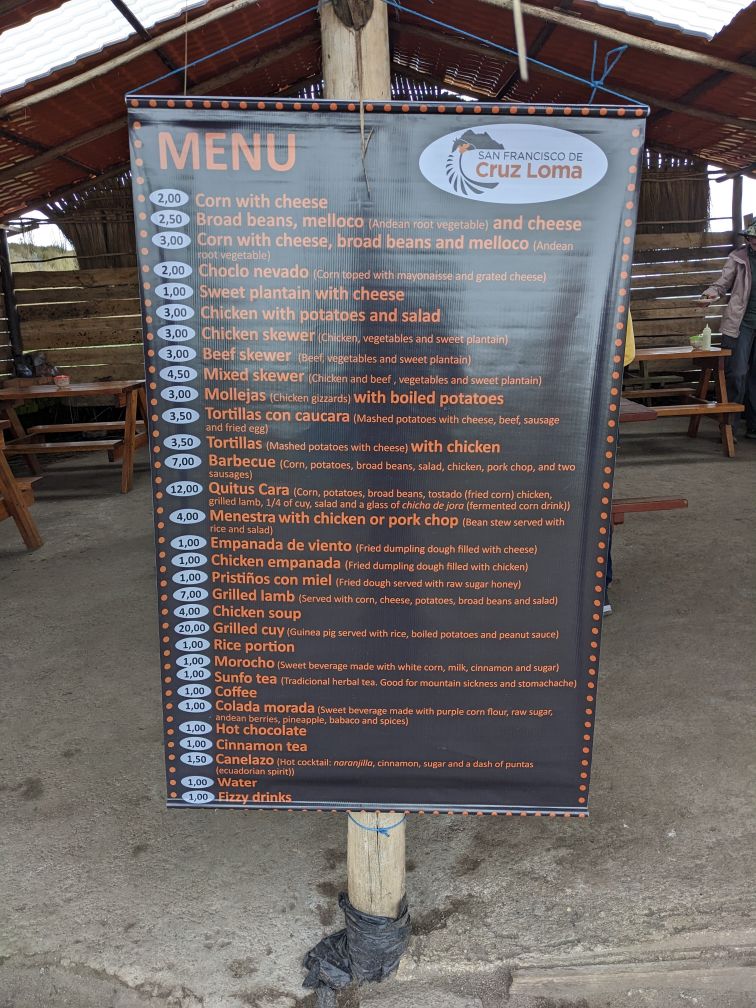
Eventually, we reached the trailhead base camp where our favorite local food shack is located – San Fransico de Cruz Loma.
Considering they have a captive audience of exhausted hikers, their prices are extremely reasonable. We ordered choclo nevado, multiple mixed skewers, and pristinos con miel!
Sorry, no food pictures. We inhaled it once it came to our table.
Looking across from where we were eating, there was a beautiful view of their corral of horses for rent, with a magnificent view.
Perhaps we should have rented horses to take us up the volcano!
Closing Thoughts & Considerations
Our hike to Cumbre Rucu Pichincha was extremely rewarding! For a couple of old farts, we are proud that we still can keep up with hikers 30 years our juniors.
The majority of the hike to the summit had great views, although it was a shame that the rain clouds rolled in toward the top. But honestly, this was the rainy season in Quito, so we went into this hike suspecting that could happen.
And this hike was also one of our most challenging.
The ~6-mile round-trip hike took us 5 hours (3 hours up, 2 hours down), which Xime says is very good time.
But it was the intensity and altitude that were the killers.
The only other hike we completed that matched the level of exhaustion (and danger) we experienced was the Tongariro Alpine Crossing in New Zealand back in 2018. And that hike was nearly double in length!
So don’t go into this hike casually. Be prepared and know your limits.
But if you get a good weather day you will be rewarded with spectacular views!
Until next time…
Thanks for reading!
If our posts have saved you time, money, or are enjoyable in some other way, BUY US A COFFEE! It helps cover the costs of our blog, keeps our blog ad-free, and motivates us to continue posting about our experiences.
And leave a comment below and subscribe to get email notifications whenever we post!
Follow Two Travel Turtles on Facebook and X.



2 thoughts on “Climbing to the Cumbre Rucu Pichincha Summit – A TTT Guide”
Apparently wearing protective gear is not mandatory, a bad step up in the rocky part and you are toast. Do they have helmets to rent ?
Thanks
We saw no equipment rental facilities when we were there.