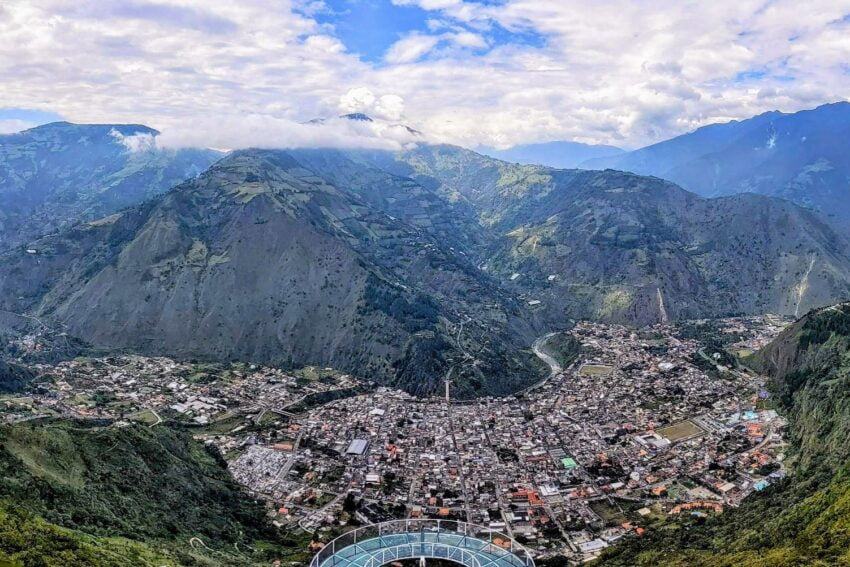
Kissing the Sky – Epic Mirador Hike In Baños Ecuador
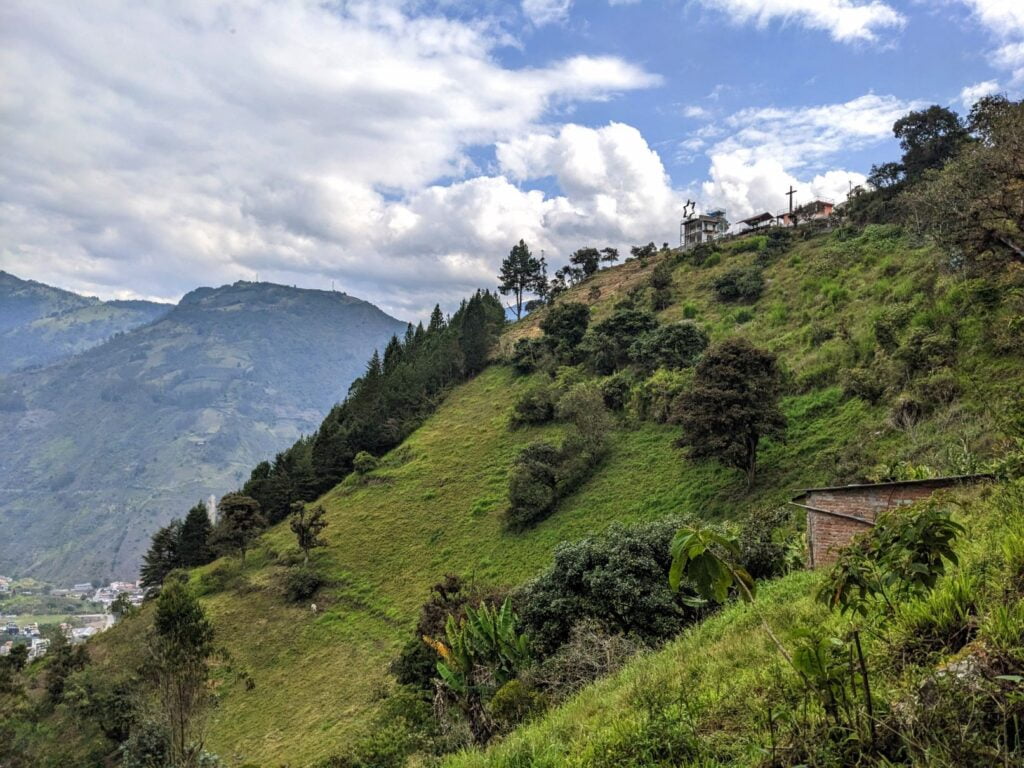
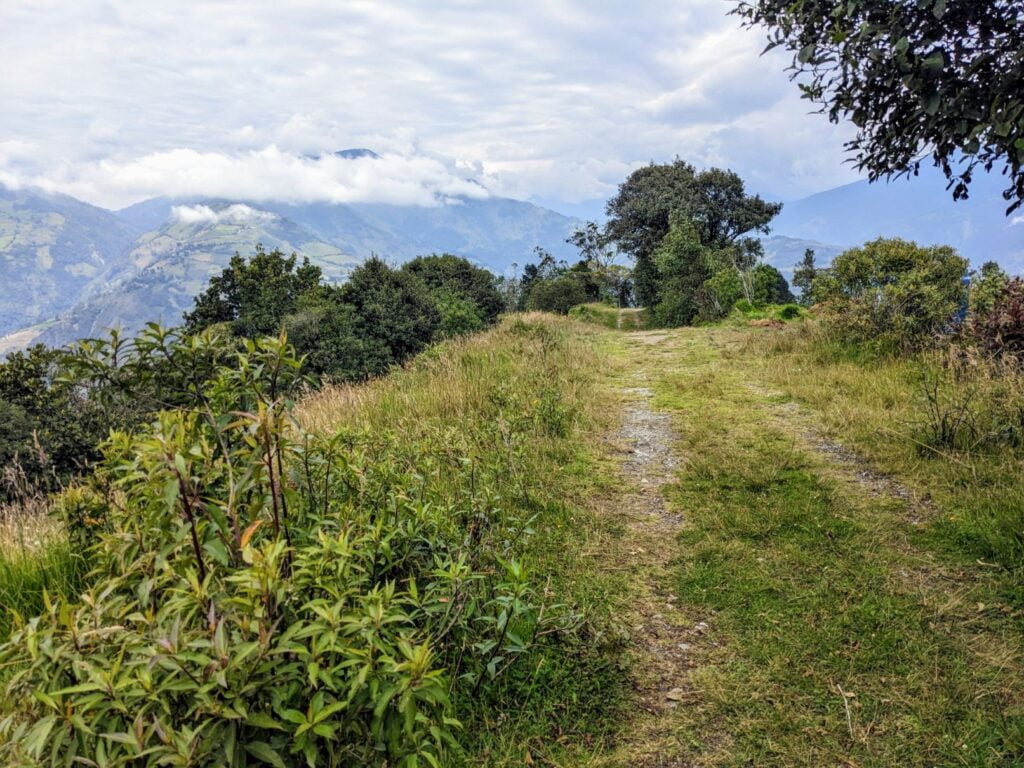
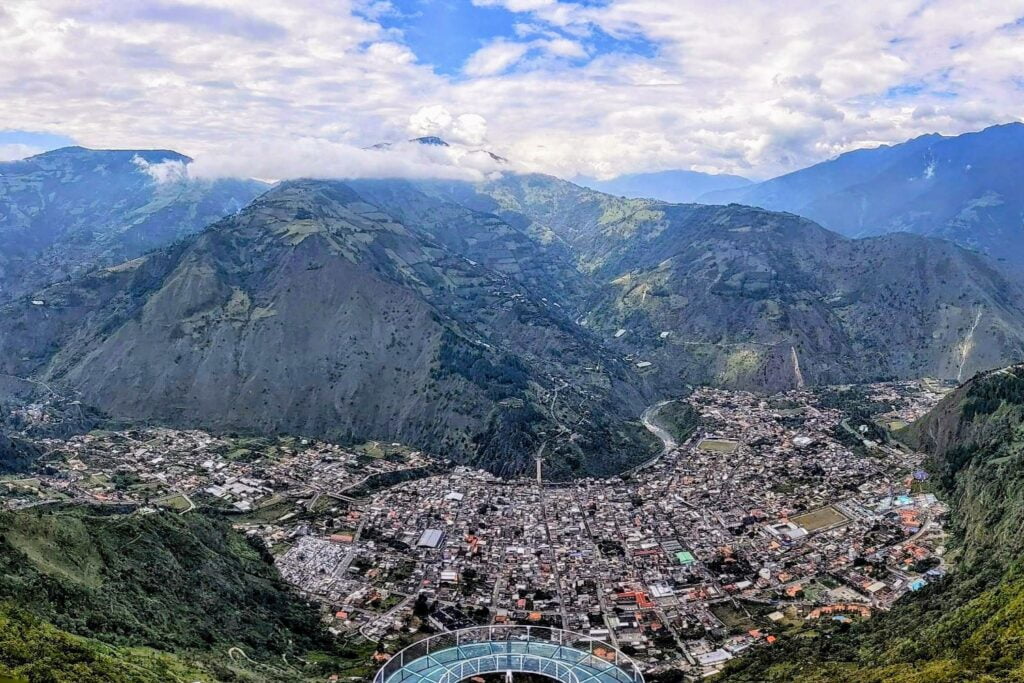
Baños de Agua Santa is known for its hikes, waterfalls, and spectacular miradores (= viewpoints). The problem is that there are so many to choose from! That, and some of these hikes are really, really difficult. Swiss Alps level difficult. So the trick is how to maximize the visual payoff compared to the amount of difficulty that a trail demands. But we made a hike in Baños Ecuador that took us to SEVEN miradores in only 5 miles!
We really think we maxed out the view/effort ratio for hikes in Baños. We even had a bear sighting!
Let us show you our experiences on this hike, to whet your appetite and help you prepare for your own adventure.
If you are up to the challenge, there are EPIC views to be had!
Mirador Hike in Baños Ecuador: A TTT Guide
- Our TTT Mirador Hike Trail Route
- Preparing for the TTT Mirador Hike
- Starting Trailhead – Entrada Al Sendero Cruz de Bellavista
- Stage 1 – Hike to Cruz de Bellavista
- Stage 2 – Hike to Cafe del Cielo
- Stage 3 – Hike to Casa del Arbol
- Stage 4 – Hike to Ventanas
- Stage 5 – Hike to Mirador Ventanas Parque Recreativo
- Stage 6 – Descent to La Virgen
- Ending Trailhead – Entrada Al Sendero Mirador de la Virgen
- Closing Thoughts on Our Mirador Hike in Baños Ecuador
Our TTT Mirador Hike Trail Route
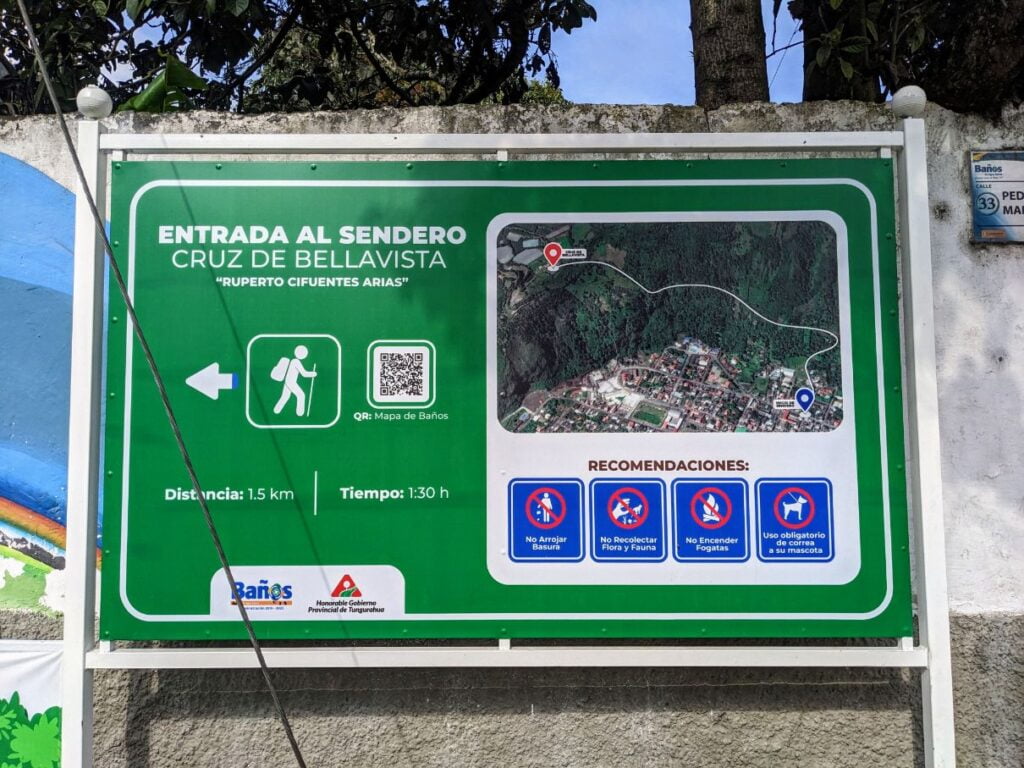
The town of Baños de Agua Santa does a good job of publicizing their local trails. Signs for trail access points in town are abundant and include scan barcodes to an online digital version of their trail map.
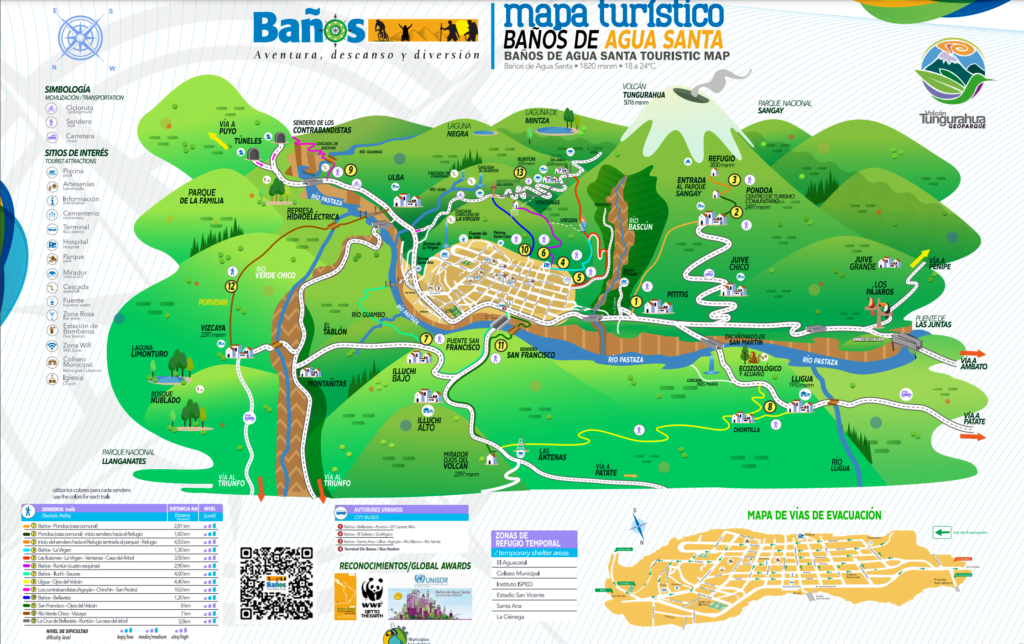
Critical information is listed on the map, including trail length and relative difficulty level. But make no mistake, even the easiest trails can be a challenge!
Our hike combines trails #10, #13, #5, and #4 into one big loop.
Since trail signage gets sketchy the further away from town you get, we have provided a detailed AllTrails map below (WITH 19 WAYPOINTS TO HELP GUIDE YOU). If you plan on hiking the trail you should download our route to your device and upload to the Maps.me app for navigation.
We show you how in the next section.
The trail is only ~5.25 miles/8.45 kilometers long, but there is ~2700 feet/823 meters of elevation gain!
So you need to prepare for a pretty strenuous hike.
Thankfully, there are great places to take a break along the way!
Preparing for the TTT Mirador Hike
If you want to hike in Baños Ecuador, you have to prepare. Inclines are steep and the weather can change quickly, so you need to take some basic precautions.
As mentioned above, our trail route is pretty strenuous. This is despite the fact that it supposedly gets no worse than level 2 difficulty on a level 3 scale!
So here is our list of preparation steps for this hike, for maximum safety and enjoyment:
1. Download the Maps.me App to Your Phone
You need Maps.me to navigate the trails with confidence. Trail signage is sketchy the further away from town you get, and some of these trails can be dangerous if you get lost in less-than-ideal conditions.
2. Download Our AllTrails Trail Map Data and Upload the KMZ file to Maps.me
To download the map data, click the “Baños de Agua Santa Mirador Madness Circuit” link on our AllTrails map above.
Then click the “triple dots” symbol on the left of the new page to download the map data in KMZ format.
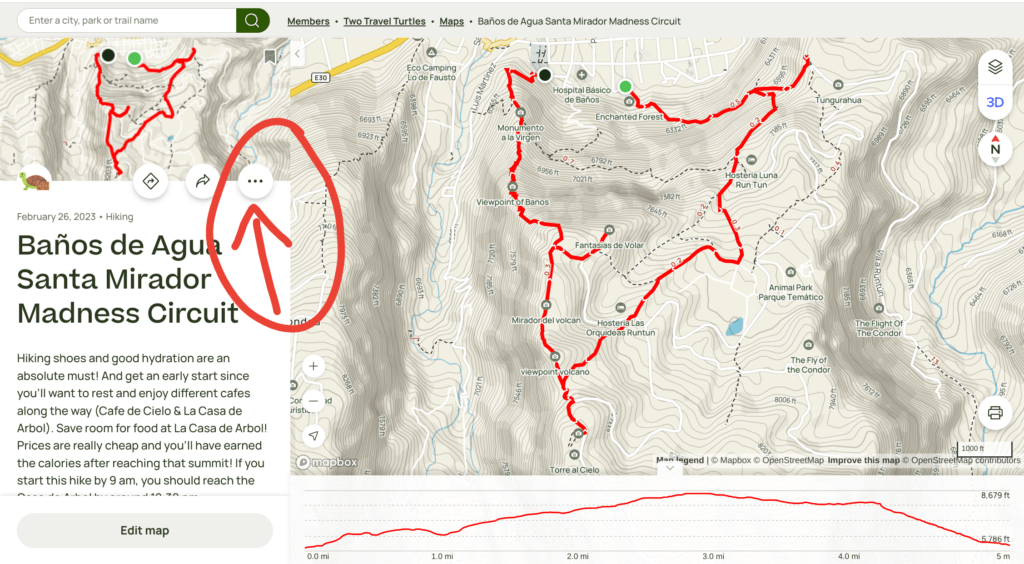
Once you have the KMZ file downloaded to your phone, click on the file in your downloads and open it with the Maps.me app. The map data will be uploaded to your Maps.me account, which you can then use to navigate the trail in the same way Google Maps allows you to navigate by car!
Very cool, and great for not getting lost!
3. Wear Good Hiking Shoes, Preferably With Ankle Support and Aggressive Tread
The trails are steep with lots of loose rocks and soil. This is NOT the place for flip-flops or normal sneakers. Ignore this warning at your own risk.
4. Check the Weather!
The point of this hike is to get KILLER VIEWS!
If there is rain in the forecast, postpone the hike. Clouds WILL ruin your views.
5. Bring Water and Sun Protection
The reason for this should be self-explanatory. Be prepared.
6. Get a 9 am Start
If you are at the trailhead at 9 am, your hike should time out so you get to the Cafe de Cielo for a mid-morning break. And you should still get to the Casa del Arbol by 12:30 pm for lunch!
Do yourself a favor and don’t skip these spots to take a break and refresh. It will make your whole day better and your bodies will thank you!
Starting Trailhead – Entrada Al Sendero Cruz de Bellavista
We began our hike from this point in Baños de Agua Santa. It marks the Entrada Al Sendero Cruz de Bellavista (WAYPOINT 1).
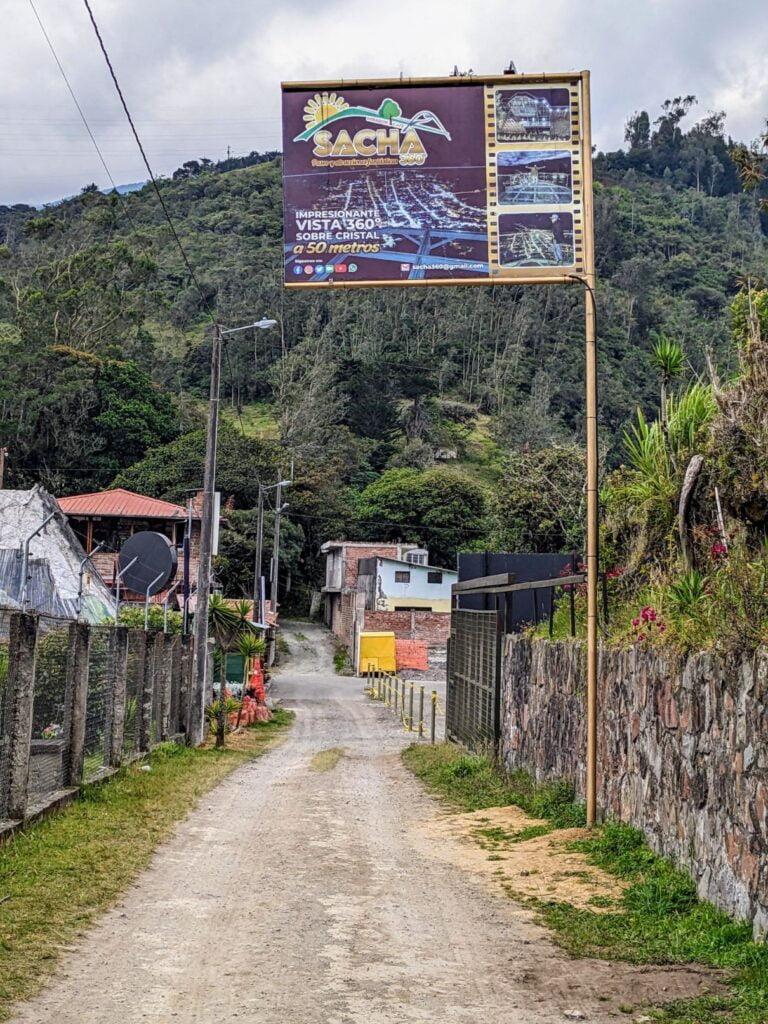
We knew we were close when we saw this sign on the street leading to the trailhead:
Stage 1 – Hike to Cruz de Bellavista
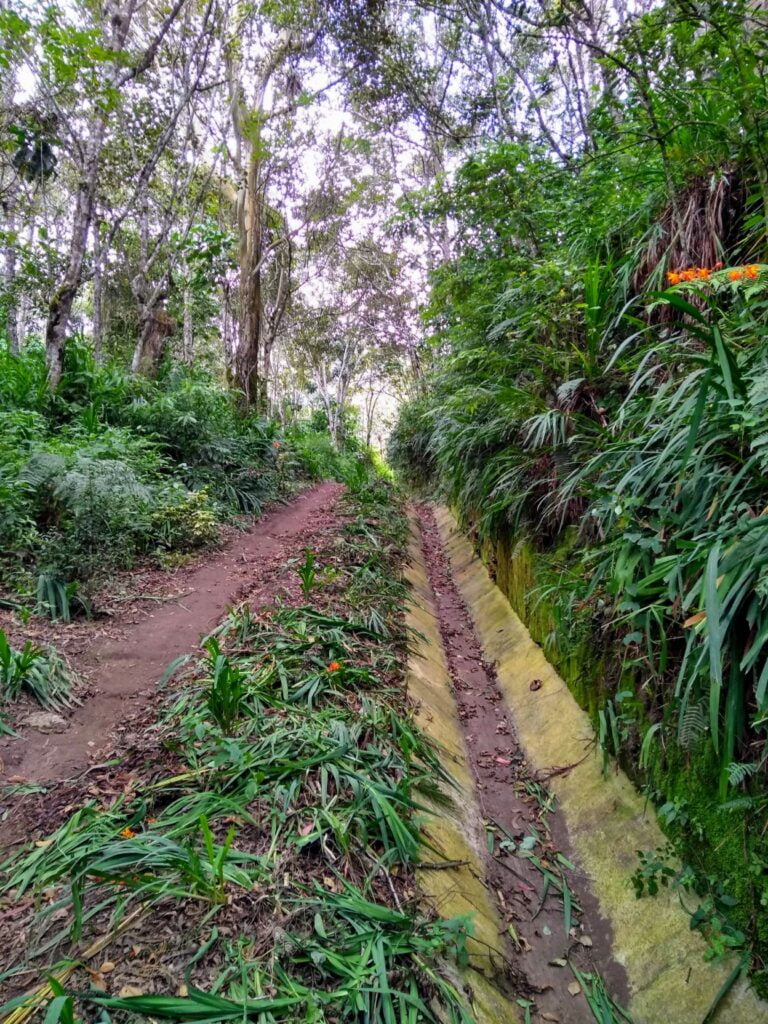
From the trailhead starting point on the map, we continued up the road to the left. We saw El Bosque Encantado on our right, and an unmarked trail heading upwards into the forest.
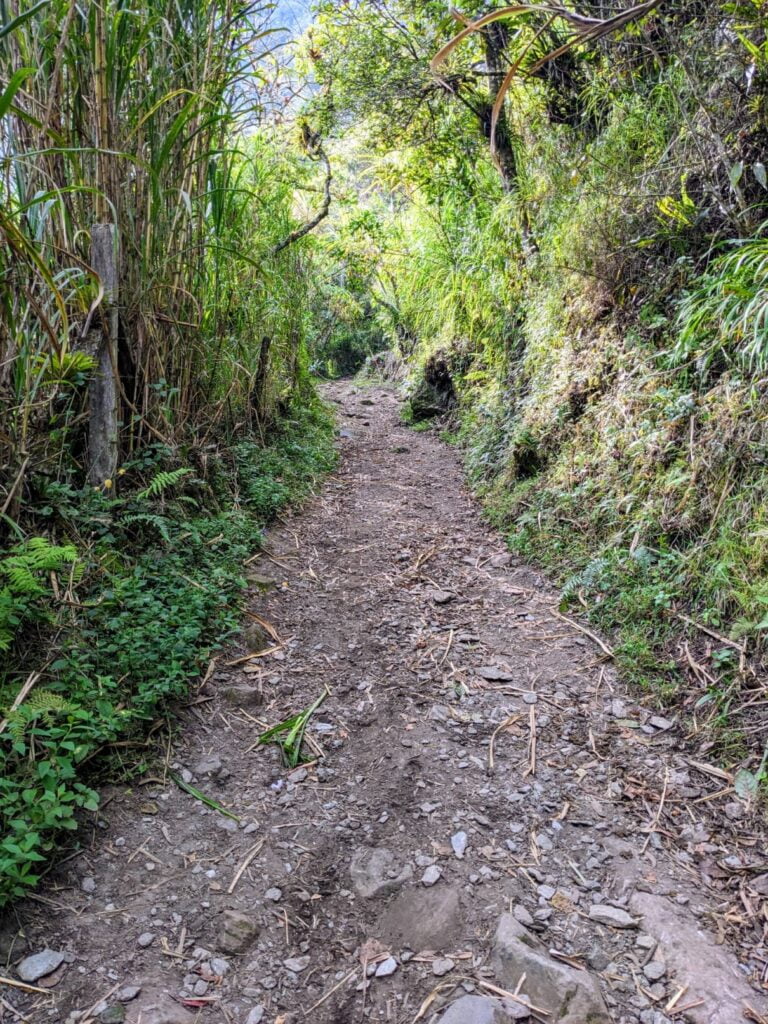
We were wondering if it was the trail we needed to take, but it was. So we followed it up the side of the mountain after checking with Maps.me to verify our route.
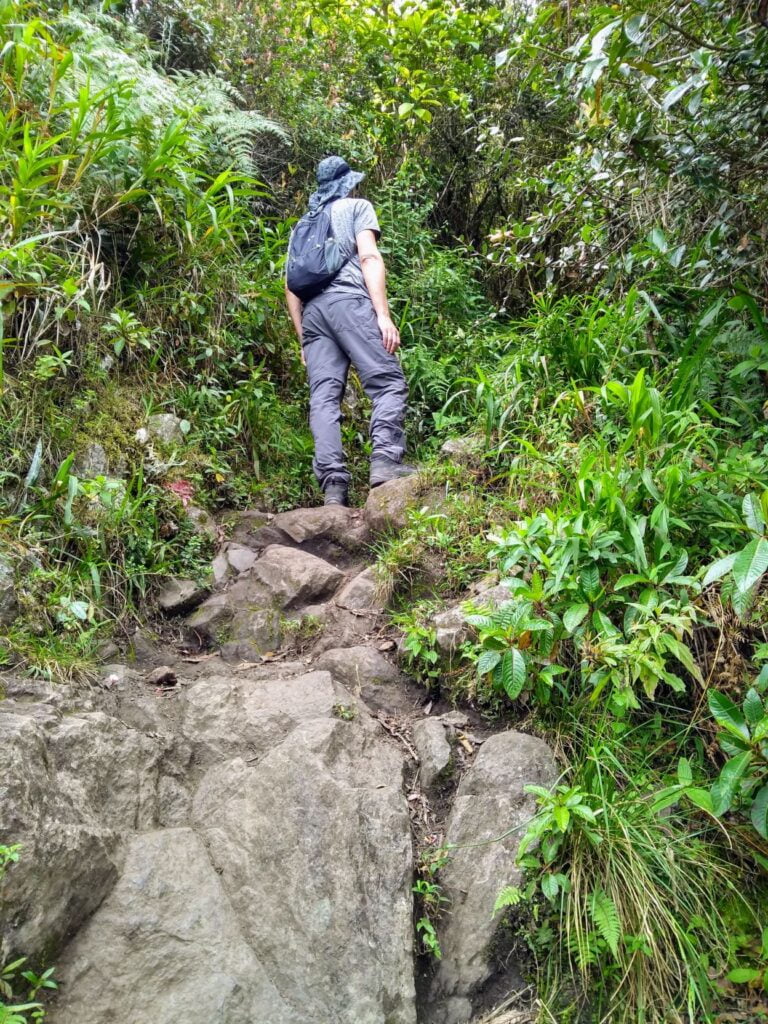
We quickly questioned whether or not this is really a level 1 difficulty trail due to the elevation gain!
We just went slow and took breaks when needed.
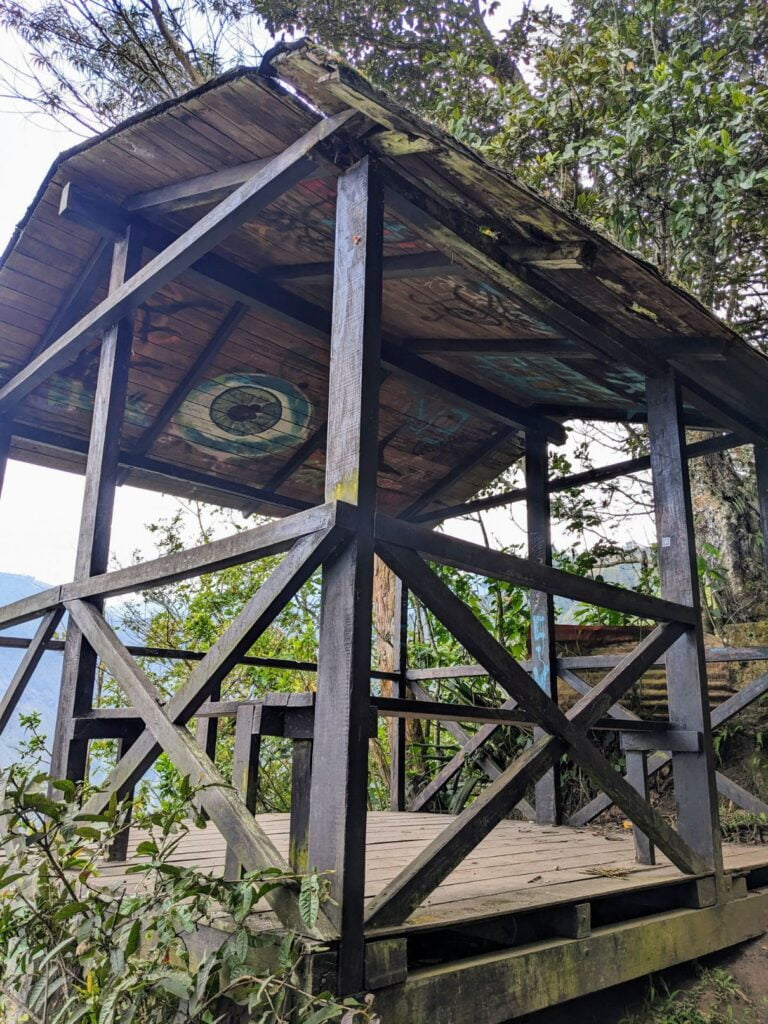
About a third of the way up the trail, we reached a rest shelter (WAYPOINT 2).
This was our first mirador overlook of the day. We took a short break and enjoyed the view. We knew it would only get better as the day went on!
The rest of the trail continued onward much the same as it did before. We paced ourselves, and did fine.
We eventually reached a sign at an intersection (WAYPOINT 4).
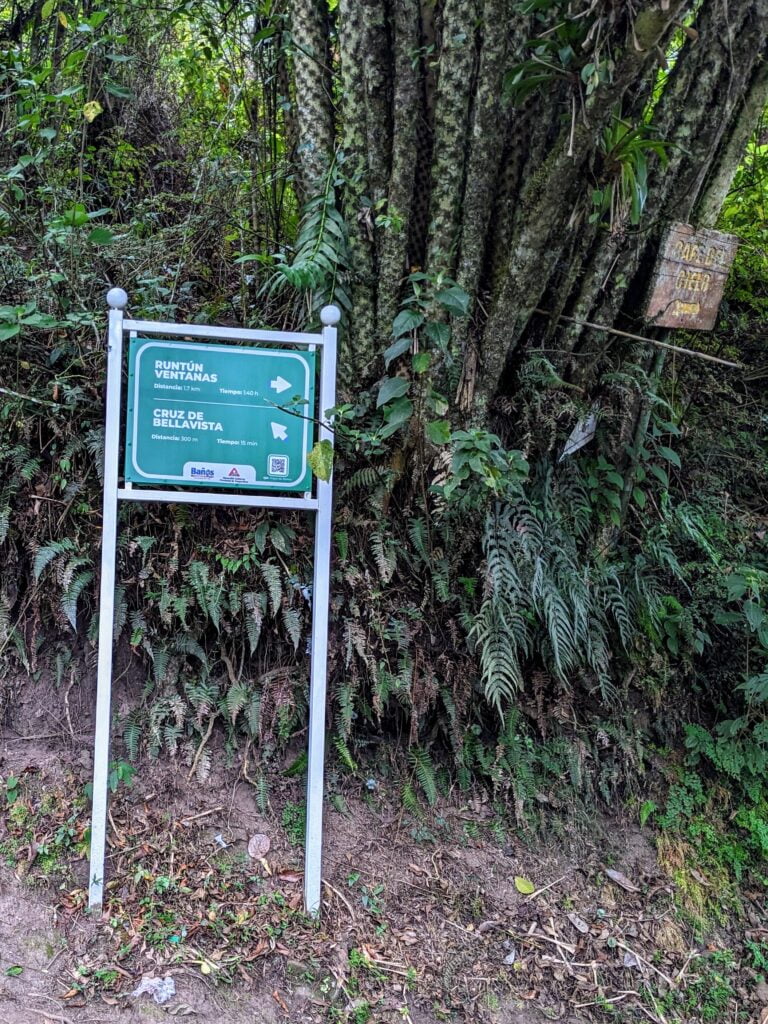
We knew we’d need to return to this point later. But for now, we continued onward toward the Cruz de Bellavista mirador.
It was pretty close!
Eventually, we reached the Cruz de Bellavista mirador point (WAYPOINT 3).
It was closed when we arrived at around 9:50 am (it normally costs $2 USD to enter), but there were plenty of places around it where you could take in the views for free.
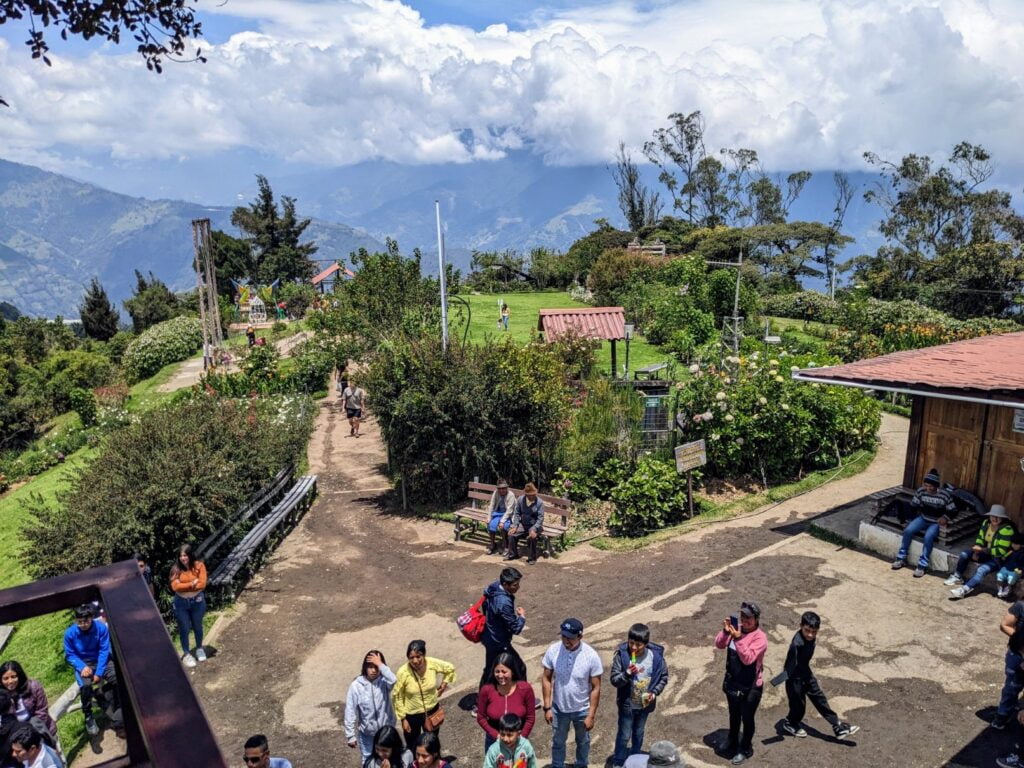
We took a break and explored the little tourist complex here.
It was a good place to rest for a bit, hydrate, and enjoy the sights. All of the cafes were closed due to the early hour, but that was fine as we didn’t want to take an extended break yet.
Stage 2 – Hike to Cafe del Cielo
Once we had our visual fill at the Cruz de Bellavista mirador, we walked back down the hill the way we came to the WAYPOINT 4 intersection.
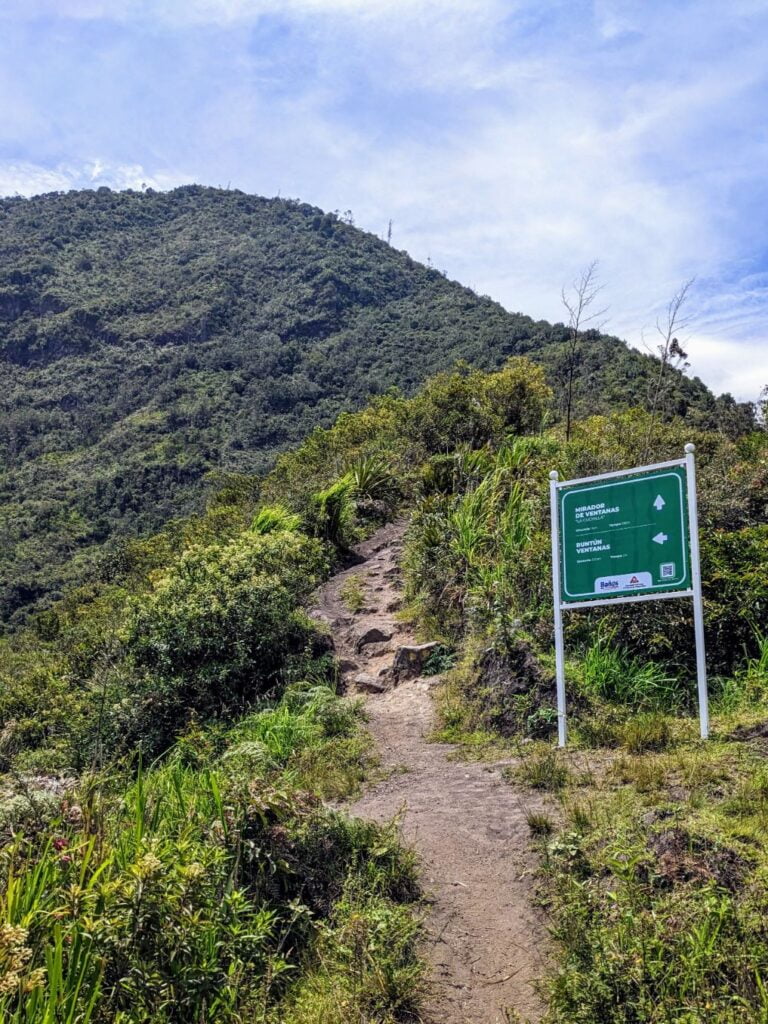
We then took the path toward Runtun Ventanas and the Cafe del Cielo.

The incline got really pretty steep and the trail very narrow! Our bodies were really starting to feel it at this point.
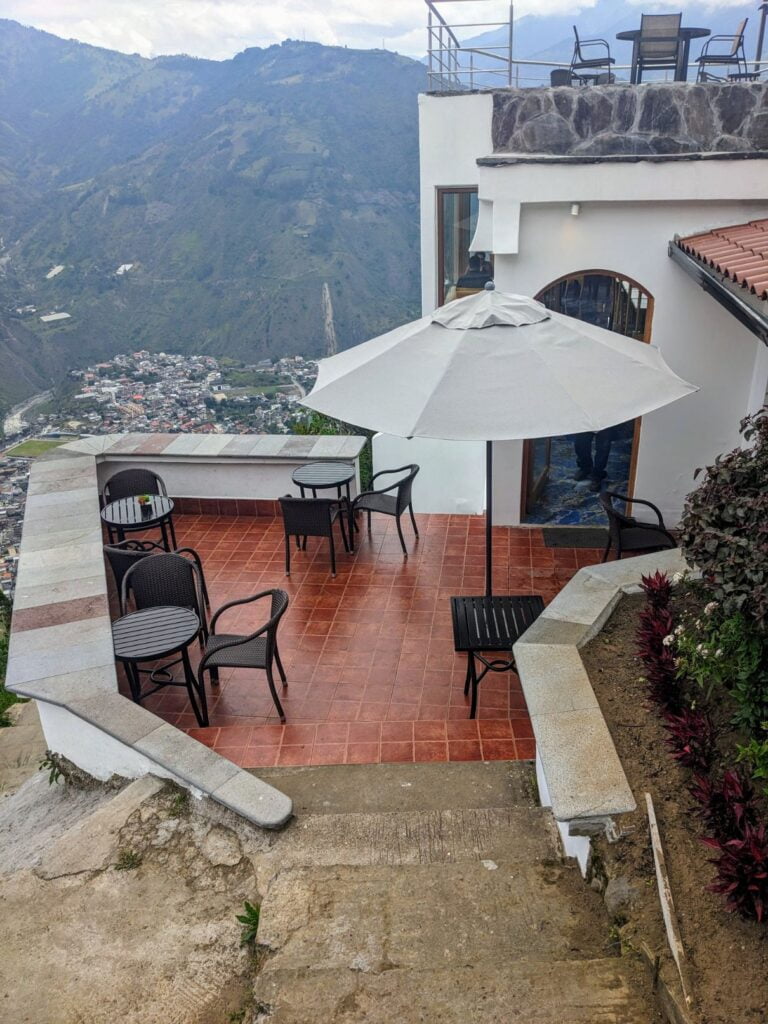
Eventually, we reached the Cafe del Cielo (= Cafe of the Sky – WAYPOINT 5), which was appropriately named!
We arrived at 10:30 am, so you can appreciate how steep the incline was to this point considering the short distance between the Cruz de Bellavista mirador and here.
BREAK TIME!
The incline was a killer to this point, so we needed a break!
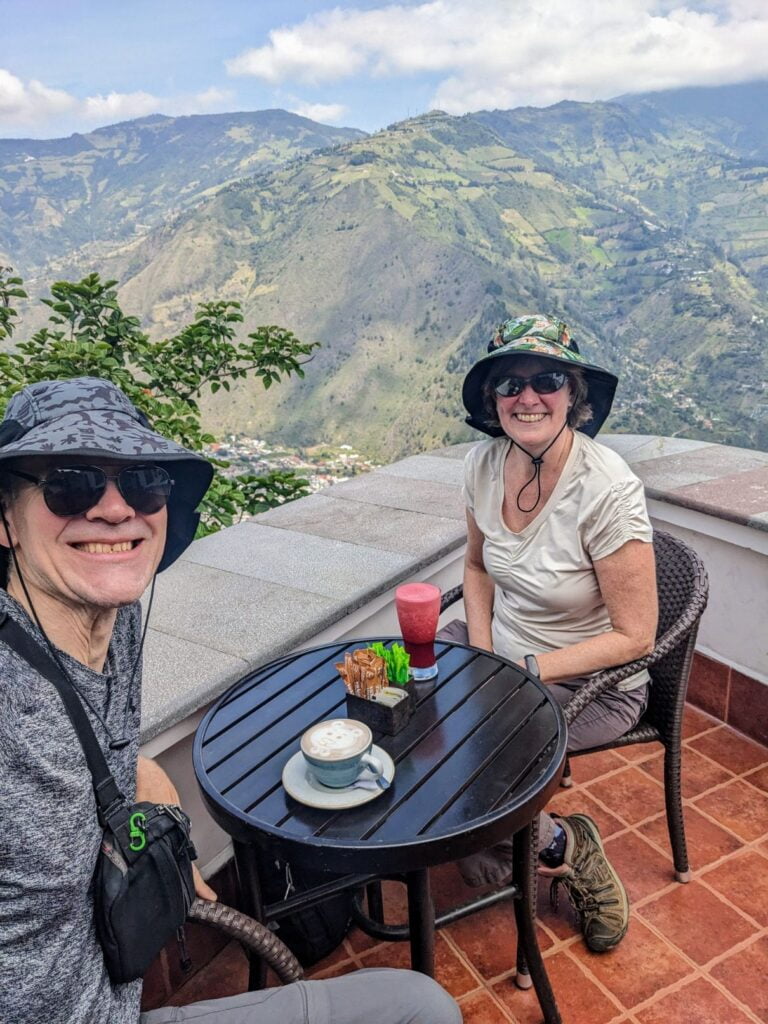
So we found a table outside on their deck, checked out their menu, ordered a couple of drinks, and soaked up the views!
I ordered a Chocolate del Cielo (a house specialty) and Rhonda ordered a Jugo de Mora (blackberry juice) to get carbs into our system to help us recharge. The drinks were expensive at ~$3.90 USD each, but they were delicious!
And we had our first mountain bear sighting in Latin America! 🙂
After a 30-minute break, we felt refreshed and recharged, so we continued onward.
Stage 3 – Hike to Casa del Arbol
We consulted Maps.me and decided to take the most direct route to Casa del Arbol, which was the highest elevation point of our hike.
So at the intersections of WAYPOINTS 6 – 10 we had to be extra careful to take the correct path. But we kept an eye on our position on Maps.me and we were fine.
That said, there were TWO intersections that were especially easy to overlook.
So make sure to take this left at WAYPOINT 8…
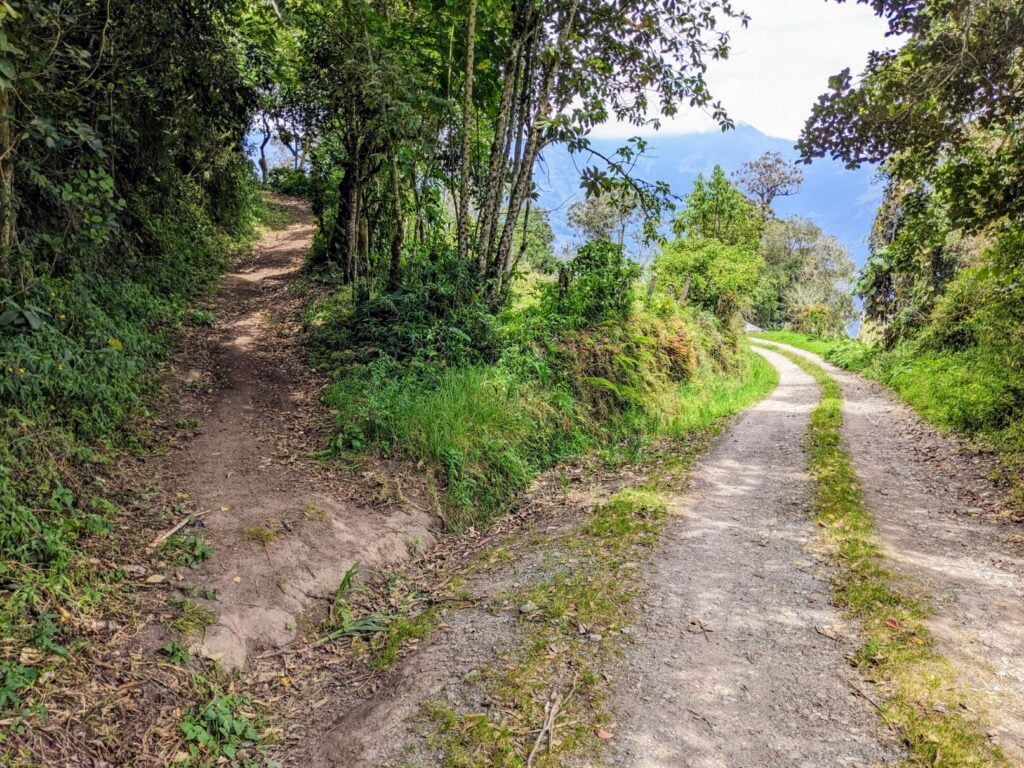
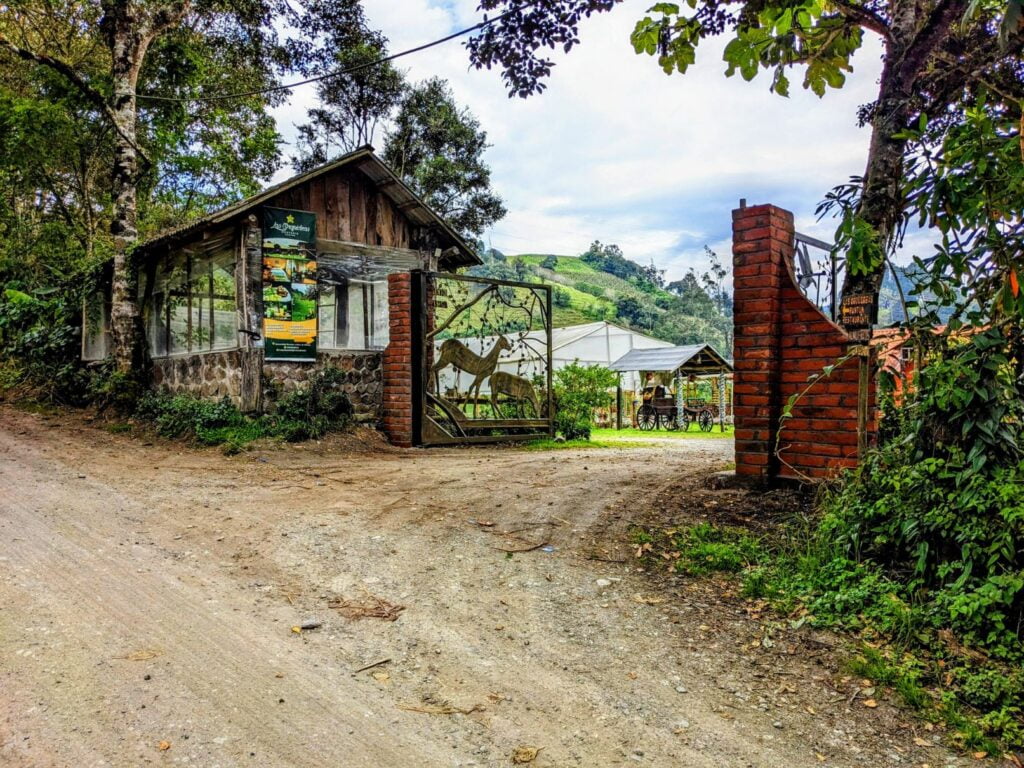
And take this left at WAYPOINT 10, directly across from the gate to Las Orquideas Hosteria Runtun.
Along the trail from WAYPOINTS 5 – 10 the incline was relentless, and we were feeling the burn. But we went slowly, took water breaks, and enjoyed the view whenever possible.
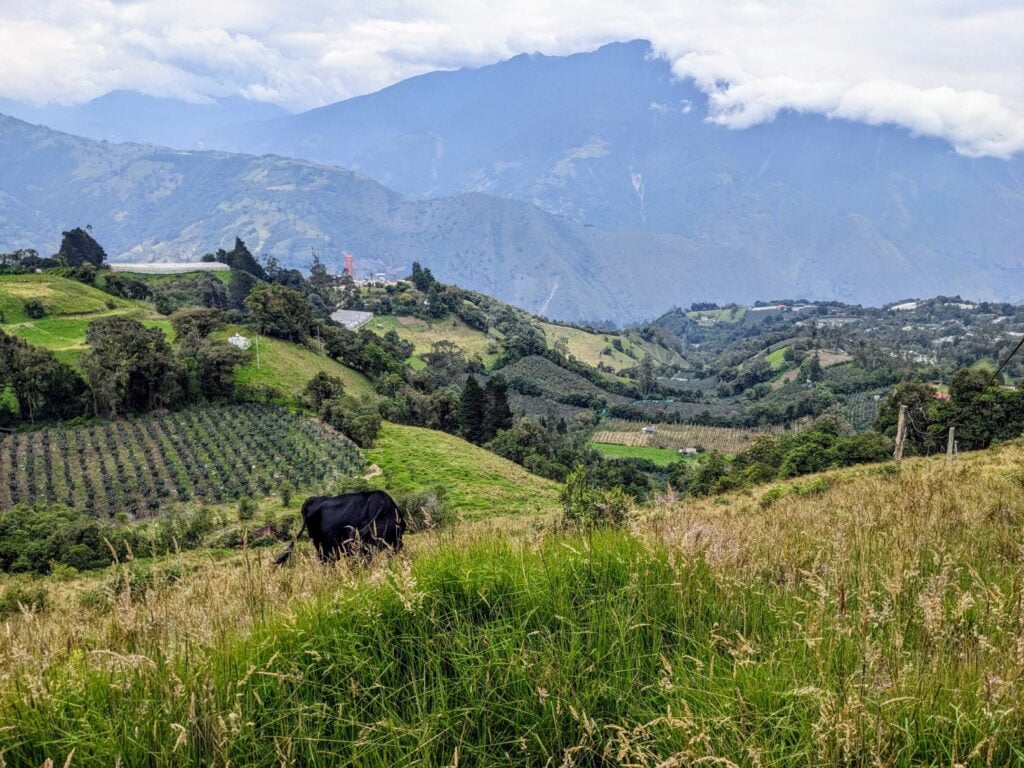
We were really impressed with the views from the farm fields we hiked between…
As well as the diversity of crops that the local farmers produce. Monocultures don’t seem to be as prevalent here.
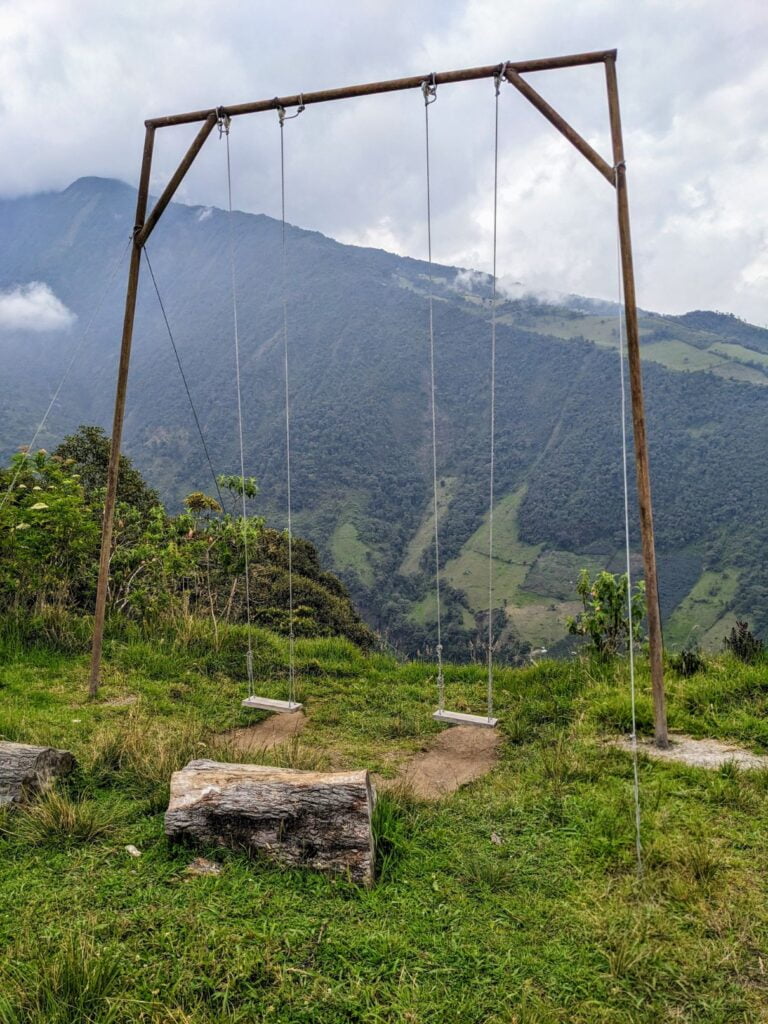
We eventually reached WAYPOINT 11, where we saw an unstaffed recreation area with a giant swing right next to a cliff overlooking the mountains around Volcan Tunhuragua.
The view was gorgeous and we couldn’t resist giving the swing a go, even though it sent you off the edge of the cliff!
It was terrifying but fun!
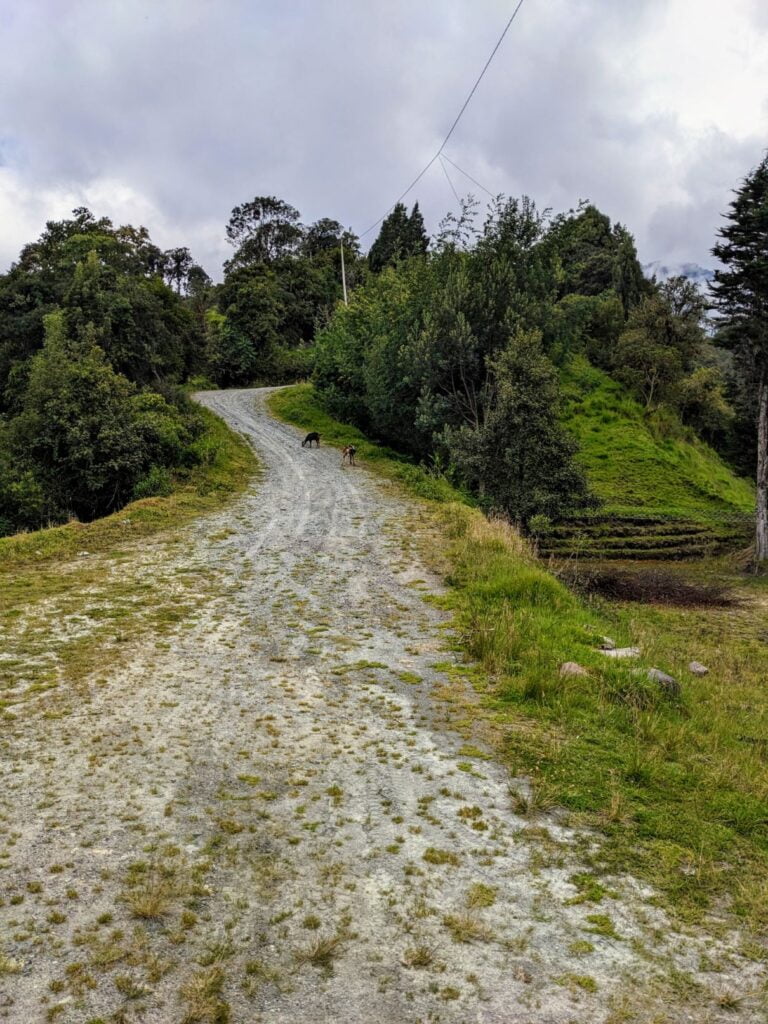
We then continued upward along the path, past some friendly goats…
And eventually to a paved road that led directly to the Casa del Arbol mirador entrance (WAYPOINT 12). We arrived at around 12:30 pm.
We were afraid that the entry fee would be inflated, but it was only $1 USD per person to get in!
Casa del Arbol Complex
The Casa del Arbol mirador complex was gorgeous. The entire site is one big mirador, with excellent landscaping and horticulture.
The place is really a gardener’s dream!
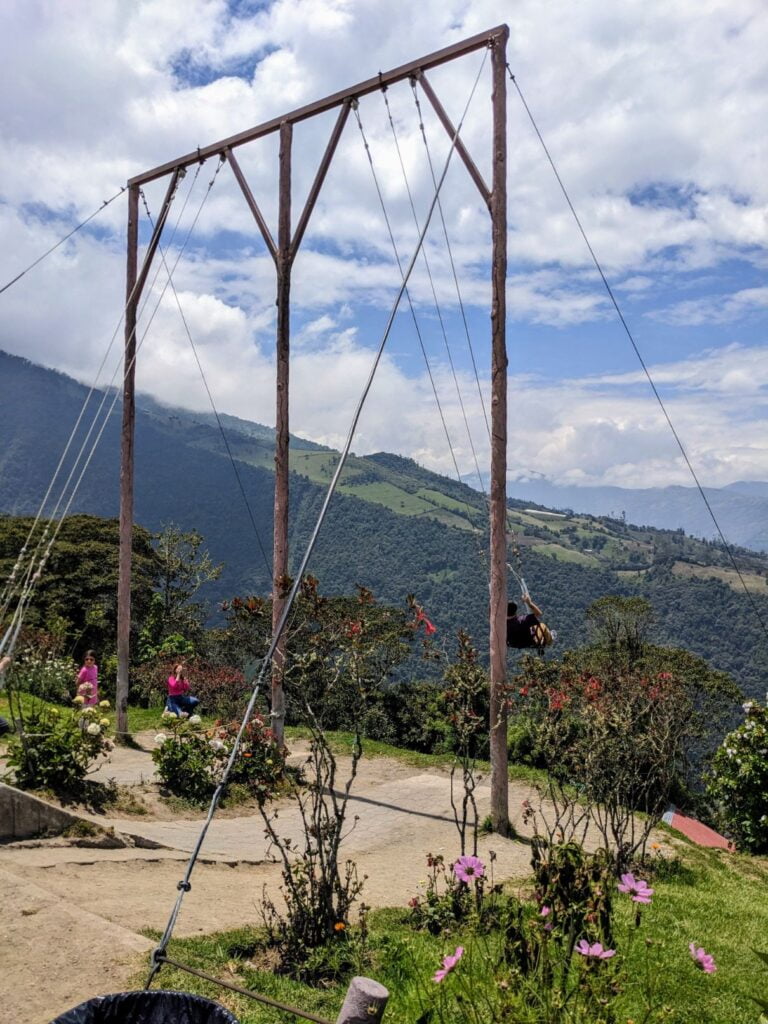
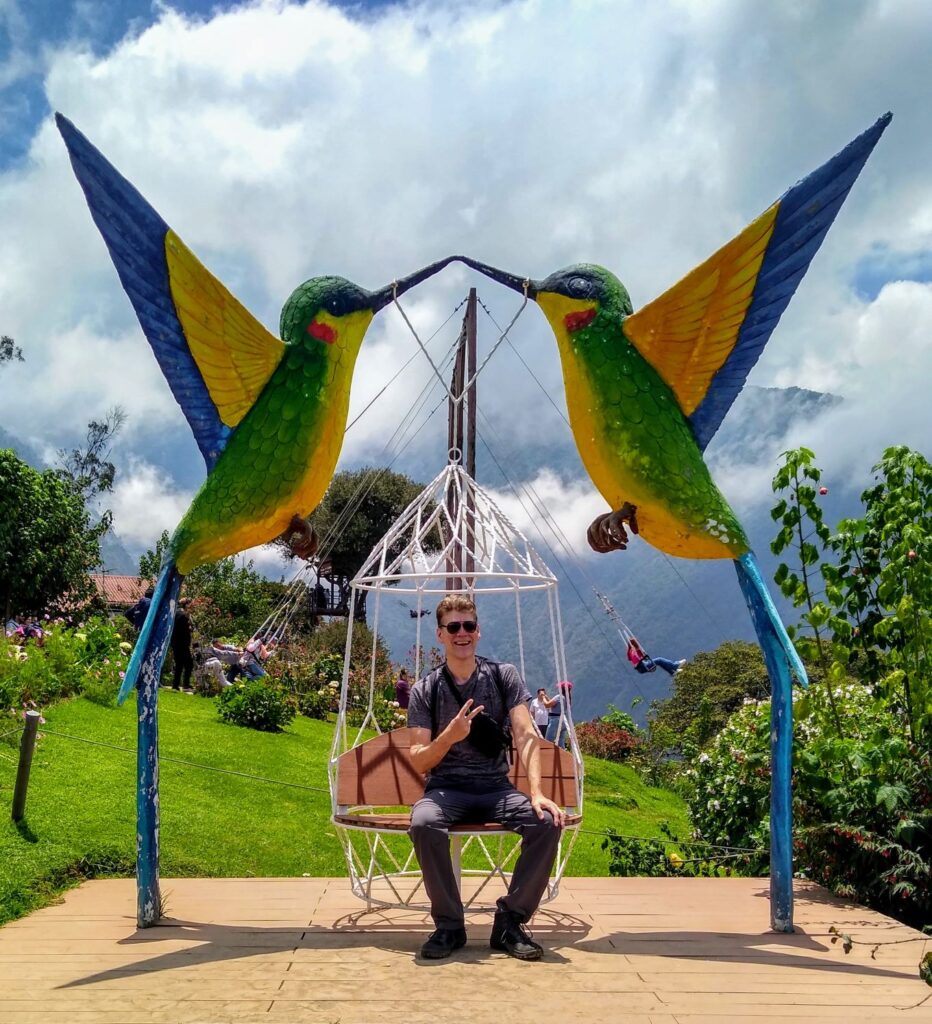
They also have several sets of giant swings catering to different levels of age and courage.
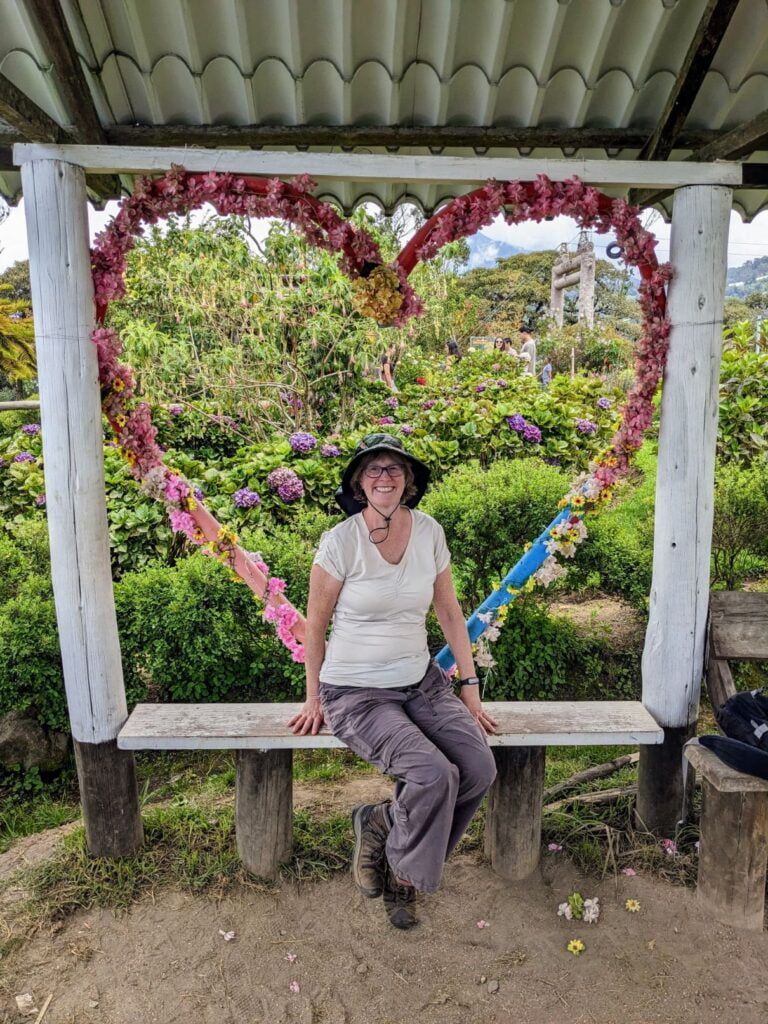
There were also many sites where you can step up your Instagram game!
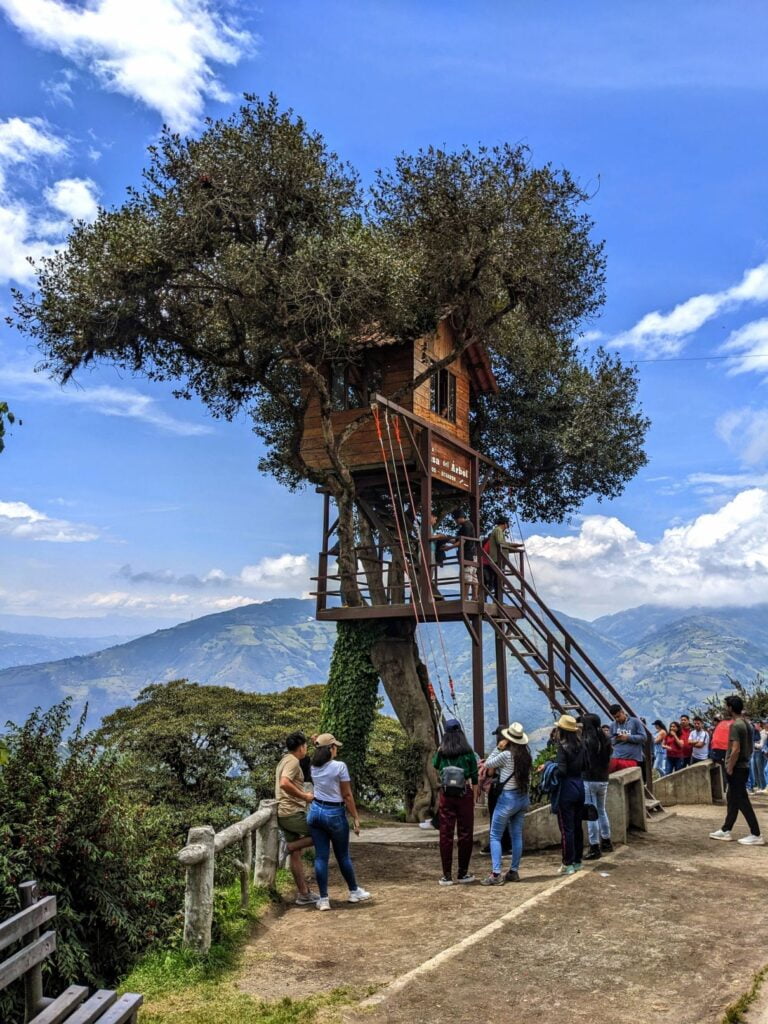
And of course, there is the actual Casa del Arbol, with giant swings and lookout points!
Lunch Time!
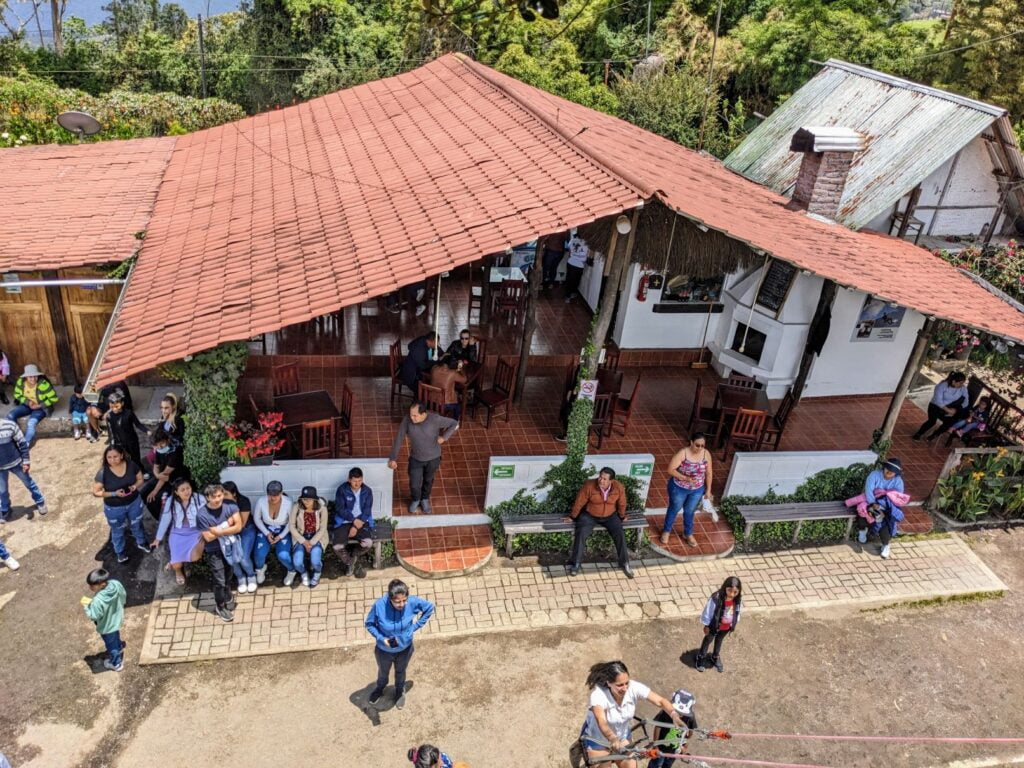
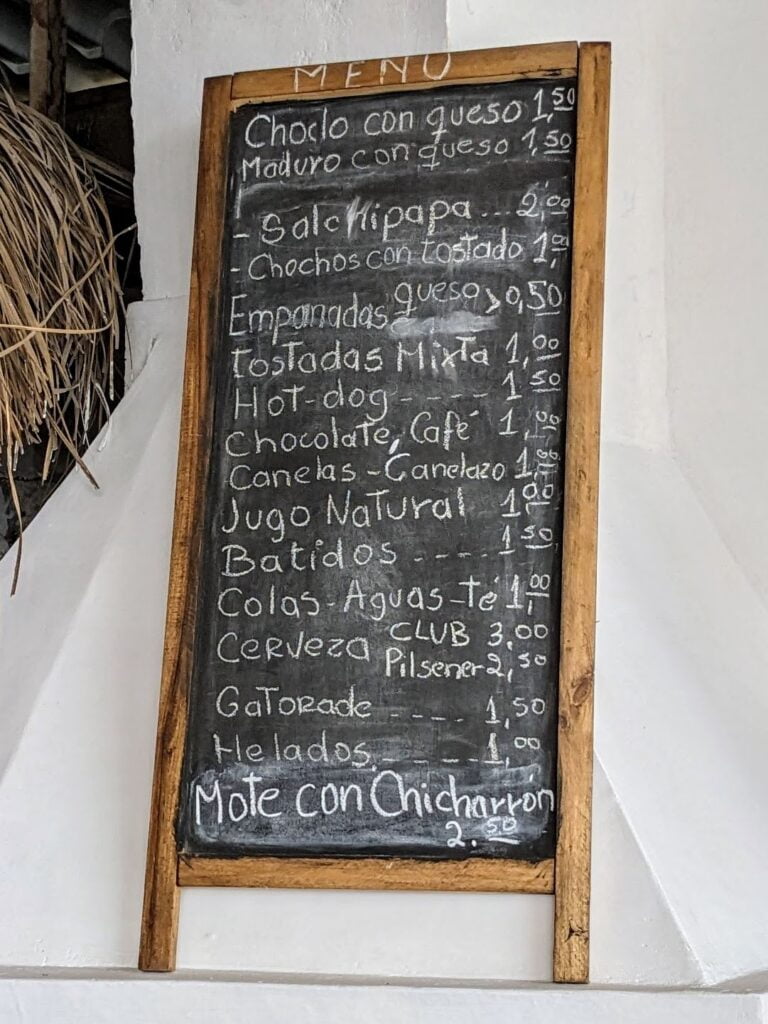
We were pretty starved at this point, so we checked out the local restaurant at the Casa del Arbol complex for food options.
We expected the worst, price-wise, since we were a captive audience. But the reality was exactly the opposite!
Great food and great prices! No price gouging here.
We got 2 empenadas, mote con chicharron, tostadas mixtas, a jugo, and a batido!
All for $7 USD.
Sweet.
Stage 4 – Hike to Ventanas
The day was getting late and we still had trails to explore. So after about an hour, we wrapped things up and moved onward.
But the best part was that the trail would be pretty much all downhill now!
We walked back the way we came back to WAYPOINT 11, and then continued directly south toward the Ventanas mirador.
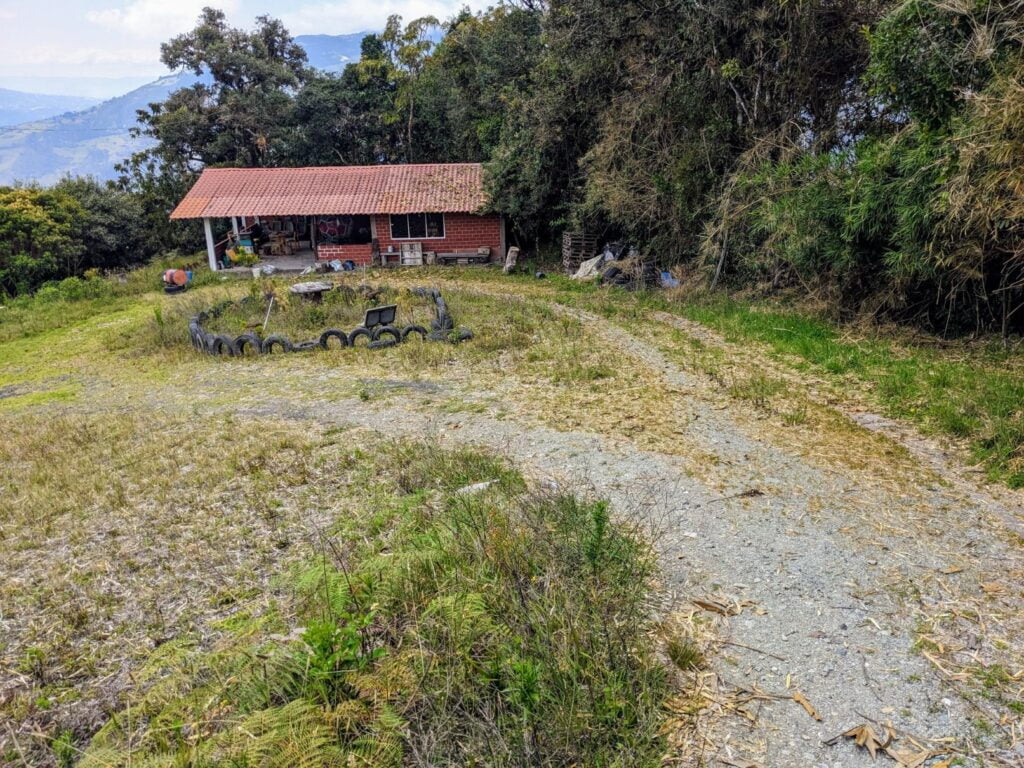
There were great views along this stretch of easy trail, but once we reached this building at WAYPOINT 13, the path forward was unclear.
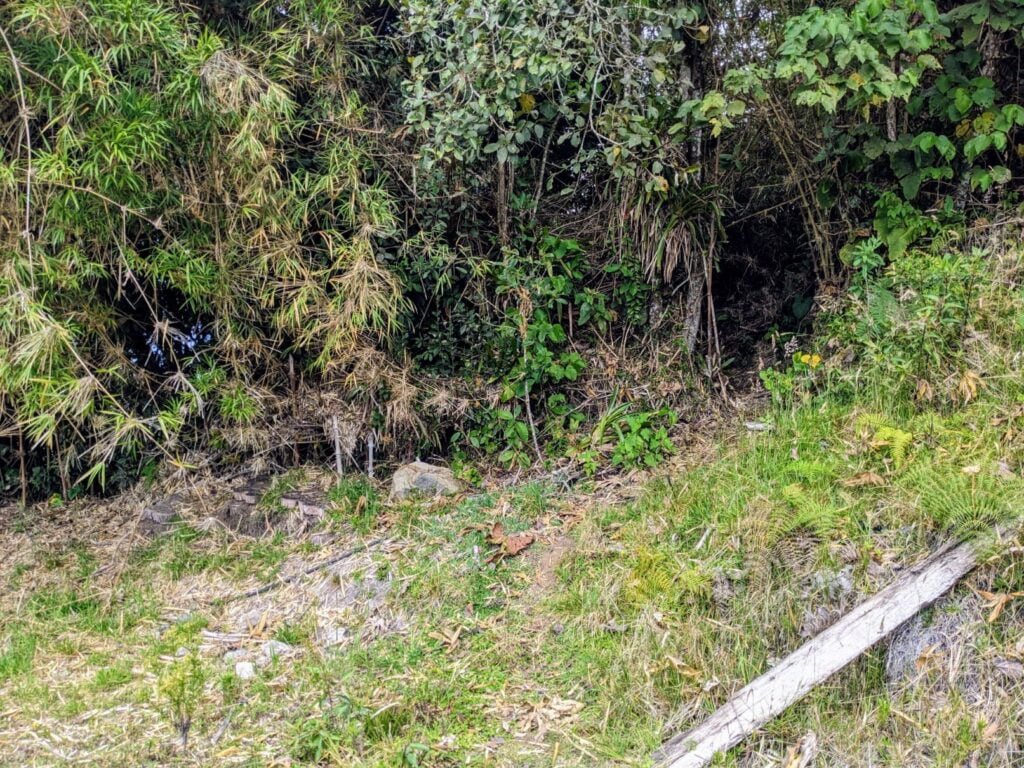
It turns out that the trail went into the woods off to the right, where the photo above was taken.
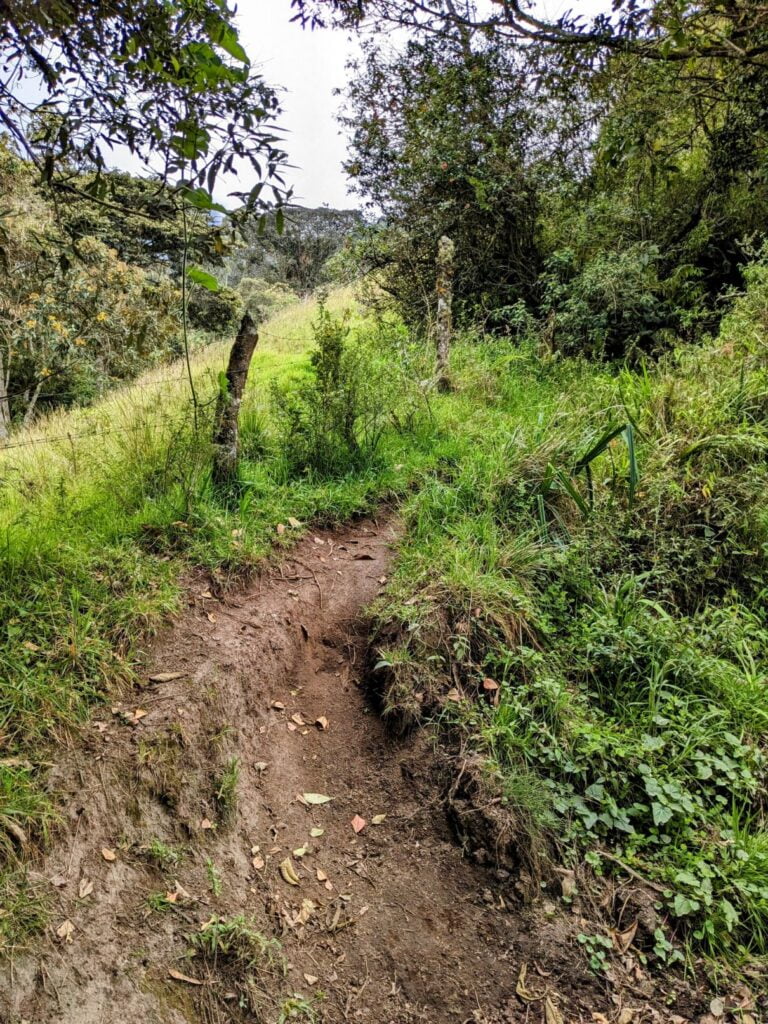
The trail was actually fine and opened into a farm field that continued southward.
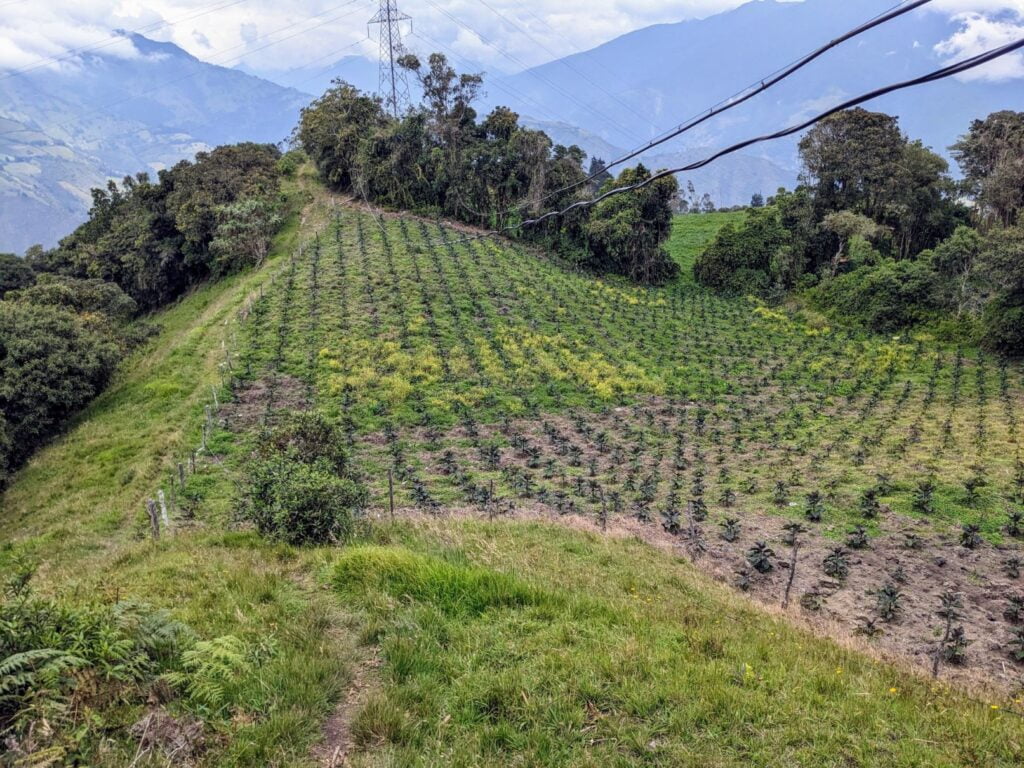
Skirting the left side of the field, the path continued onward, until we finally reached the Ventanas mirador point (WAYPOINT 14)!
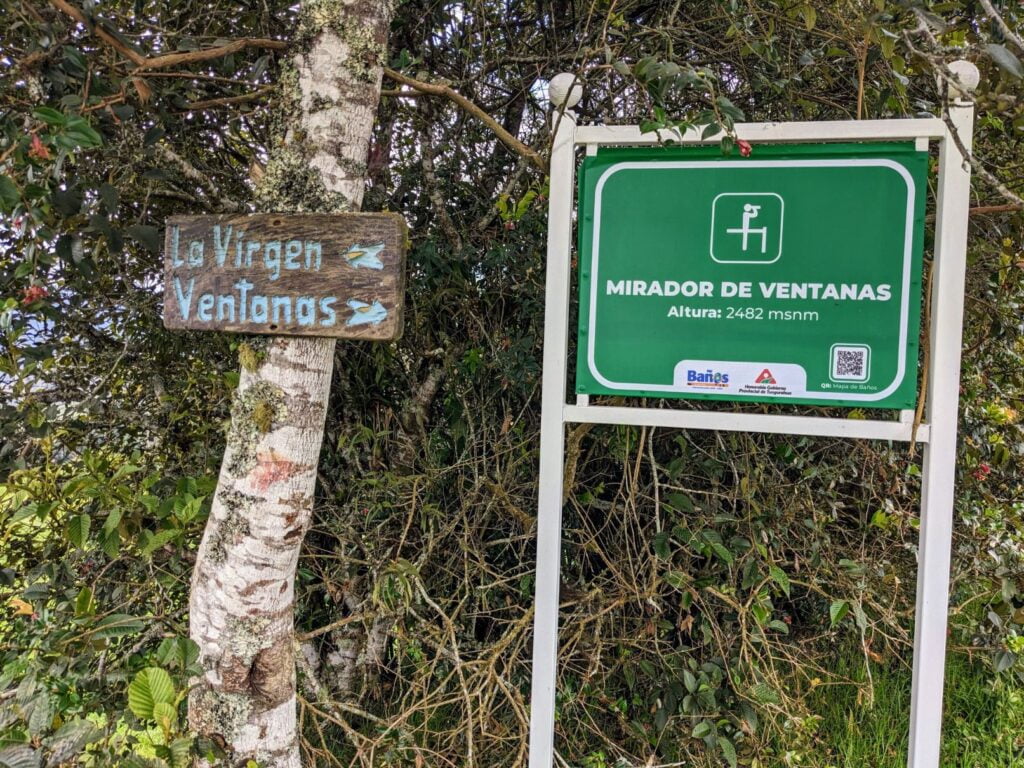
The views were nice, but not really different than what we had seen along the trail since VIEWPOINT 12.
Stage 5 – Hike to Mirador Ventanas Parque Recreativo
Since we were so close, we decided to do a short side trip to a huge multi-story mirador tower and entertainment complex we could see from our Airbnb back in town.
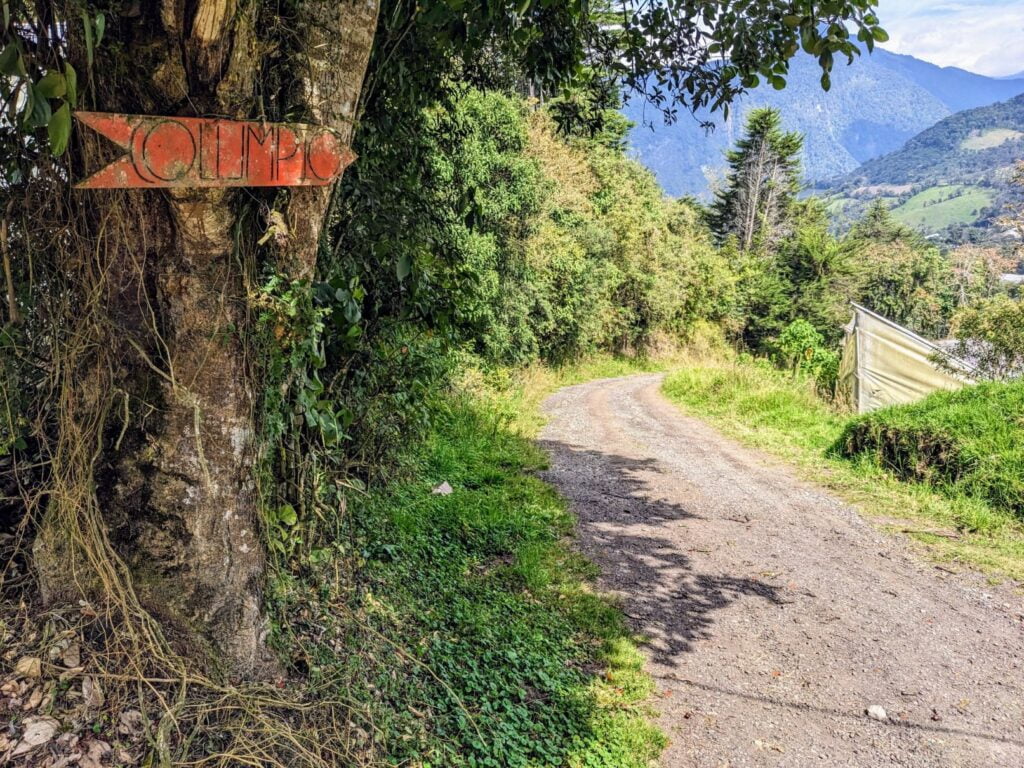
So we continued to follow the trail south until we got to an intersection (WAYPOINT 15), where we saw a red sign pointing to the right toward our destination.
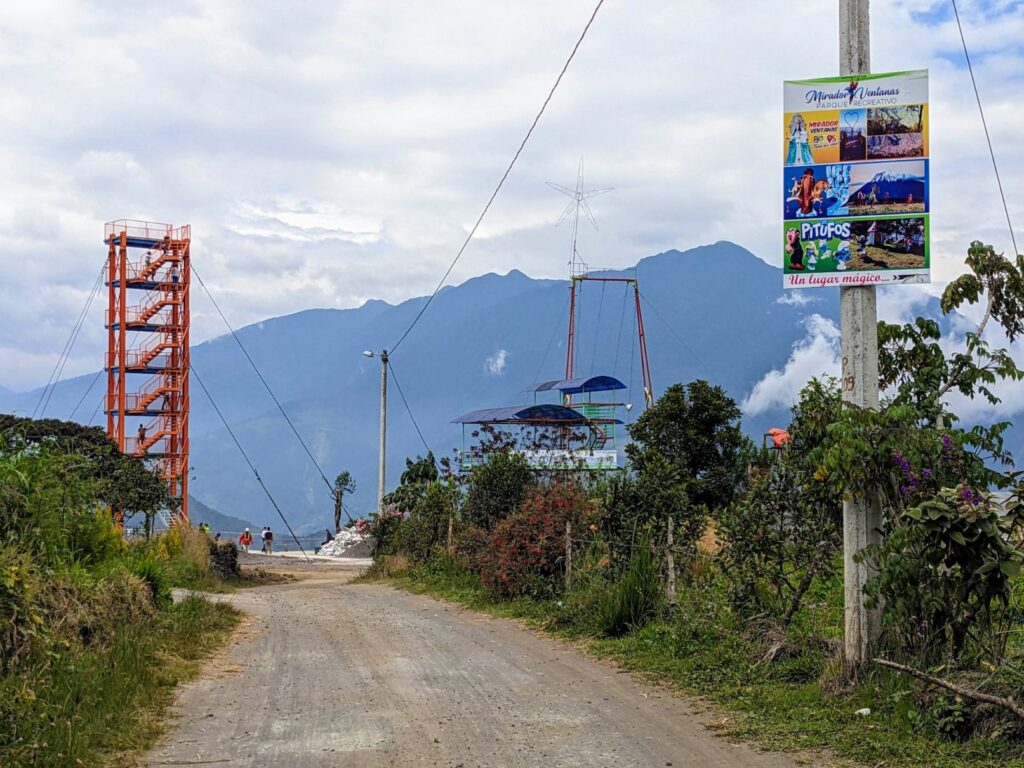
We followed the dirt road for a modest distance until the Mirador Ventanas Parque Recreativo (WAYPOINT 16) came into view.
There were a variety of things to do here, including some fantasy parks and a GIANT swing that cost $10 USD per person to try!
But we were here for the mirador tower.
At $2 USD per person, we thought it was worth the entry fee.
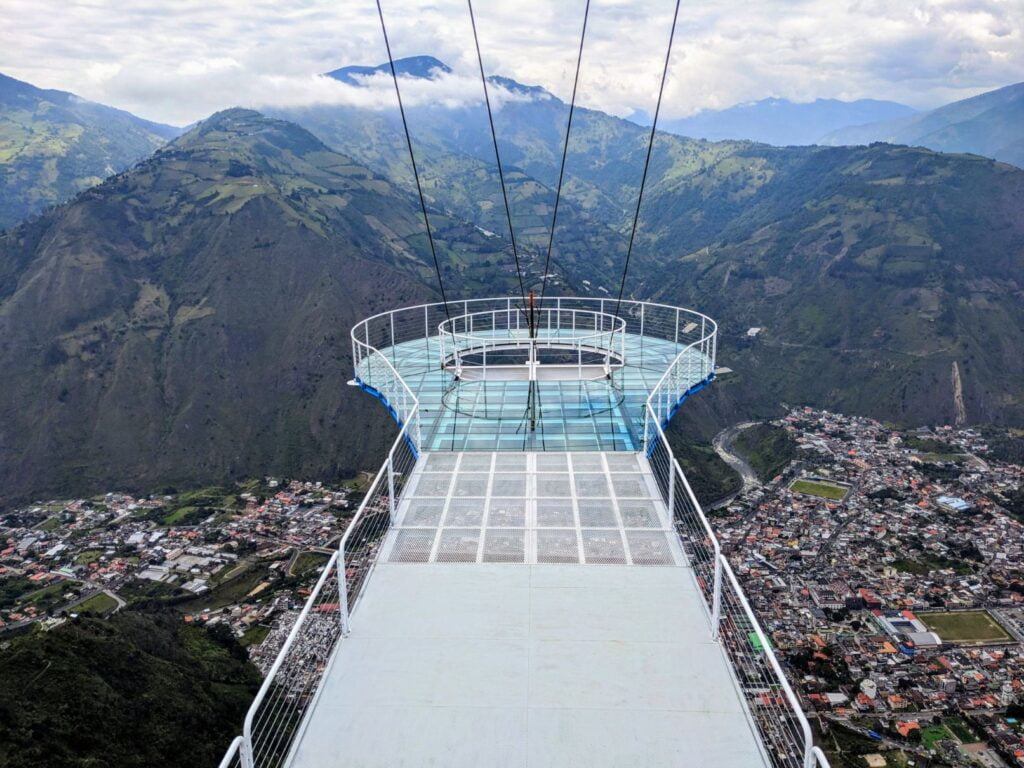
There was a glass viewing platform at ground level (unfortunately under repair)…
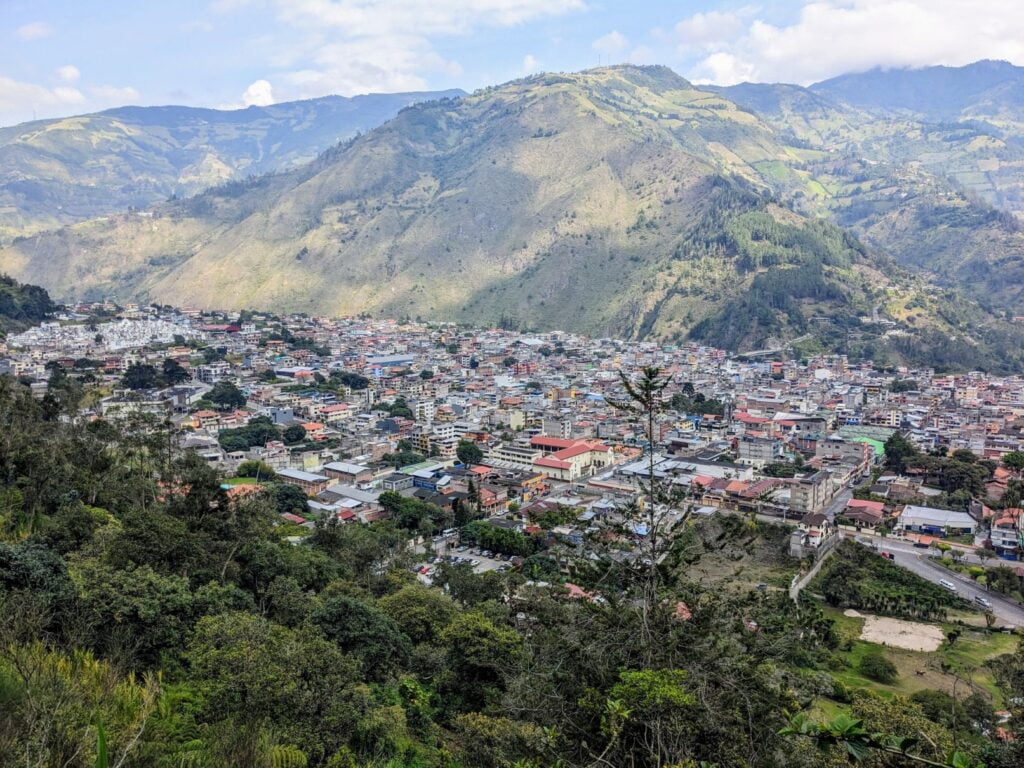
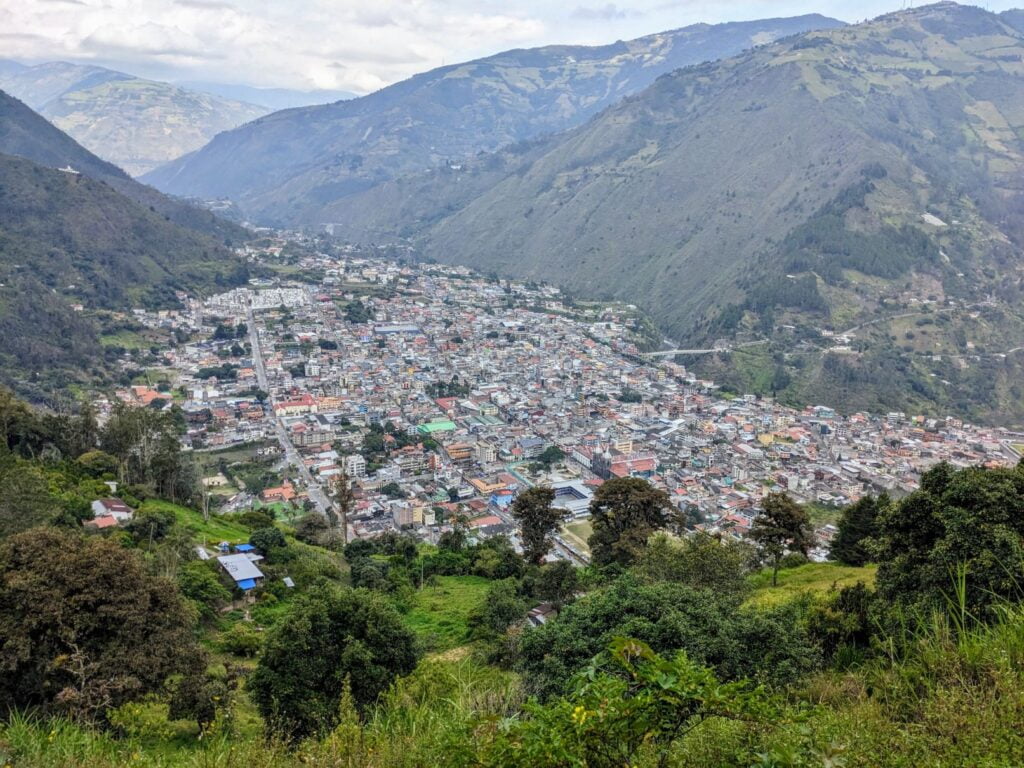
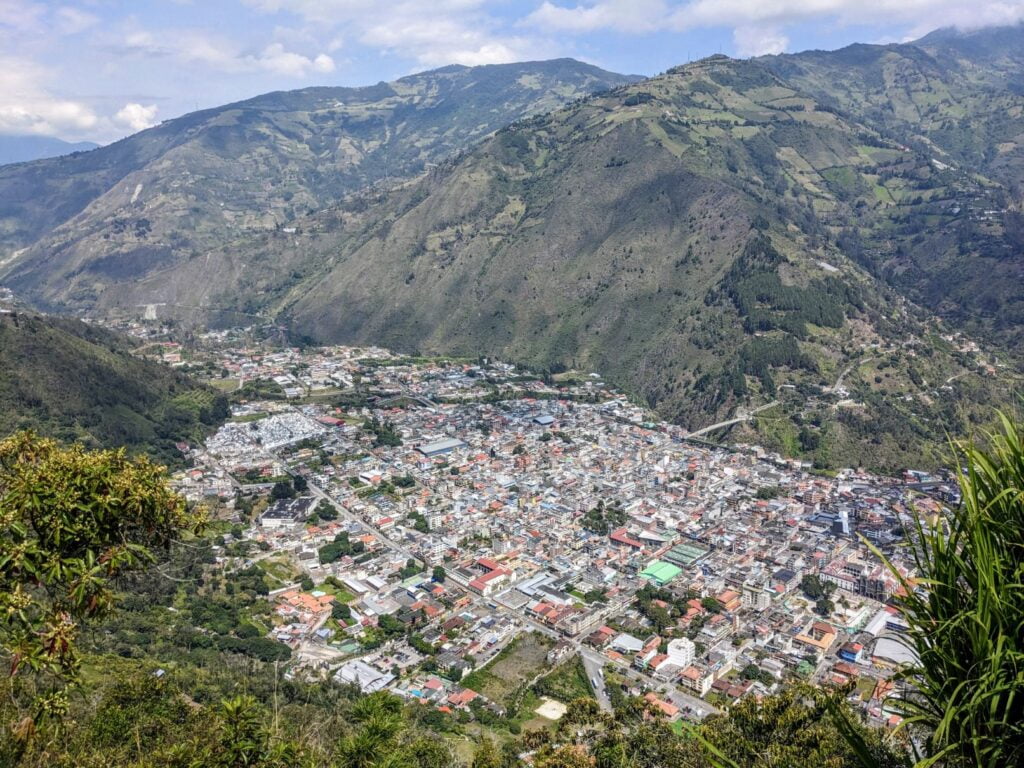
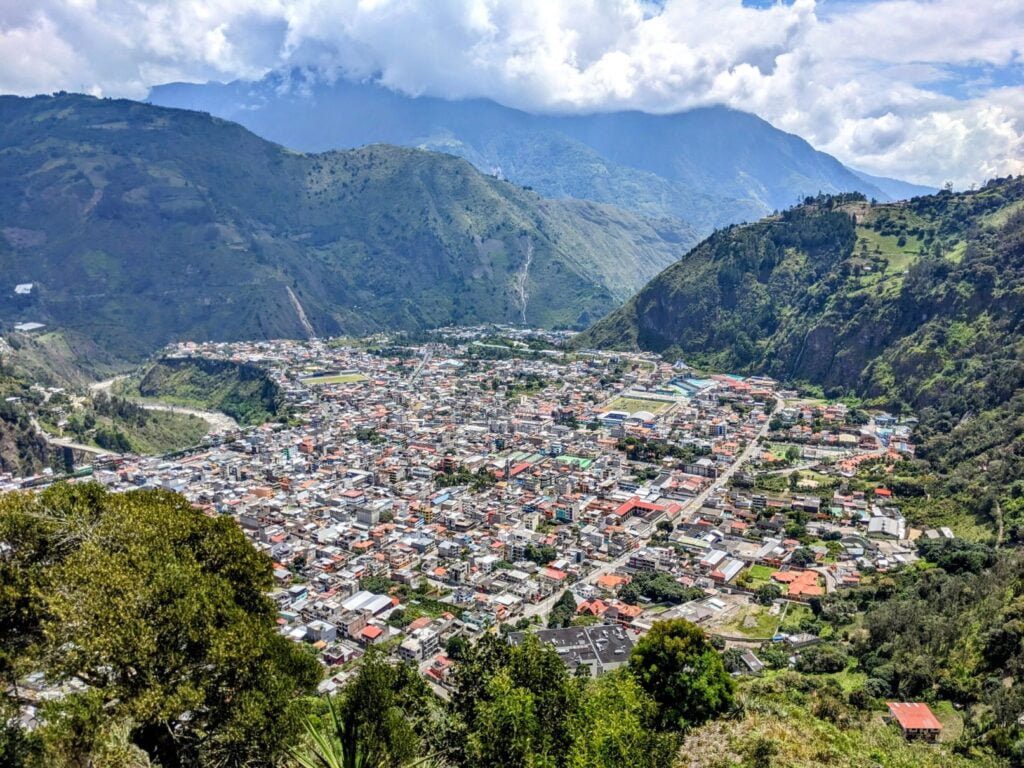
But you could go all the way up the tower and get a sensational view of Baños de Agua Santa.
Stage 6 – Descent to La Virgen
Our detour was fun, but the day was starting to get long. And we didn’t want to get stuck in the mountains in the dark!
So we went back up the road the way we came, back to WAYPOINT 15, really WAYPOINT 17 at this point.
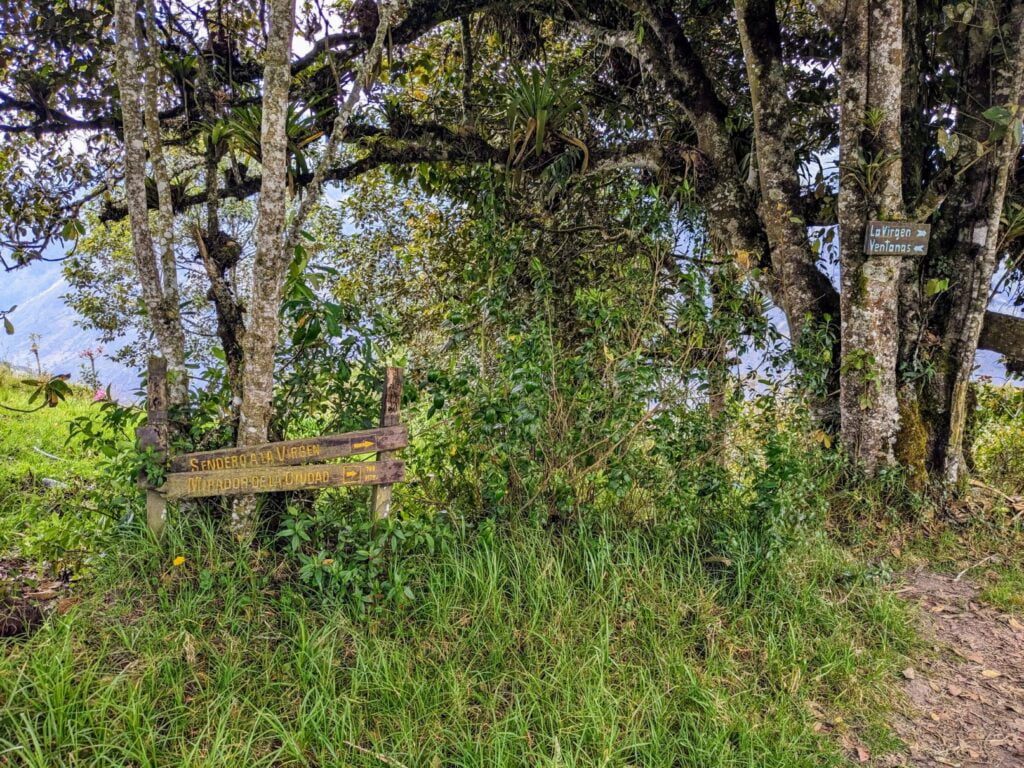
The reason we gave it a new waypoint designation (WAYPOINT 17) is that you are looking for a new set of hard-to-find signs pointing in the direction of La Virgen.
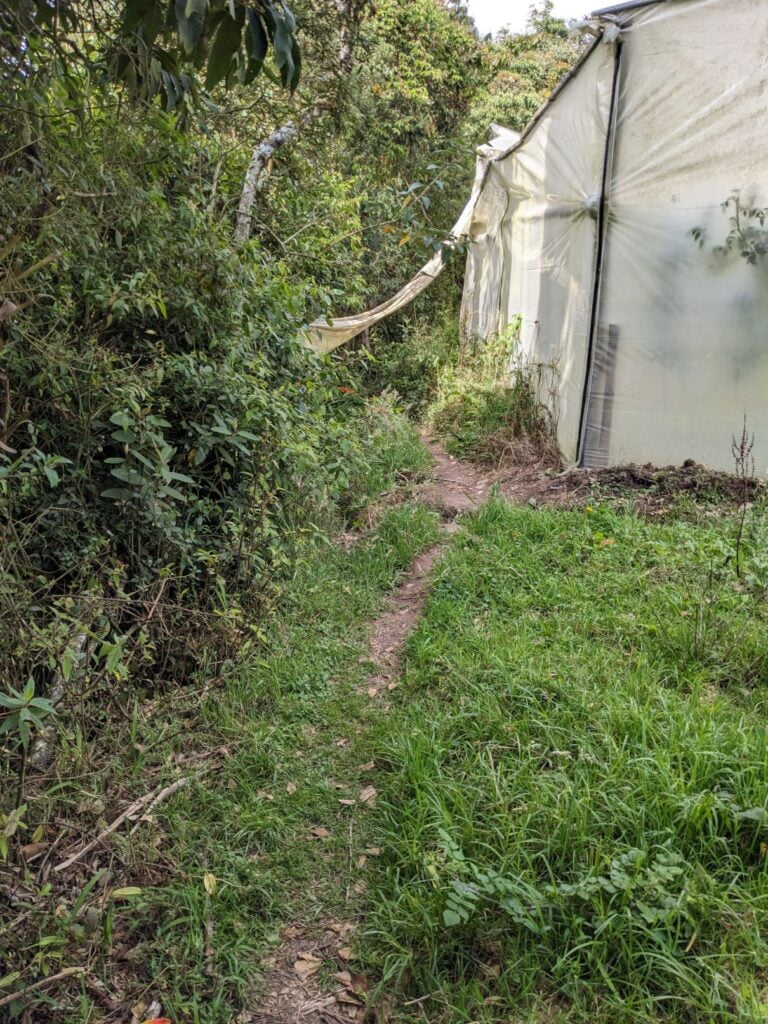
If you follow the signs, you’ll use this path behind greenhouses…
This path descended quickly and steeply. And the going was slow due to the danger involved with slipping and falling!
It was really easy to fall on this descent, so our going was much slower and more treacherous than we anticipated. In many ways, it was worse than hiking up the extreme inclines!
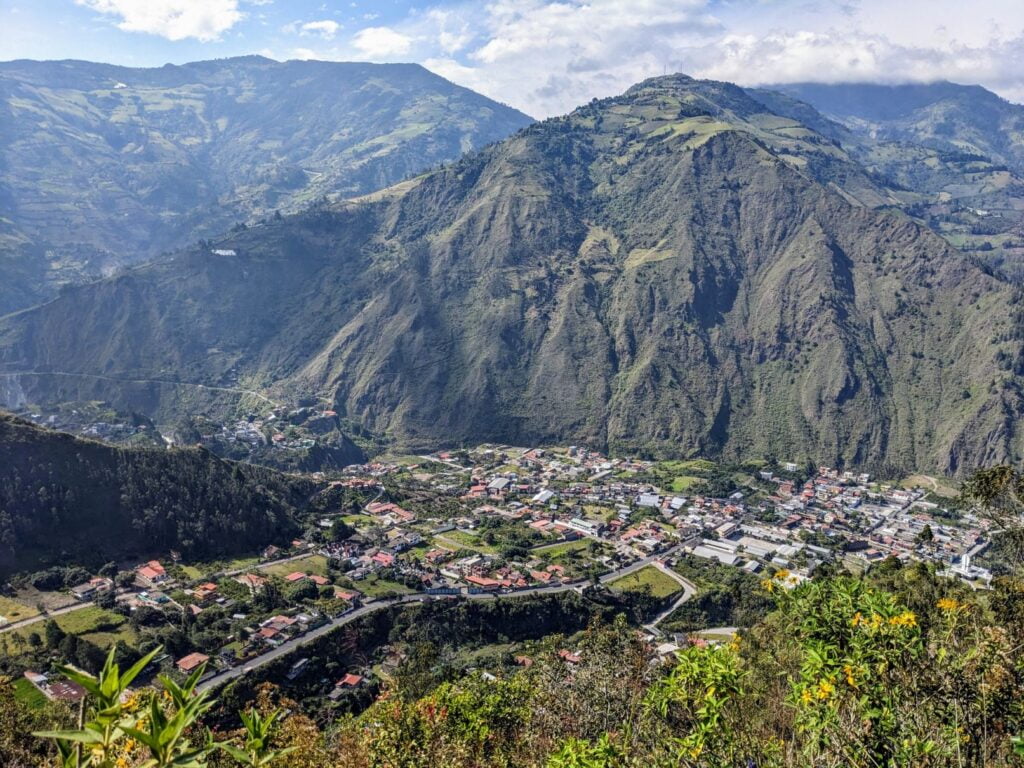
But there were lots of breaks in the canopy as we went downward, offering great views!
After what seemed like forever, and after falling several times, we saw La Virgen (VIEWPOINT 18) come into view.
Looking back at the way we came, it is difficult to believe the path we took!
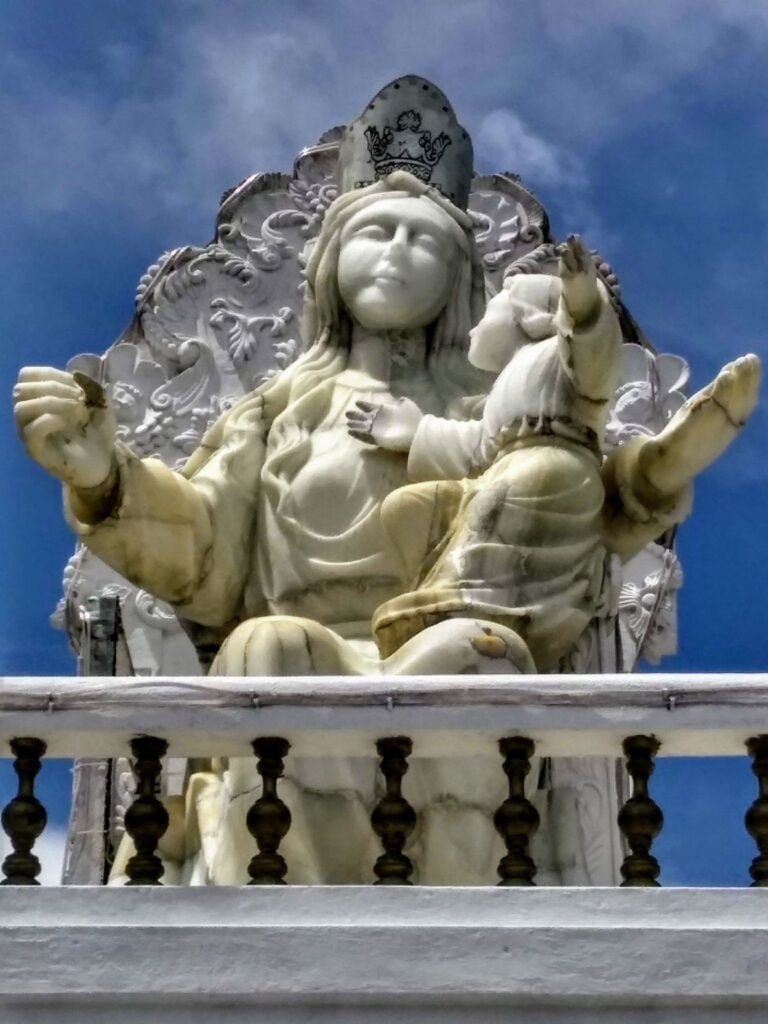
But the views at La Virgen were great…
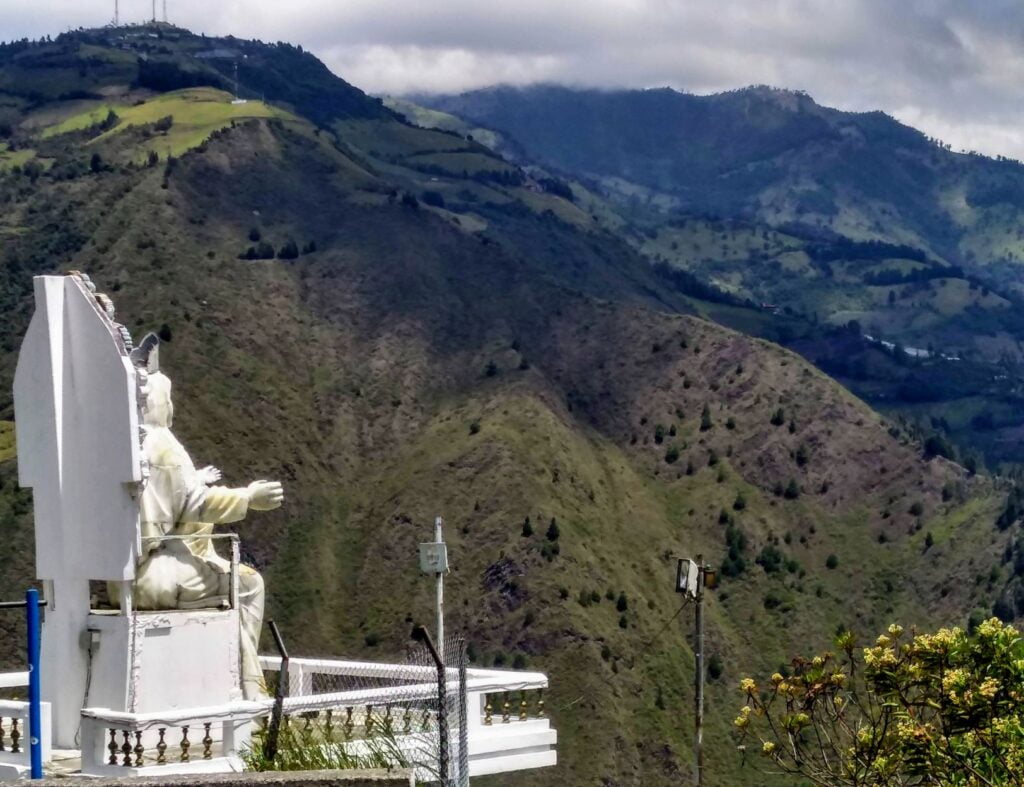
And La Virgen was impressive too.
But we were absolutely exhausted at this point!
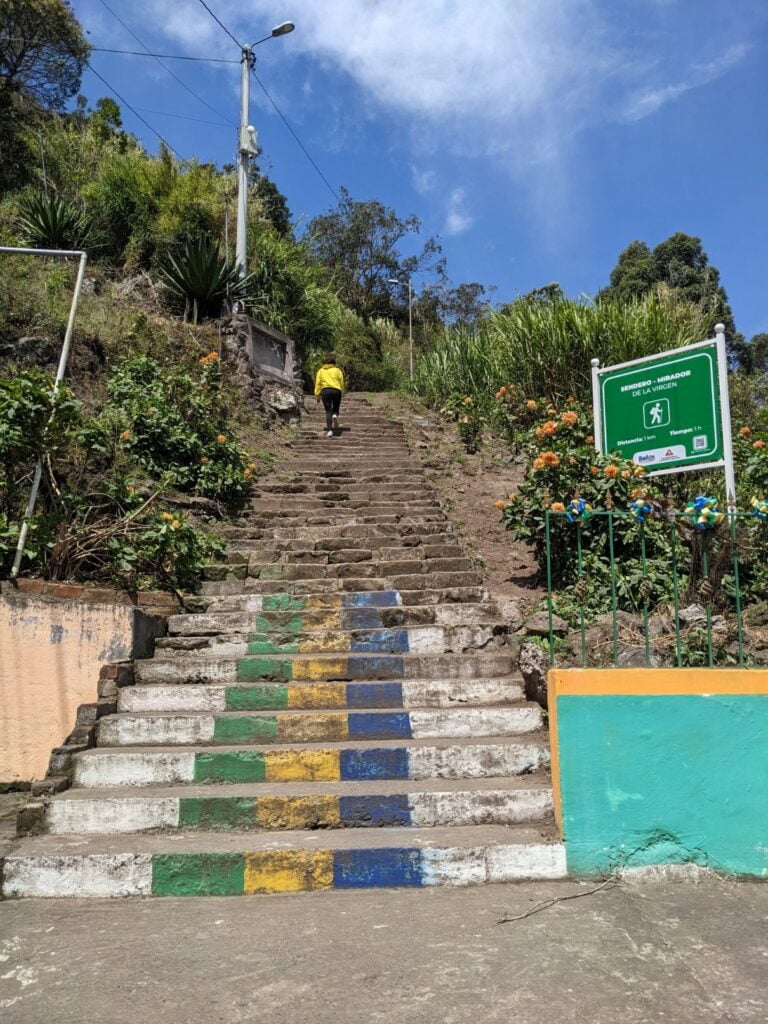
Thankfully, the way down from here was by stairway. So although the decline was still steep, at least the footing was good.
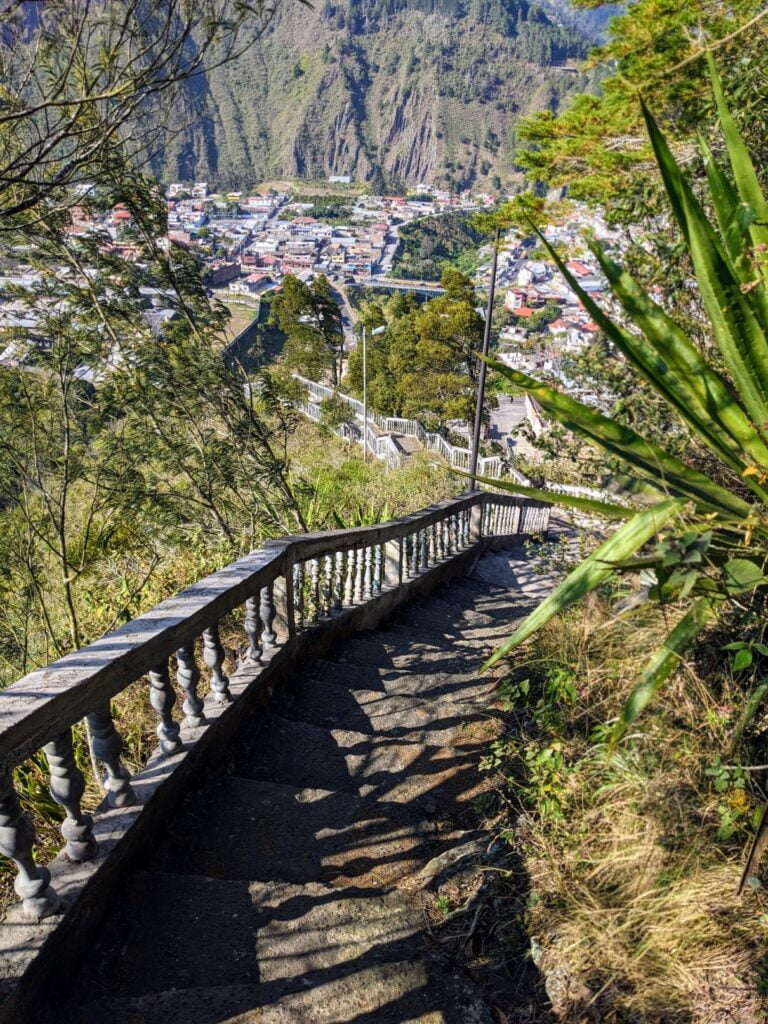
Ending Trailhead – Entrada Al Sendero Mirador de la Virgen
Finally, we reached the bottom of the long stairway.
And this is where we ended up at the end of our hike:
We were exhausted!
In total the entire hike took about 7 hours, including breaks and gawking.
Thankfully we were very close to our Airbnb at the end, so we didn’t have far to walk to collapse for the day.
Closing Thoughts on Our Mirador Hike in Baños Ecuador
Although we were tired, our hike was extremely satisfying.
We had some truly epic views, many of which most people never see!
And the hike is doable if you are prepared and reasonably fit.
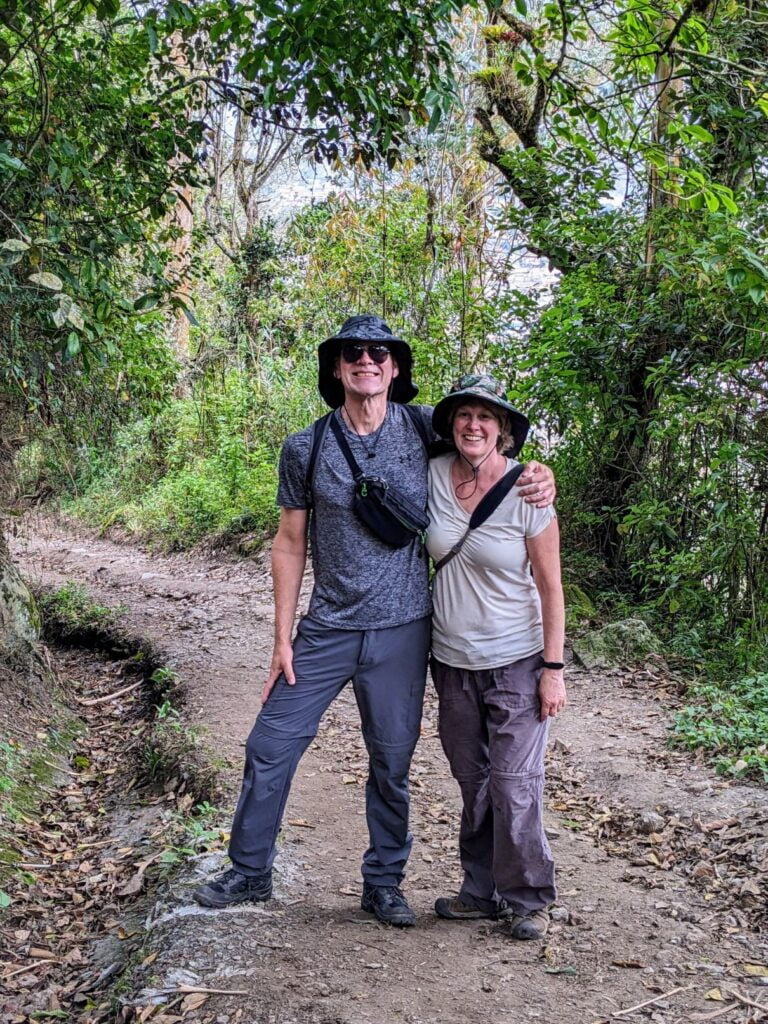
Rhonda and I are both 52 years old as I write this. Granted we are hiking fit at this point in our Year 1 Travel Plan, but don’t let age discourage you if you are in decent shape.
Just be careful and go slow!
Hopefully, you all found the account of our mirador hike in Baños Ecuador helpful.
Or, at the very least, we hope you were entertained by what we did!
Until next time…
Thanks for reading!
If our posts have saved you time, money, or are enjoyable in some other way, BUY US A COFFEE! It helps cover the costs of our blog, keeps our blog ad-free, and motivates us to continue posting about our experiences.
And leave a comment below and subscribe to get email notifications whenever we post!
Follow Two Travel Turtles on Facebook and X.
