How to Hike the Epic Cascada Cóndor Machay Trail: A TTT Guide
Our first week in Quito was action-packed, but our local friend Xime was determined to make sure we would not be bored during our remaining time here. She had a long list of things that we needed to do! And at the top of the list was for us to make a trip to the Rumipamba region of Ecuador, hike the Cascada Condor Machay trail, and see the spectacular waterfalls there.
Xime said that this area was rarely visited by international tourists, so needless to say we were game!
But accessing this area is not so simple if you don’t have a car.
Let us show you how we hiked the Cascada Condor Machay trail on the cheap, using affordable public and local transportation options!
A TTT Guide to the Cascada Cóndor Machay Trail
- Some Cascada Cóndor Machay Natural History
- Preparing for the Cascada Condor Machay Hike
- Getting to the Cascada Condor Machay Entrance
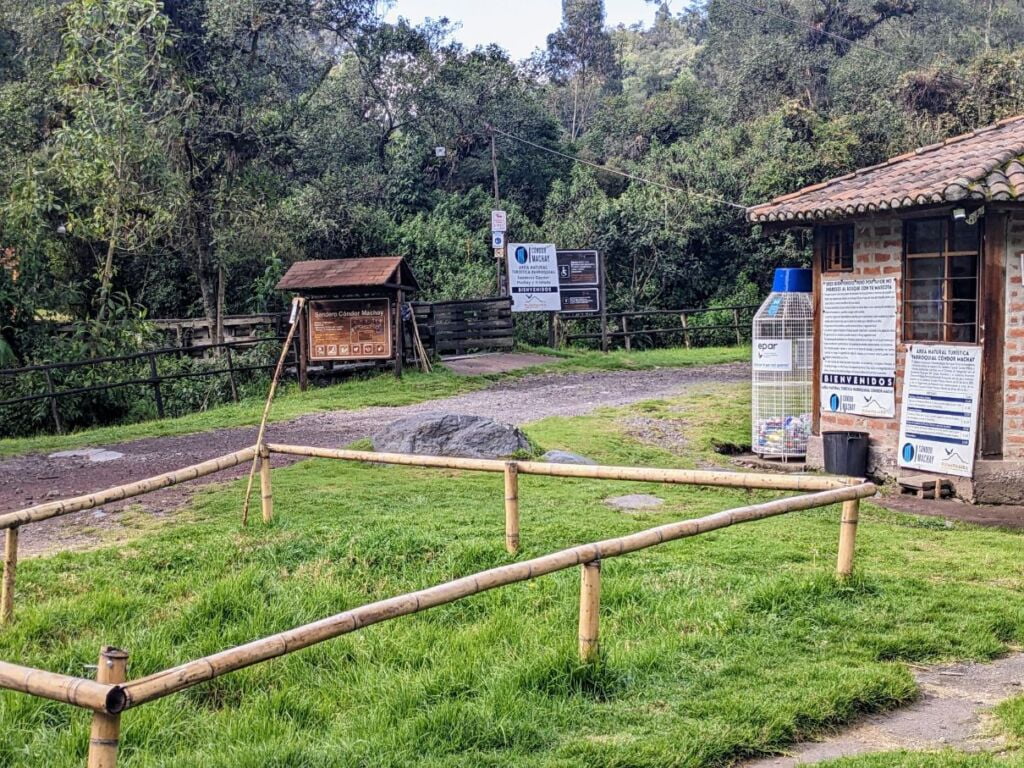
- Trail Entrance and Amenities
- Two Travel Turtles Hike the Cascada Condor Machay Trail
- Closing Thoughts
Some Cascada Cóndor Machay Natural History
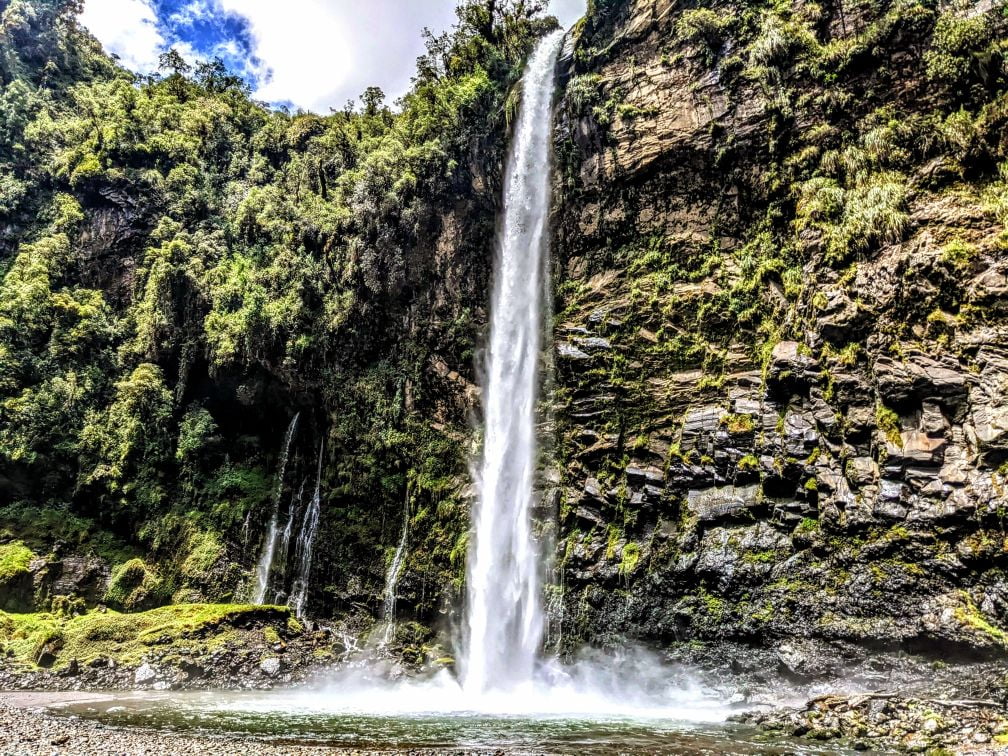
The Cascada Condor Machay area is fed by Rio Pita, which is formed from the runoff from Cotopaxi National Park. Rio Pita flows through numerous chasms which were formed from the volcanic eruptions that occurred in the region over time. And these chasms formed the multiple waterfalls that this area is known for, the most spectacular of which is Cascada Condor Machay.
This waterfall is appropriately named.
Condor Machay means “nest of the condor” in the indigenous language of Quichua, due to the rim of tall cliffs (i.e., condor habitat) the waterfall drops off of. And apparently, condors are still present there!
After Rio Pita becomes Cascada Condor Machay, it continues flowing through a canyon filled with pristine forest habitats. The Cascada Condor Machay trail runs the length of Rio Pita along this canyon and is maintained by the local community. This involves quite a bit of upkeep, as they maintain the bridges, railings, steps, and benches, as well as staffing the main visitor area.
Preparing for the Cascada Condor Machay Hike
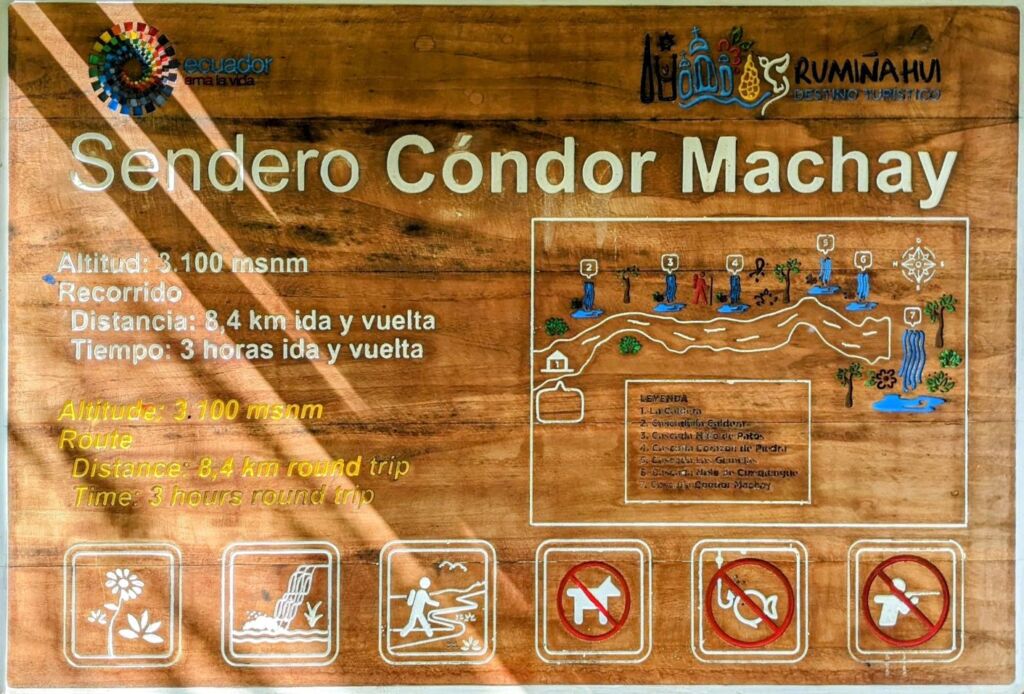
Round trip, the hike takes about 4 hours, which includes time for gawking at the different waterfall sites. If you don’t have any pressing medical conditions and are reasonably fit, the hike is fairly easy at 8.4 kilometers round trip. It is level almost the entire length and the path is well maintained. Still, good hiking shoes or boots are recommended for the parts of the trail that are on more unstable, rocky terrain.
Bring a day pack and your gear, which should include, at minimum, water and snacks. Bring them with you as the entrance does not sell any amenities! Although much of the hike is under tree cover, sunscreen and a hat are a must for the open areas where the waterfalls are.
The air temperature along the canyon path is cool, so shorts may not be ideal depending on your level of cold tolerance. But if you wear long hiking pants, a T-shirt, and a pullover you should be good to go since you can always shed the pullover if you get hot.
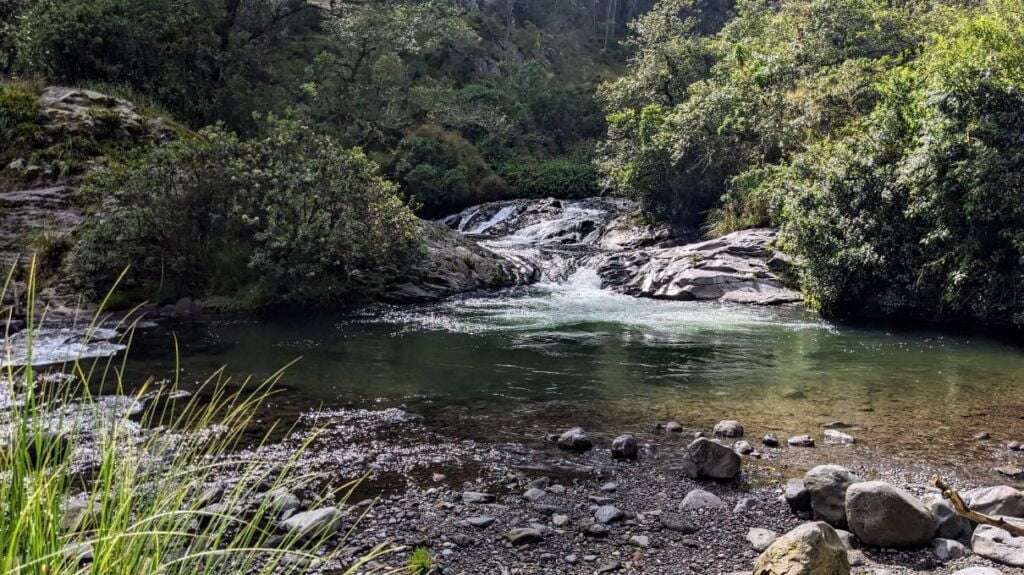
Swimming is allowed in the waterfall pools. So if that is part of your plan make sure your clothes are of the quick-drying type. There are no changing rooms!
There is no cell phone coverage at Cascada Condor Machay. So download an offline map of the region to Google Maps (or the Maps.me app) and download the offline Spanish language dictionary to Google Translate just to be safe.
If you want to have the hike and waterfalls largely to yourselves, visit Cascada Condor Machay in the morning. The place starts to fill up as the day goes on, so be warned!
Getting to the Cascada Condor Machay Entrance
This is the most challenging part of the entire Cascada Condor Machay experience.
By Car:
If you have a car, this is simple. Just drive to the Cascada Condor Machay parking area and entrance. When you get close, just follow the signs!
And drive a car with a decent suspension with some ground clearance, as the roads can get a little rough near the parking area. Leave your sports car at home!
Parking is $1 USD I believe, but we don’t have any direct experience with that.
Local Transportation from Quito:
This was the option we chose.
The journey from Quito to the Cascada Condor Machay entrance involves taking 2 buses and 1 truck taxi. So knowing where to pick up the buses is key! Thankfully, we had Xime with us to guide us through the bus/taxi transfer process. It actually isn’t that bad if you know what to do.
And the cost to travel to Cascada Condor Machay is affordable, at less than $8 USD each way.
So let us show you what to do so you can make this trip on your own!
Here is the step-by-step process we took:
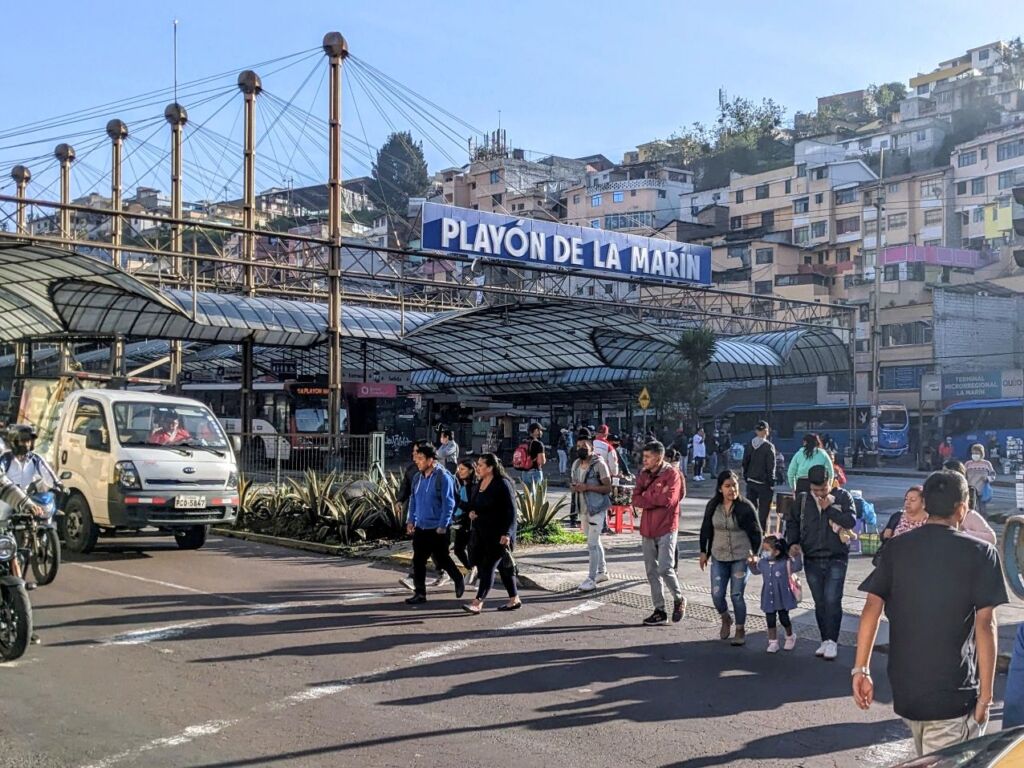
Step 1: Get to Terminal Playon de la Marin in Quito
Terminal Playon de la Marin (Google Maps) is the major southern bus terminal in Quito. Get there by whatever means makes the most sense for you. Look for a row of blue buses loading passengers and approach them.
Step 2: Get on a Bus Headed to Sangolqui
When you get to the blue buses, find a bus attendant (usually one stands by each bus) and ask which bus goes to the city of Sangolqui (Google Maps). They will direct you to the bus you need!
When you get to the right bus, confirm with the bus attendant that it goes to Sangolqui. If so, get on! You’ll pay after the bus gets moving.
Once the bus is on its way, get some loose change handy. The bus attendant will approach each passenger and ask for the fare, which as of this writing is $0.52 USD per person.
Then relax for a bit. The 17 km trip to Sangolqui will take about 30 minutes.
But track your position on Google Maps!
Once you are in Sangolqui, you’ll want to get off when passengers get off near the center of town.
Step 3: Get on a Bus Headed to Rumipamba
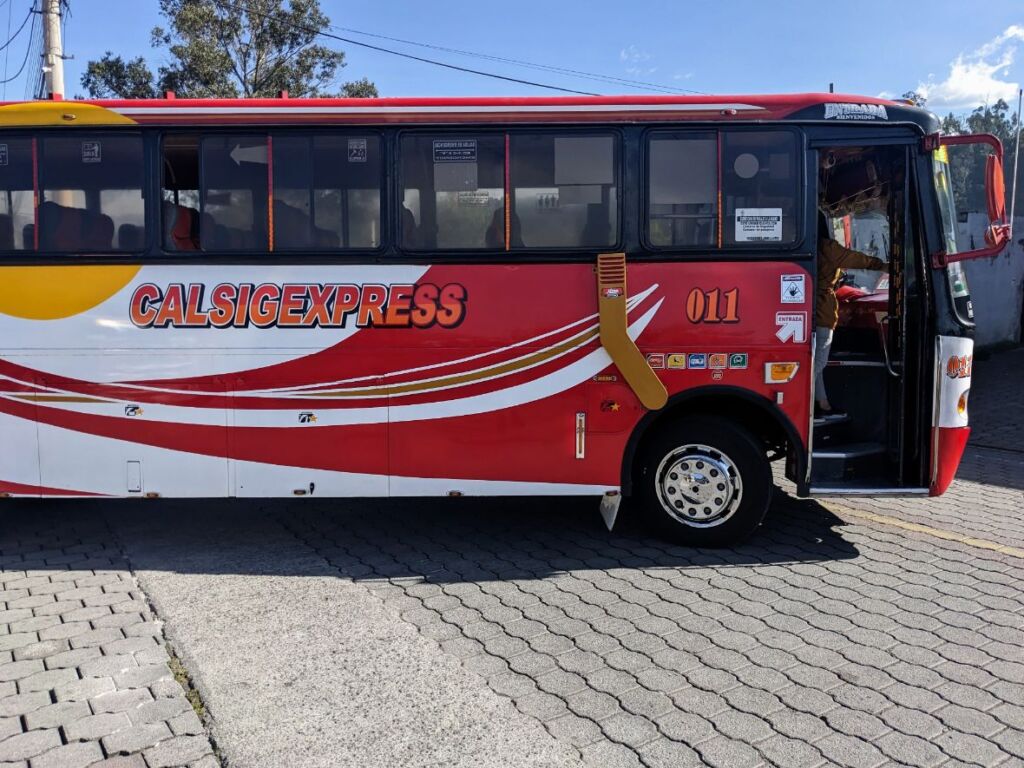
Now that you are in Sangolqui, you need to get on a bus that goes to Rumipamba parish. One specific bus line does this route (Calsig Express) and the last stop is in Rumipamba parish. So this part of the trip is pretty easy to figure out.
Once in Sangolqui, walk to the Parada de Bus Calsig, which should be pretty close by. Don’t look for a building or anything like that. It is just a place on the side of the road where buses pick up passengers. If for whatever reason you get disoriented when you get off the bus, you can ask any bus attendant where Parada de Bus Calsig (or Calsig Express) is, and they should be able to point you in the right direction.
The buses look like this:
Approach a bus attendant and confirm that it goes to Rumipamba. If so, get on! If not, they’ll direct you to the right place.
Like before, you’ll pay after the bus gets moving. The fare is $0.30 per person, so have loose change ready.
The 7 km trip lasts about 15 minutes and Rumipamba parish is the last stop, so the buses turn around at this point.
You’ll get off in the middle of a small rural-ish area without anything identifying it as Rumipamba parish.
But don’t panic.
Very close to where you got off the bus will be a line of small pickup truck “taxis” with drivers standing in front of them. Approach a driver and tell him you’d like a ride to Cascada Condor Machay. Don’t be shy to ask, that is the main reason they are there!
For us, the fare cost $7 USD.
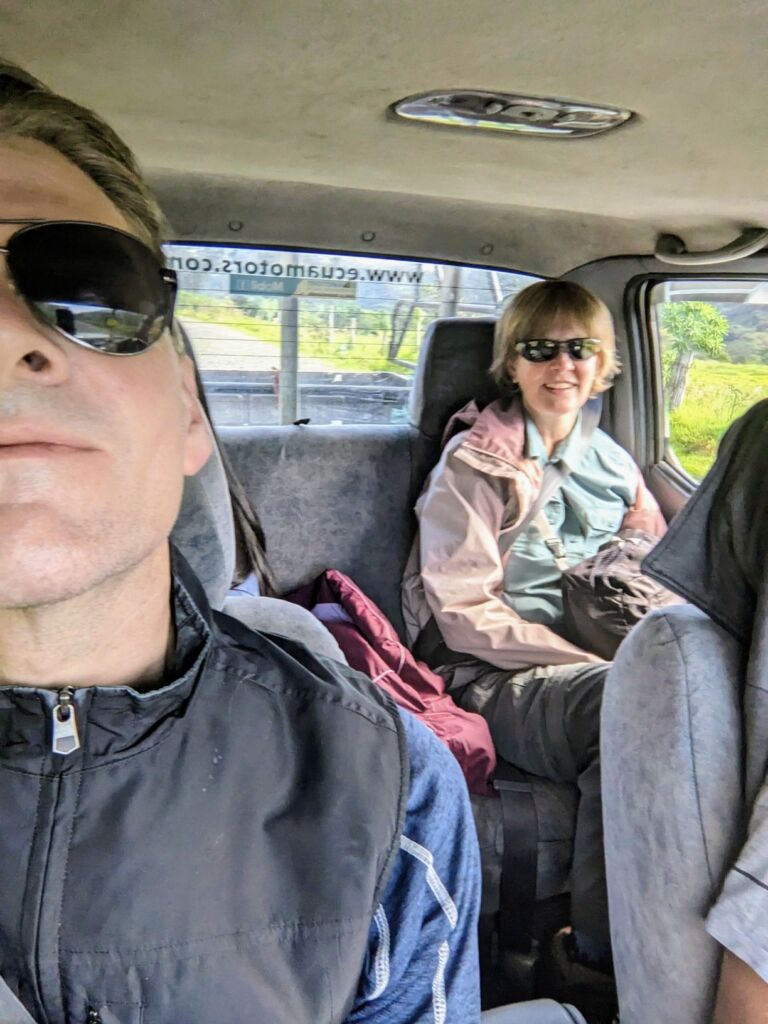
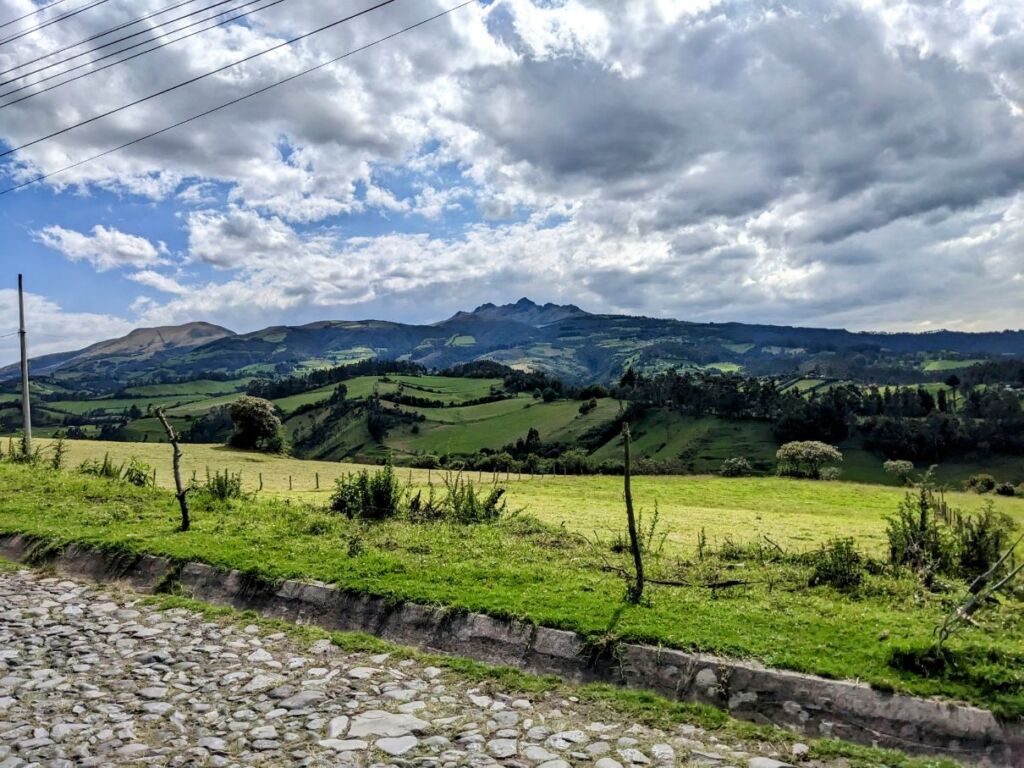
The 10 km ride will last about 20 minutes. You’ll drive through some spectacular scenery and some mildly sketchy roads. But the trucks are built to handle them.
You’ll eventually end up at the Cascada Condor Machay parking lot and entrance.
FINAL VERY IMPORTANT STEP:
Before the taxi leaves, make sure you set a time for him to pick you up! There are no other transportation options I am aware of. And there is no cell phone coverage to call for a taxi…or at least Claro doesn’t work here!
Give yourself a good 4 hours in the park and schedule your pick-up time accordingly. Just wait for the taxi in the parking lot at the agreed-upon time.
Should you forget to set up a pick-up time, or if the taxi driver forgets to pick you up, all is not lost. Sometimes pickup truck taxis wait in the parking lot for passengers, but be prepared to wait. Alternatively, ask an attendant at the entrance (in Spanish or using Google translate) that your ride didn’t work out and they can call for a truck taxi when they have time.
Trail Entrance and Amenities
Entrance to the Cascada Condor Machay trail is very affordable at $2 USD per adult. It is best to have smaller bills or coins, as they may have difficulty giving change in this remote location.
There are bathrooms present on site, but bring your own supply of toilet paper just in case.
But there is no food or drink for sale so you must bring your own! And you are expected to remove your own trash.
Two Travel Turtles Hike the Cascada Condor Machay Trail
We visited the park on a Saturday with the goal of arriving early at the trail entrance.
We went through the steps of getting to the trail entrance by local transportation without a hitch, never having to wait for a bus or taxi. The entire trip from our Airbnb in Quito to the Cascada Condor Machay entrance was about 90 minutes, and we arrived at around 9:30 am. There were only 2 cars in the visitor parking lot, so we were excited to have the place to ourselves.
The trail entrance staff were extremely friendly and helpful, and after paying for our tickets ($2 USD each), they directed us to the entrance.
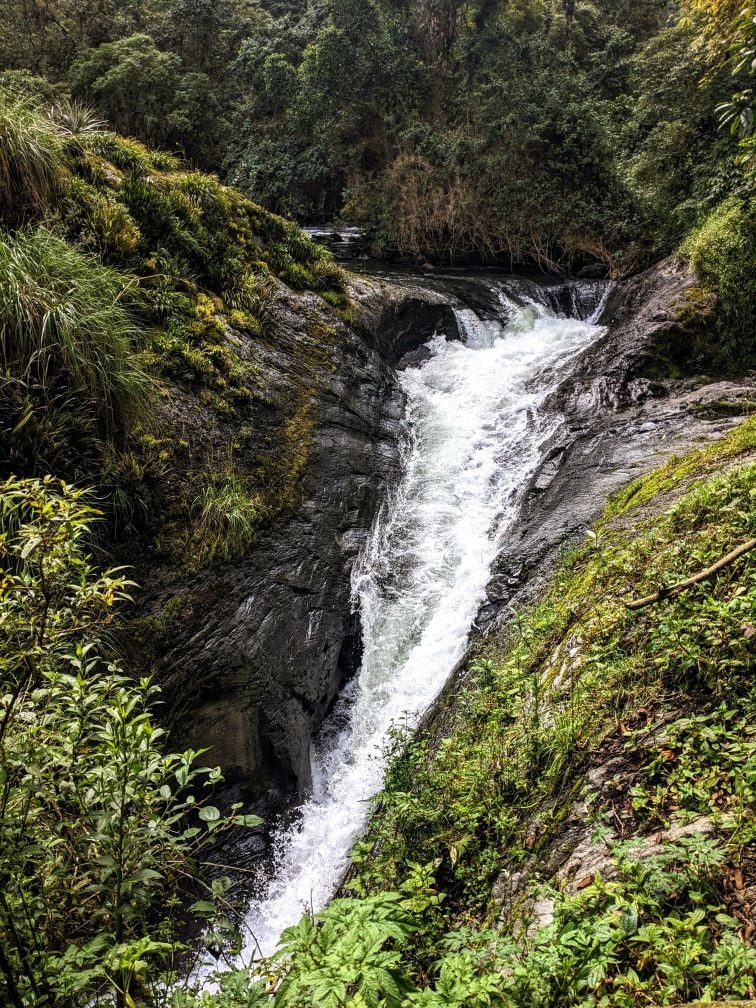
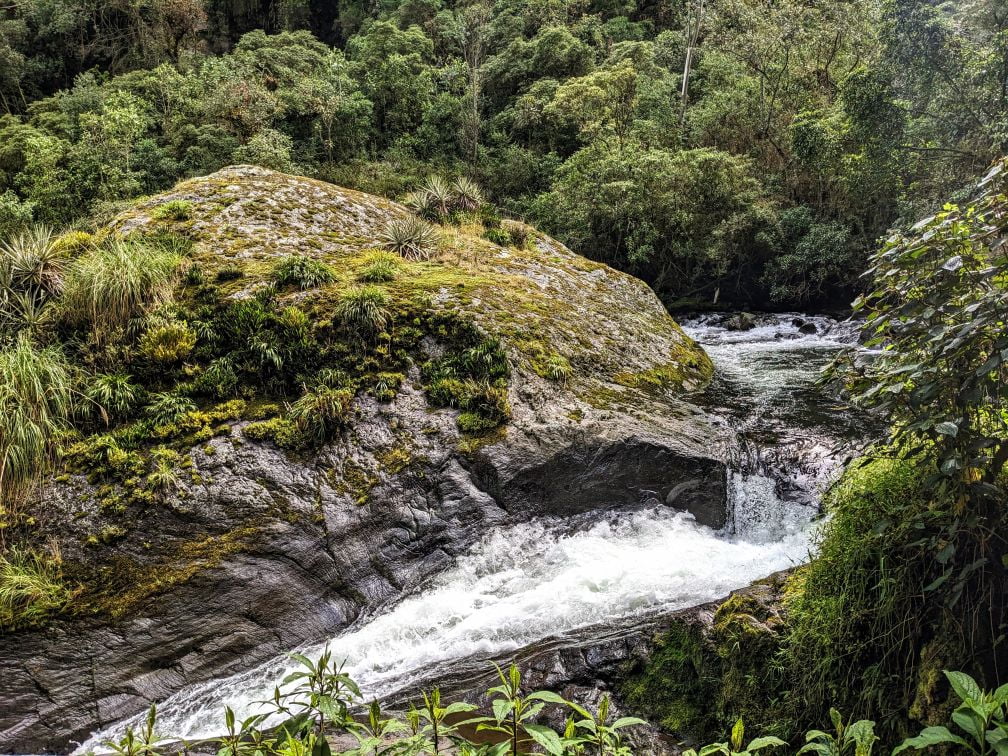
After starting the trail and crossing the Rio Pita, we immediately saw La Caldera, a bowl-like rock formation formed from the past eruption of Volcan Cotopaxi.
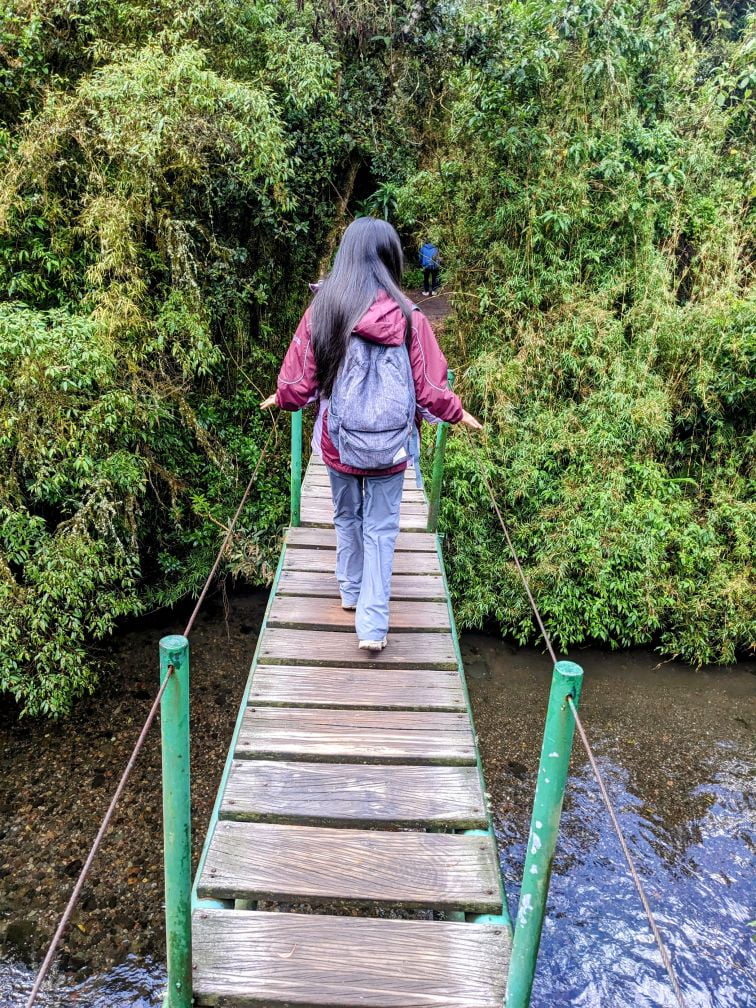
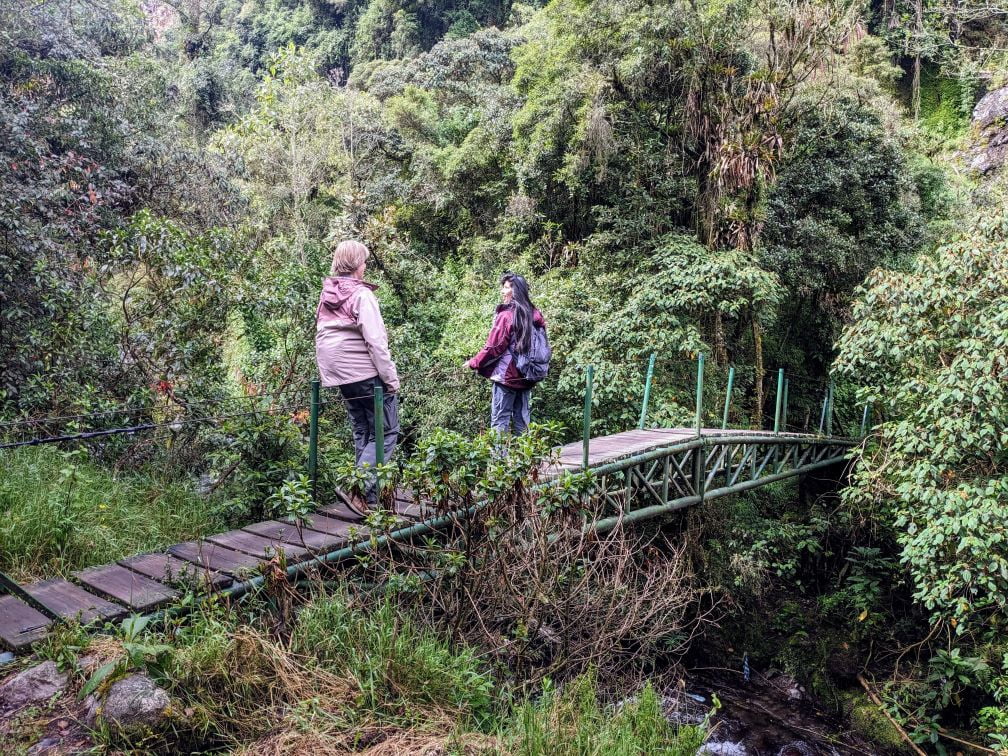
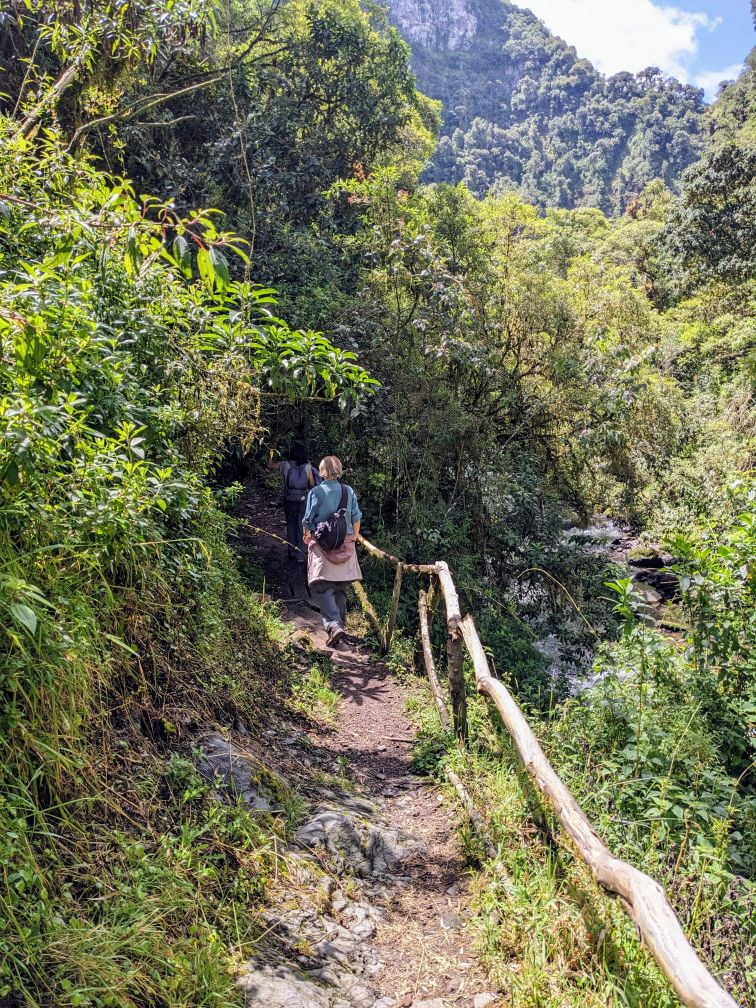
The trail was well cared for and level, with many footbridges crossing the Rio Pita.
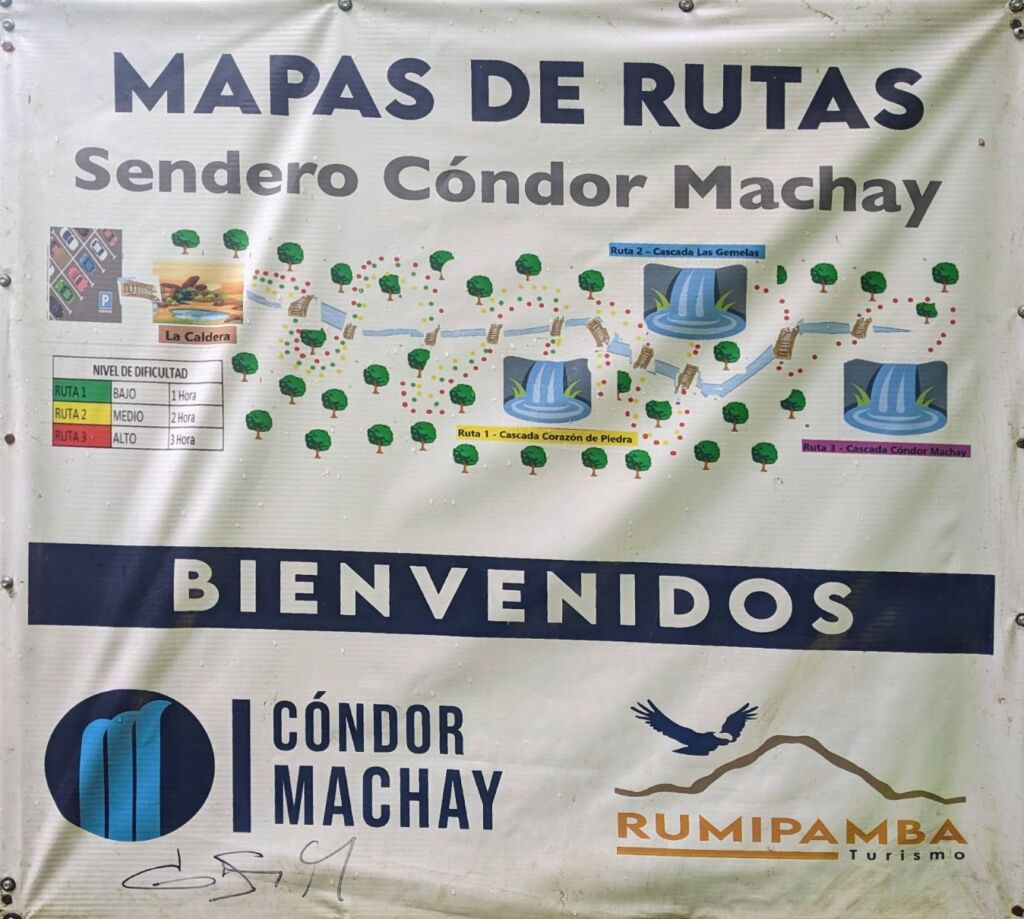
The signage was good, making it clear where the major sites were and how long it would take to get there (and back).
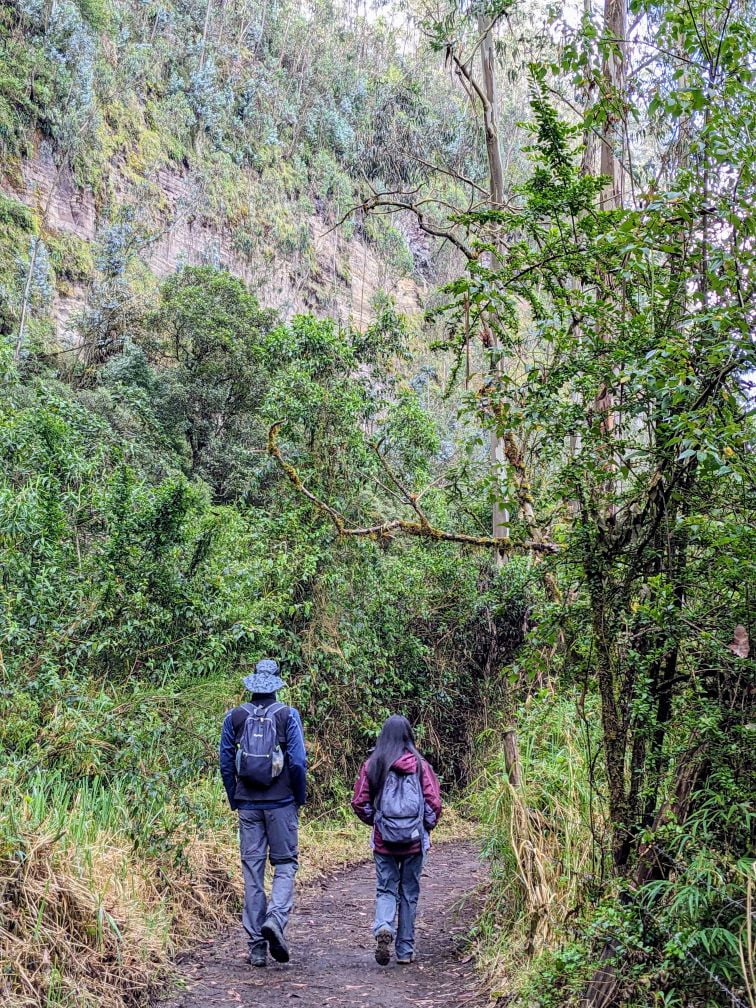
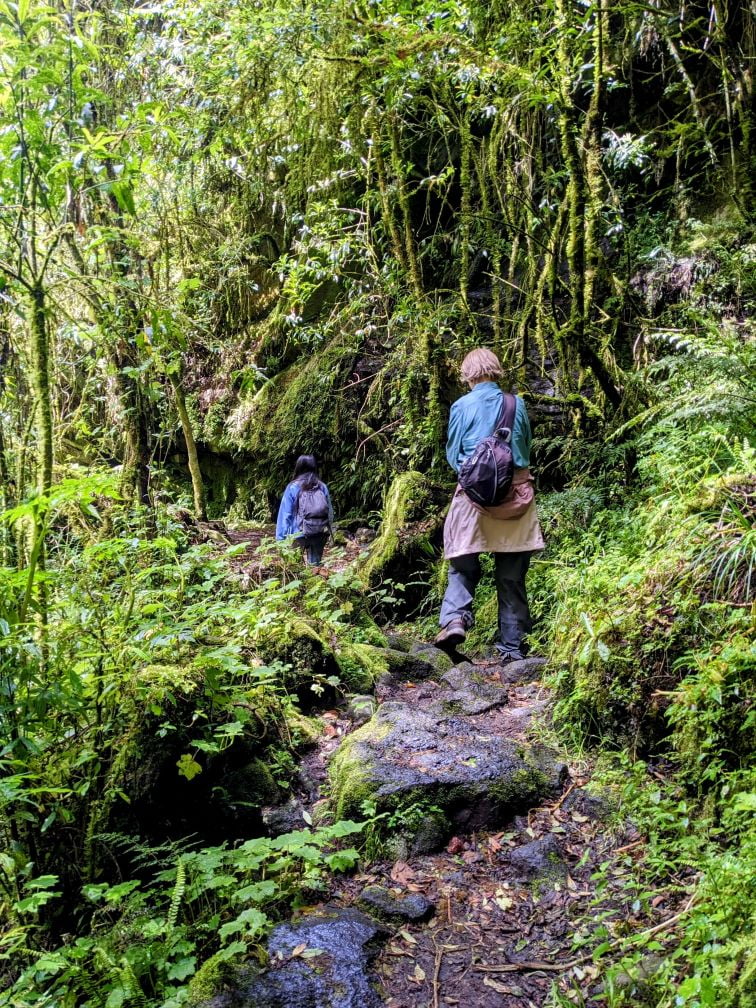
Most of the trail went through the forest along the Rio Pita. Xime explained that the forest had similar characteristics to a traditional cloud forest since it was nestled in a deep chasm that trapped moisture.
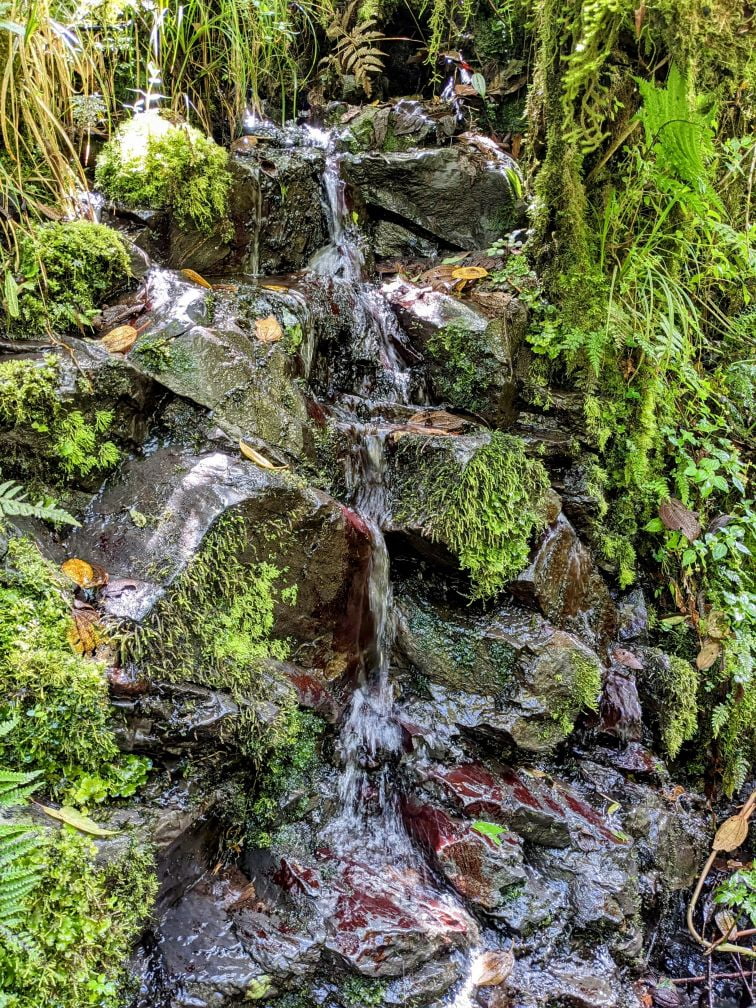
The vegetation was lush…
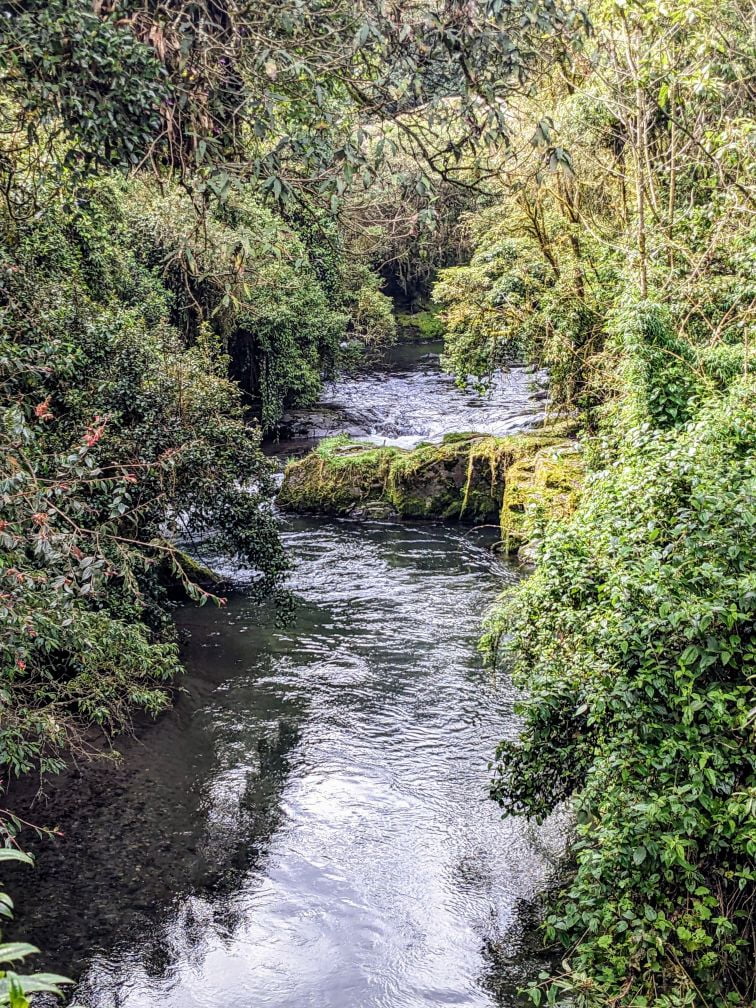
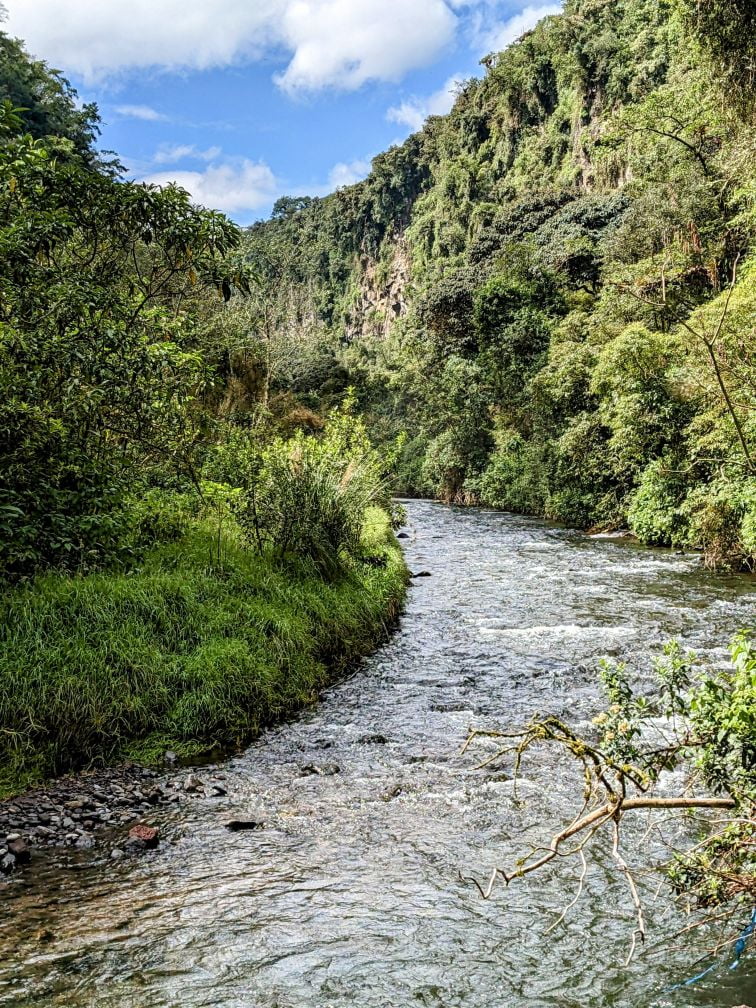
And the footbridges never failed to provide views of Rio Pita.
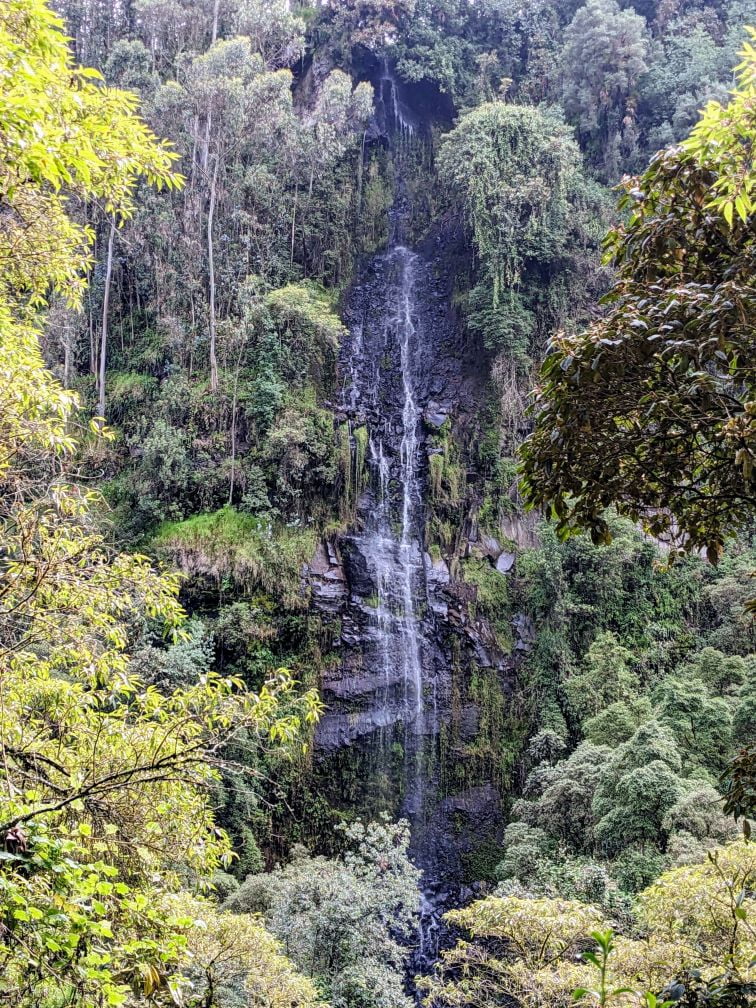
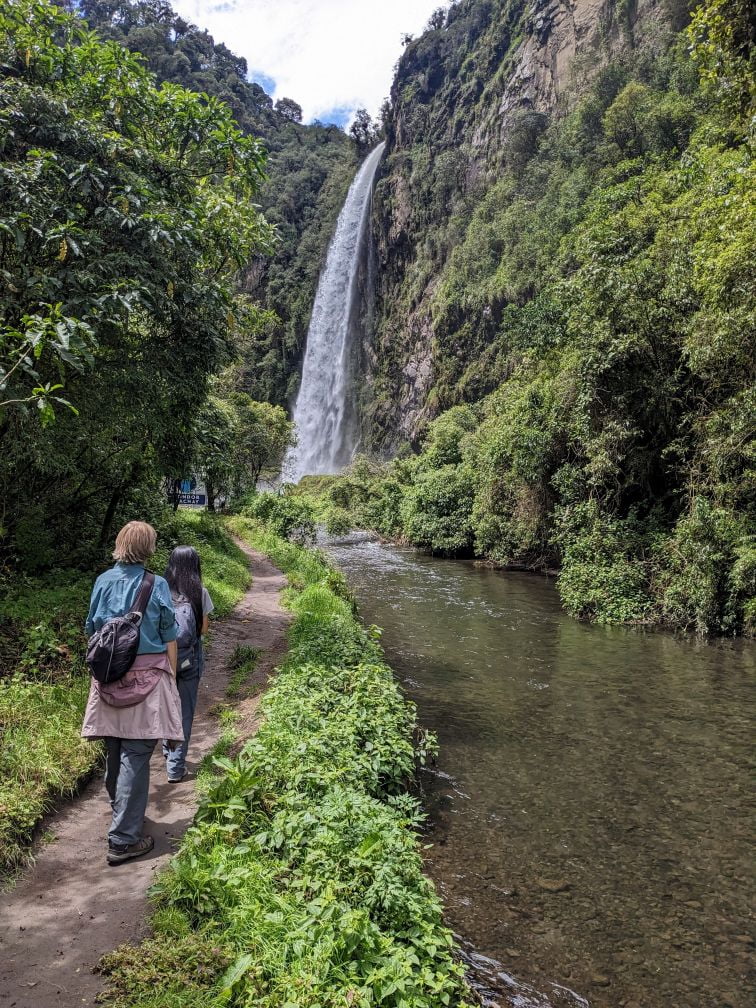
When the canopy opened up we could see waterfalls in the distance pouring off the sides of the canyon.
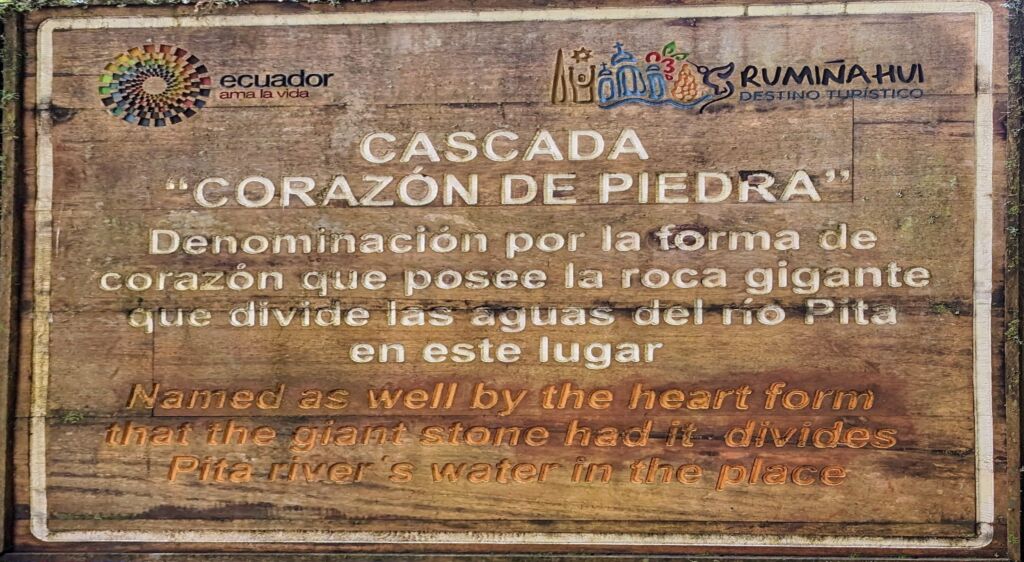
Eventually, we reached the first major waterfall area – Cascada Corazon de Piedra (= Heart of Stone Waterfall).
It was a lovely viewing site, and the smallest of the waterfalls to come.
We moved onward along the path, traversing stairways…
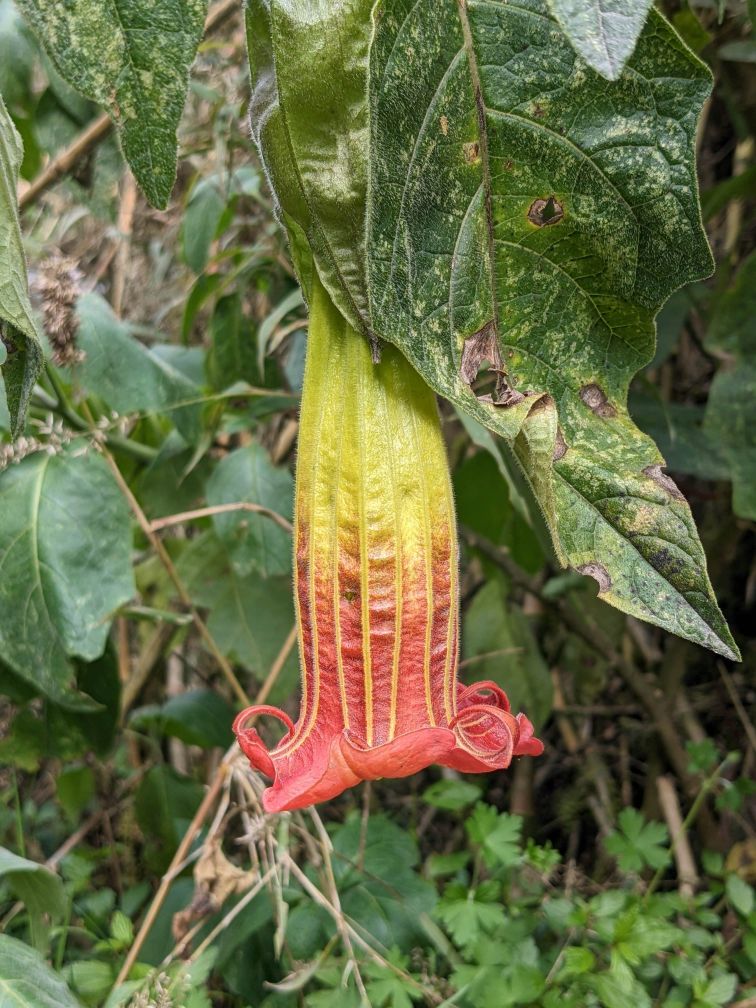
And admiring this pristine ecosystem along the trail.
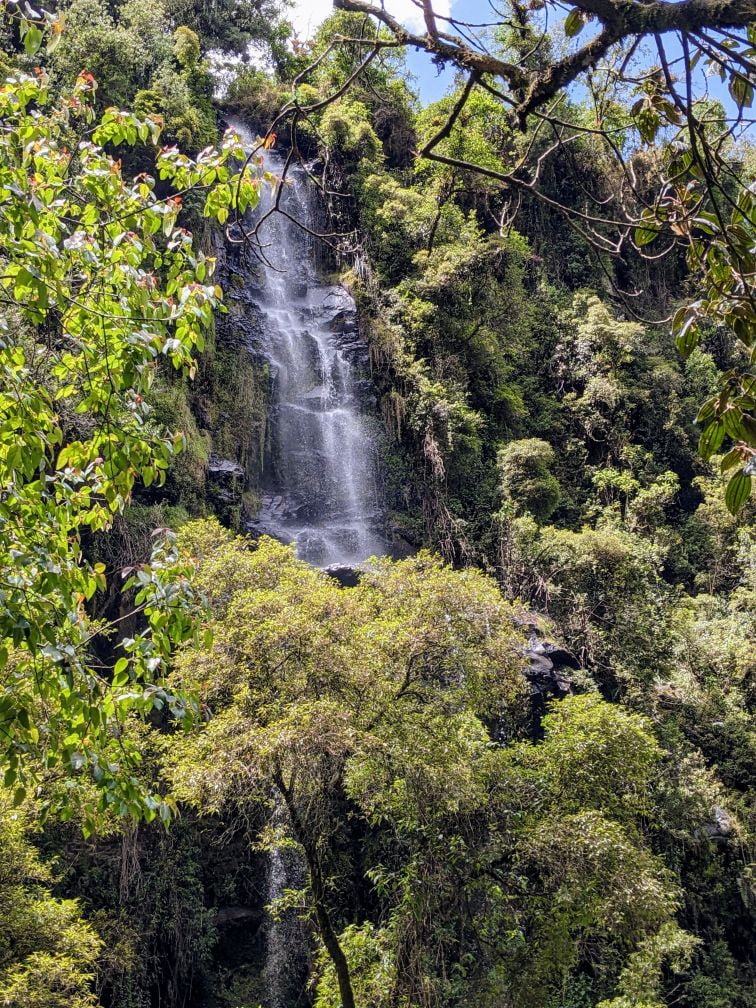
We found a short unmarked sidepath that went to another waterfall, taller than the first, but unnamed on the trail map. The waterfall was gorgeous in the morning light.
We could even see a rainbow above the pool below!
Moving onward, the scenery from the trail never failed to impress.

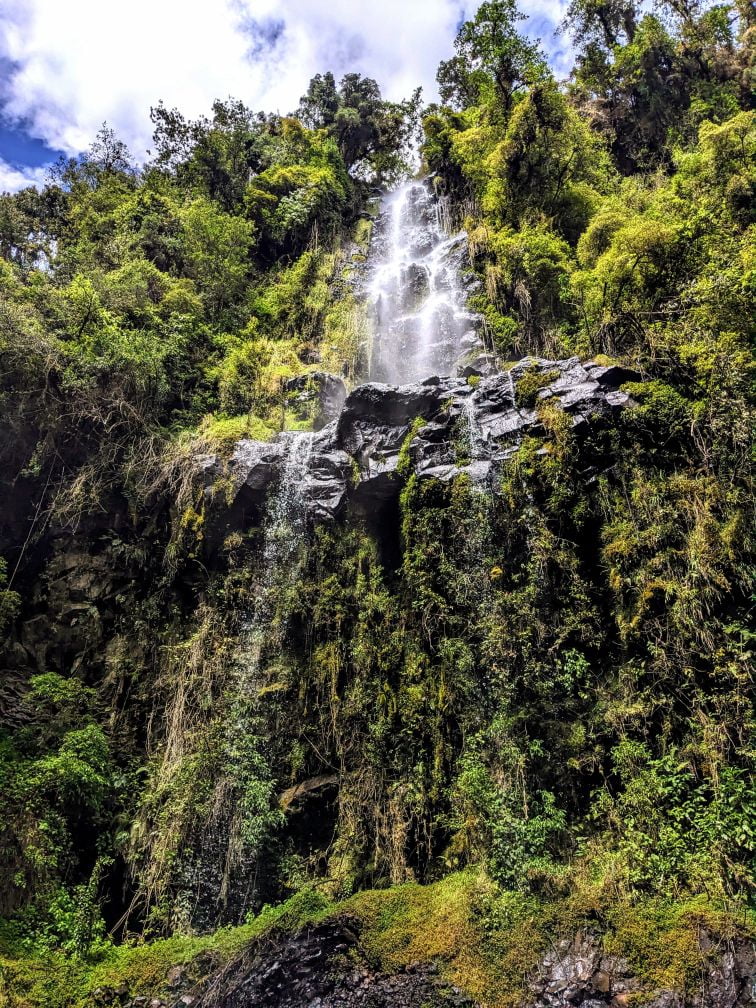
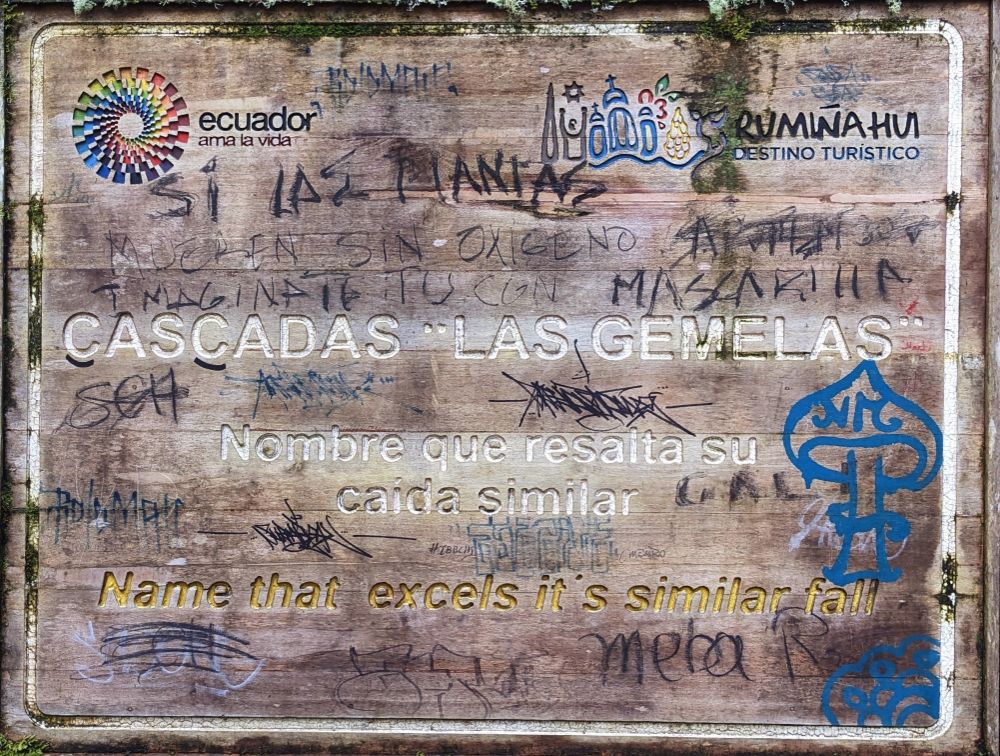
Until we reached the second major waterfall area – Cascada las Gemelas (= The Twin Waterfalls).
This waterfall was as impressive as the last one, with its position in the lush vegetation giving the entire area a magical feel.
We continued further along the path, towards the end of the trail.
We passed even more unnamed water features…

Until the canopy started opening up again. We could tell from the sound of rushing water we were approaching something big in the distance.
And eventually, we saw what was causing all of the commotion.
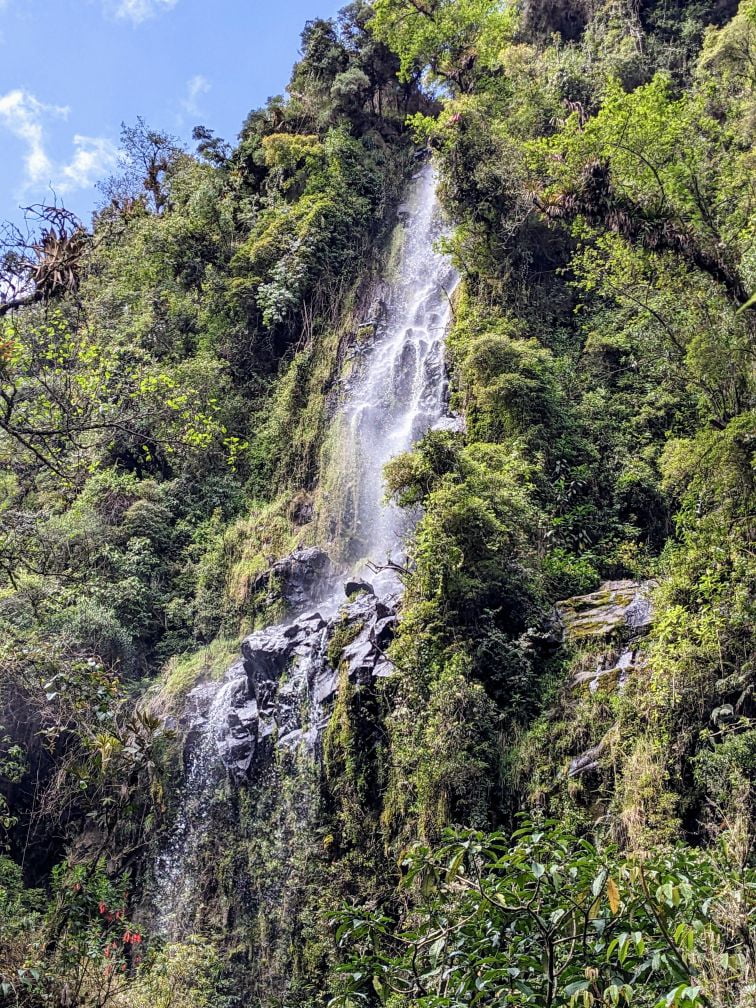
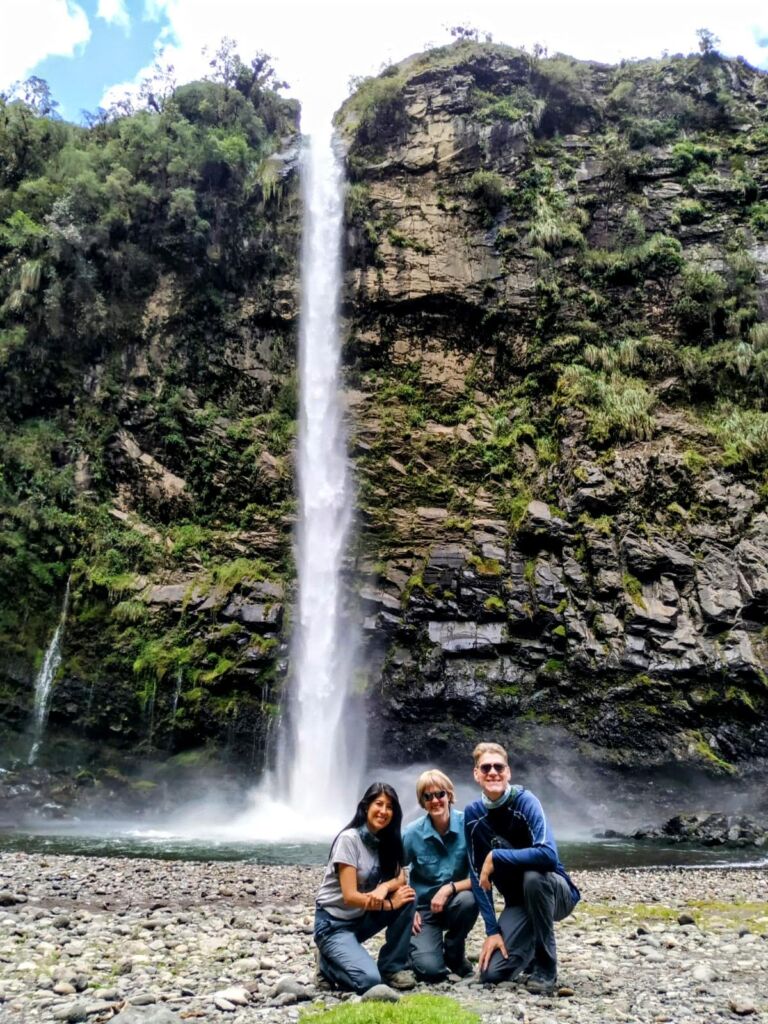
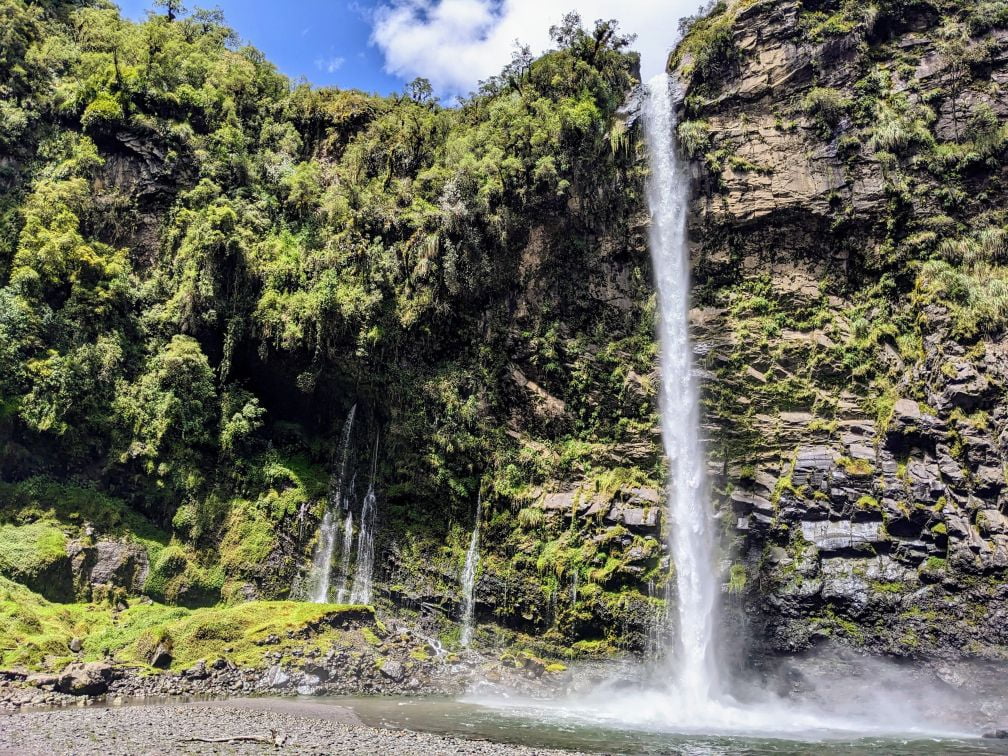
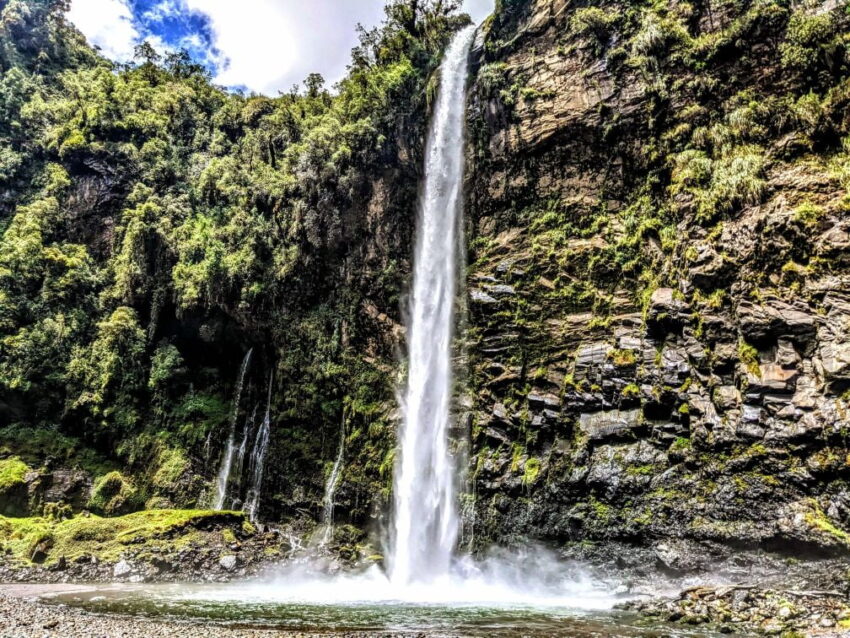
We finally found Cascada Condor Machay!
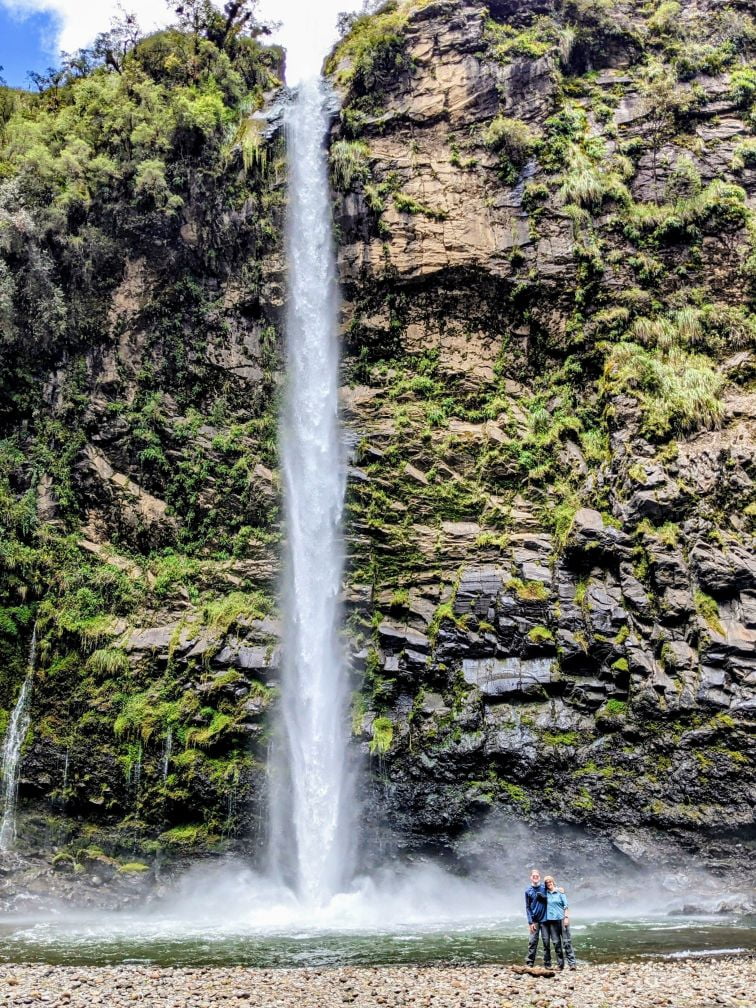
It was even more impressive than we imagined. This entire end of the canyon was filled with waterfalls, with Cascada Condor Machay being by far the most impressive.
We took a bunch of photos and videos trying to figure out how to capture the scale of what we were seeing…
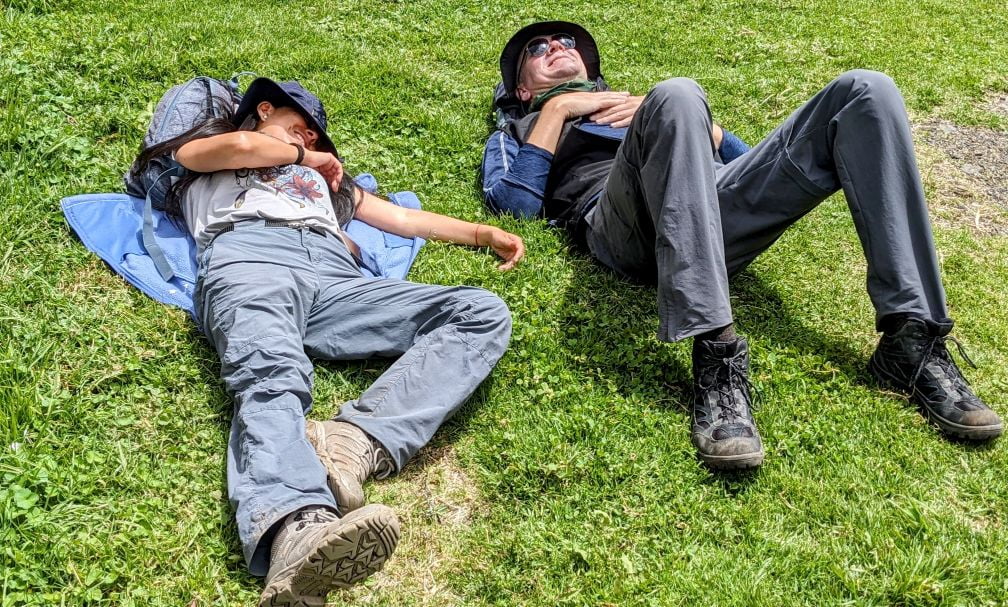
In the clearing around Cascada Condor Machay there were some benches for you to sit and relax, so we did! It really was a wonderful place to spend a day.
But eventually, all good things have to come to an end. We were at the terminal end of the trail, so we made our way back to the entrance, trying to enjoy the scenery as much as we could before we were done.
And we got back to the entrance with 15 minutes to spare before our taxi would pick us up! So all there was left to do was relax and wait for our taxi to arrive.
But unfortunately, it never came!
The driver forgot about us, which according to the trail entrance staff is a rarity. Thankfully, they were able to contact a driver who came to pick us up after a short wait.
We then made our way back to Quito following the same local transportation steps we described before, just in reverse.
Easy peasy.
Closing Thoughts
What a fantastic trail!
This trail goes on our short list of trails that have a massive visual payoff compared to the amount of effort put into the hike. And while on this trail, you still feel like you are in a primeval cloud forest, despite being less than two hours away from Quito!
Highly recommended. Two Travel Turtles approved!
Hopefully, you found this information useful and will inspire you to make the journey yourselves!
Until next time…
Thanks for reading!
If our posts have saved you time, money, or are enjoyable in some other way, BUY US A COFFEE! It helps cover the costs of our blog, keeps our blog ad-free, and motivates us to continue posting about our experiences.
And leave a comment below and subscribe to get email notifications whenever we post!
Follow Two Travel Turtles on Facebook and X.
